Table of Contents
Advertisement
Quick Links
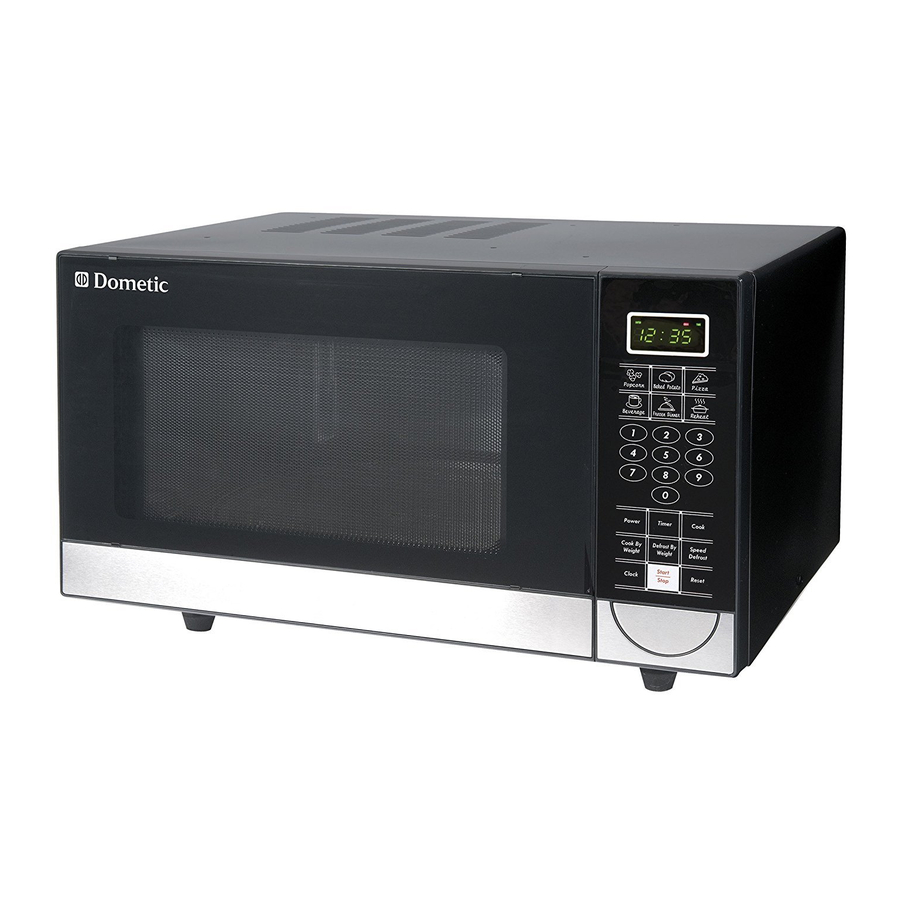
Model: DCMW11B.F
Microwave Oven
User's manual
Please read these instructions carefully before installing and operating the oven.
Record in the space below the SERIAL NO. found on the nameplate on your oven and retain
this information for future reference.
SERIAL NO.
Document Number: P0000072456
Release Date: Jan 9, 2013
Advertisement
Table of Contents

Related Manuals for Dometic DCMW11B.F


Summary of Contents for Dometic DCMW11B.F
- Page 1 Model: DCMW11B.F Microwave Oven User's manual Please read these instructions carefully before installing and operating the oven. Record in the space below the SERIAL NO. found on the nameplate on your oven and retain this information for future reference. SERIAL NO.
-
Page 2: Table Of Contents
Do not attempt to operate this oven with the door-open since open-door operation can result in harmful exposure to microwave energy. It is important not to defeat or tamper with the safety interlocks. Do not place any object between the oven front face and the door or allow soil or cleaner residue to accumulate on sealing surfaces. -
Page 3: Important Safety Instructions
When using electrical appliances, basic safety precautions should be followed, including the following: WARNING - To reduce the risk of burns, electric shock, fire, and injury to persons or exposure to excessive microwave energy: Read all instructions before using the appliance. Read and follow the specific "PRECAUTIONS TO AVOID POSSIBLE EXPOSURE TO EXCESSIVE MICROWAVE ENERGY"... - Page 4 12. The contents of feeding bottles and baby jars should be stirred or shaken and the temperature should be checked before serving in order to avoid burns. 13. Cooking utensils may become hot because of heat transferred from the heated food. Potholders may be needed to handle the utensil.
-
Page 5: Installation Guide
Make sure that all the packing materials Do not operate the oven without glass are removed from the inside of the door. tray, roller support, and shaft in their proper positions. Check the oven for any damage, such as misaligned or bent door, damaged Make sure that the power supply cord is door seals and sealing surface, broken undamaged and does not run under the... -
Page 6: Utensils Guide
Power Supply Cord A short power supply cord is provided to reduce the risks resulting from becoming entangled in or tripping over a longer cord. Longer cord sets or extension cords are available and may be used if care is exercised in their use. -
Page 7: Cooking Techniques
Thermometers — Use only those labeled "Microwave Safe" and follow all directions. Check the food in several places. Conventional thermometers may be used on microwave food once the food has been removed from the oven. Λ LIMITED USE Aluminum foil — Use narrow strips of foil to prevent overcooking of exposed areas. Using too much foil can damage your oven, so be careful. -
Page 8: Specifications
overcooking, place delicate areas, such as asparagus tips, toward the center of the turntable. HIELDING Shield food with narrow strips of aluminum foil to prevent overcooking. Areas that need shielding include poultry wing tips, the ends of poultry legs, and corners of square baking dishes. Use only small amounts of aluminum foil. -
Page 9: Part Names
Door Safety Lock System Oven Window Roller Ring Shaft Door Release Button Control Panel Wave Guide (Please do not remove the mica plate covering the wave guide.) Glass Tray... -
Page 10: Control Panel
MENU ACTION SCREEN Cooking time, power, indicators and present time are displayed. QUICK COOK BUTTONS Instant settings to cook popular foods NUMBER PADS(0-9) Touch to set time or amount. POWER Use to set microwave power levels. TIMER Timer functions independently, even while a cooking program is in process. -
Page 11: Operation Instructions
SIGNALS DURING OVEN SETTINGS ONE SIGNAL: Oven accepts the entry. TWO SIGNALS: Oven does not accept the entry, check and try again. ETTING THE CLOCK Touch CLOCK pad. Use the number pads to enter the correct time. Touch CLOCK pad again. NOTE: ·This is a 12 hour clock. -
Page 12: Speed Defrost
Number pad Cooking power 1、0 100% B. Two-stage Cooking Some recipes require different stages of cooking at different temperatures. SET STAGE 1: Follow steps 1 and 2 in “One-stage Cooking”. DO NOT TOUCH START/STOP SET STAGE 2: Touch COOK then enter proper cooking time and (lower) power level. (Most 2-stage recipes use lower power for second stage.) Touch START/STOP. -
Page 13: Cook By Weight
OOK BY WEIGHT Touch COOK BY WEIGHT. Enter the one digit code by touching the correct number pad.(1~3) Use the number pads to enter weight. Touch START/STOP. Cook By Weight Code Description CODE TYPE MAX WEIGHT Beef 5 lb. 16 oz. Mutton 5 lb. -
Page 14: Defrost By Weight
EFROST BY WEIGHT Touch DEFROST BY WEIGHT pad. Use the number pads to enter weight. (MAX WEIGHT: 5 lb. 16 oz) Touch START/STOP pad. NOTE: · Weight must be in pounds and ounces. Ounce weights less than 10 must be preceded by a 0. If label gives weight in pounds only, change the fraction of a pound to ounces using the chart given above. -
Page 15: Potato
POTATO For potatoes: (4 to 6 oz. per share) Touch POTATO once. Enter number of potatoes by touching number pads from 1 to 4. Touch START/STOP. For the larger potatoes: (8 to 10 oz. per share) Touch POTATO twice. Enter number of potatoes by touching number pads from 1 to 4. Touch START/STOP. -
Page 16: Reheat
For one or two larger frozen dinner: (10-12 oz. per share) Touch FROZEN DINNER twice. For 1 entree or 2 entrees, touch the number pad “1” or “2”: Touch START/STOP. REHEAT For a plate of cool food (11-14 oz.) Touch REHEAT pad. Touch START/STOP. -
Page 17: Cleaning And Care
Turn off the oven and remove the power plug from the wall socket before cleaning. Keep the inside of the oven clean. When food splatters or spilled liquids adhere to oven walls, wipe with a damp cloth. Mild detergent may be used if the oven gets very dirty. Avoid the use of spray and other harsh cleaners as they may stain, streak or dull the door surface. - Page 18 LIMITED TWO-YEAR WARRANTY MICROWAVE THE SELLER NAMED BELOW MAKES THE FOLLOWING WARRANTY WITH RESPECT TO THE DOMETIC PRODUCT: This warranty is made only to the first purchaser (hereinafter referred to as the “Original Purchaser”) who acquires the product for his own use and is installed and operated within the continental United States and Canada.
- Page 19 (90) days after the expiration of the warranty period. Claims must be submitted in writing to the Dometic Warranty Department for arbitration. 11. All products (except those specifically built for commercial use) are warranted only when installed in vehicles built to current edition R.V.I.A.