Table of Contents
Advertisement
Quick Links
Advertisement
Table of Contents

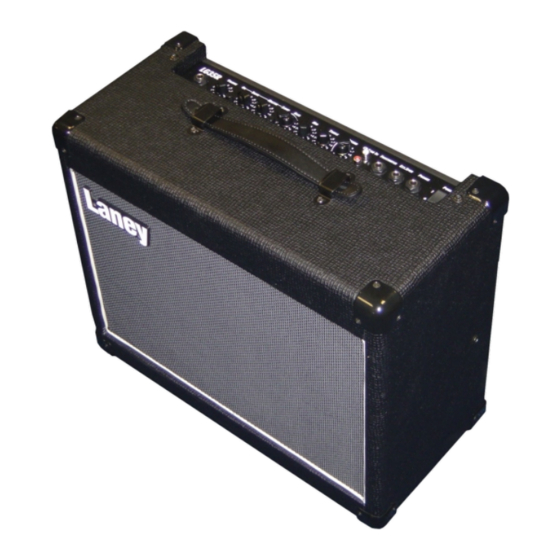
Summary of Contents for Laney LG35R
- Page 2 IMPORTANT SAFETY INSTRUCTIONS WARNING: When using electric products, basic cautions should always be followed, including the following. 1. Read all safety and operating instructions before using this product 2. The product should be powered by a three pin `grounded (or earthed) plug connected to a power socket with a grounded earth outlet. 3.
- Page 3 Page 3 /12...
-
Page 4: Before Switching On
For a description of the function of each control feature, simply check the number with the explanations adjacent to each panel. Your Laney amplifier has undergone a thorough two stage, pre-delivery inspection, involving actual play testing. When you first receive your Laney guitar amplifier, follow these simple procedures: (i) Ensure that the amplifier is the correct voltage for the country it is to be used in. - Page 5 Laney endorsees that includes some of the world’s most famous and respected musicians. At the same time we believe we have not lost sight of the reason Laney was founded in the first place - a dedication to building great sounding amplification for working musicians.
-
Page 6: Front Panel Controls
OPERATING INSTRUCTIONS FRONT PANEL CONTROLS This socket should be used for connecting your instrument to the amplifier. Only use a good quality screened cable. Controls the overall volume level for the clean channel. Switch in to activate the overdrive ‘Crunch’ channel. When active, control the amount of distortion with and the overall volume with When lit, indicates that the drive channel is active. - Page 7 Fancy playing along with a backing track? Connect your CD/MP3 player here. Connect a Laney FS2 footswitch here (not included) to allow remote switching of the drive channel and reverb on/off. Note, that the drive channel must be active (with ) and the reverb level control turned up (with ) for this to work.
-
Page 8: Power Connection
OPERATING INSTRUCTIONS POWER CONNECTION The mains lead protudes from the underside of the chassis for connection to your power source. (Always switch off and unplug the power cord from the wall socket when not in use) Make sure the specified voltage is correct for your country! The correct mains voltage is indicated on the rear panel This drawer contains the main safety fuse for the unit. -
Page 9: Metal Settings
OPERATING INSTRUCTIONS QUICK START SETTINGS - CONTINUED BLUES SETTINGS ROCK SETTINGS METAL SETTINGS Page 9 /12... -
Page 10: Sample System
OPERATING INSTRUCTIONS SAMPLE SYSTEM General Notes Amplifier connection: In order to avoid damage, it is advisable to establish and follow a pattern for turning on and off your equipment. With all system parts connected, turn on source equipment, tape decks, cd players, mixers, effects processors etc. BEFORE turning on your guitar amplifier. -
Page 11: Specifications
OPERATING INSTRUCTIONS SPECIFICATIONS Supply Voltage ~100V, ~120V, ~220V, ~230V, ~240V 50/60Hz Factory Option Mains Fuse ~220V>~240V = T250mA L. ~100V>~120V = T500mA L Power Consumption Output Power Rating Loudspeaker 10” Custom Designed Driver Features TEC - Tube Emulating Circuitry Switchable Scoop preshape (Drive channel) Headphone socket, CD In (10K Input impedance) -
Page 12: Block Diagram
EQ SECTION LOUDSPEAKER EXTERNAL REVERB LOUDSPEAKER SCOOP DRIVE FOOTSWITCH POWER TO THE MUSIC BLUES METAL JAZZ ROCK AMPICONS ARE HERE TO HELP! In the interest of continued product development, Laney Reserves the right to amend product specification without prior notification.


