Advertisement
Quick Links
Advertisement

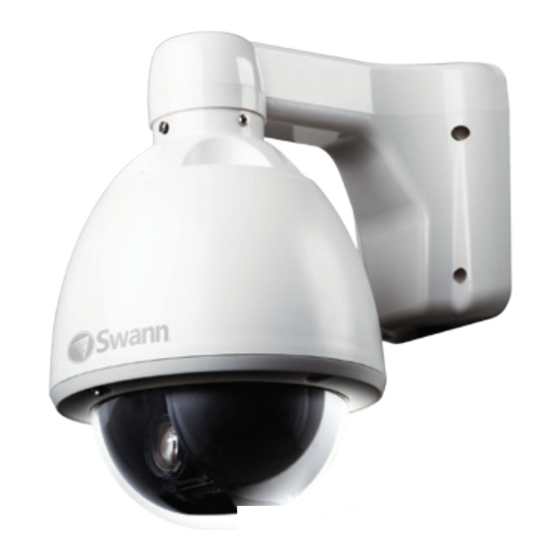
Summary of Contents for Swann Pro-752 Dome
- Page 1 English PRO-752 Dome M752CAM020113E...
-
Page 2: Warranty Information, Verifications & Warnings
Any unit which proves defective during the stated period will be repaired without charge for parts or labor or replaced at the sole discretion of Swann. The end user is responsible for all freight charges incurred to send the product to Swann’s repair centers. The end user is responsible for all shipping costs incurred when shipping from and to any country other than the country of origin. - Page 3 This is not an exhaustive list - since the time of publication we may have released newer DVRs with which this camera is compatible. Check your DVR documentation to learn more. Any Swann DVR with an RS485 port should be compatible with this camera.
- Page 4 Installation Guide Step 1. Connecting the Camera Cable Before mounting the camera, it is important to connect it correctly. Run the cable through the mounting arm or bracket you would like to use. Make sure you run the cable through starting with the camera end (not the end with the BNC connectors - they’re too big to fit).
-
Page 5: How It Works
If you’ve only got one PTZ device, you won’t have to configure the camera at all, although you still can, if you choose to (see the online OSD guide available for free download from www.swann.com/OSD). • If you’ve got multiple PTZ devices, then you’ll need to assign the command address of each to be unique. - Page 6 You can connect the camera to any input on the DVR. For sake of ease, we suggest connecting it to channel 1. These instructions assume you’re using a Swann DVR 3000 or Swann DVR 4000. If you’ve got a different DVR, then the location of the connections may be different, but it works much the same way.
-
Page 7: Connection Diagram
Connection Diagram Connect the BNC output from the camera to the Connect the two wires on the end of the extension extension cable. cable to your DVR’s RS485 plug, and connect to the back of the DVR. Attach the RS485 plug to the wires on the camera’s cable. -
Page 8: Helpdesk / Technical Support Details
Helpdesk / Technical Support Details Swann Technical Support All Countries E-mail: tech@swann.com Telephone Helpdesk USA toll free AUSTRALIA toll free 1-800-627-2799 1300 138 324 (Su, 2pm-10pm US PT) (M 9am-5pm AUS ET) (M-Th, 6am-10pm US PT) (Tu-F 1am-5pm AUS ET)


