
Related Manuals for Sunbeam PE6100 Aviva

Summary of Contents for Sunbeam PE6100 Aviva
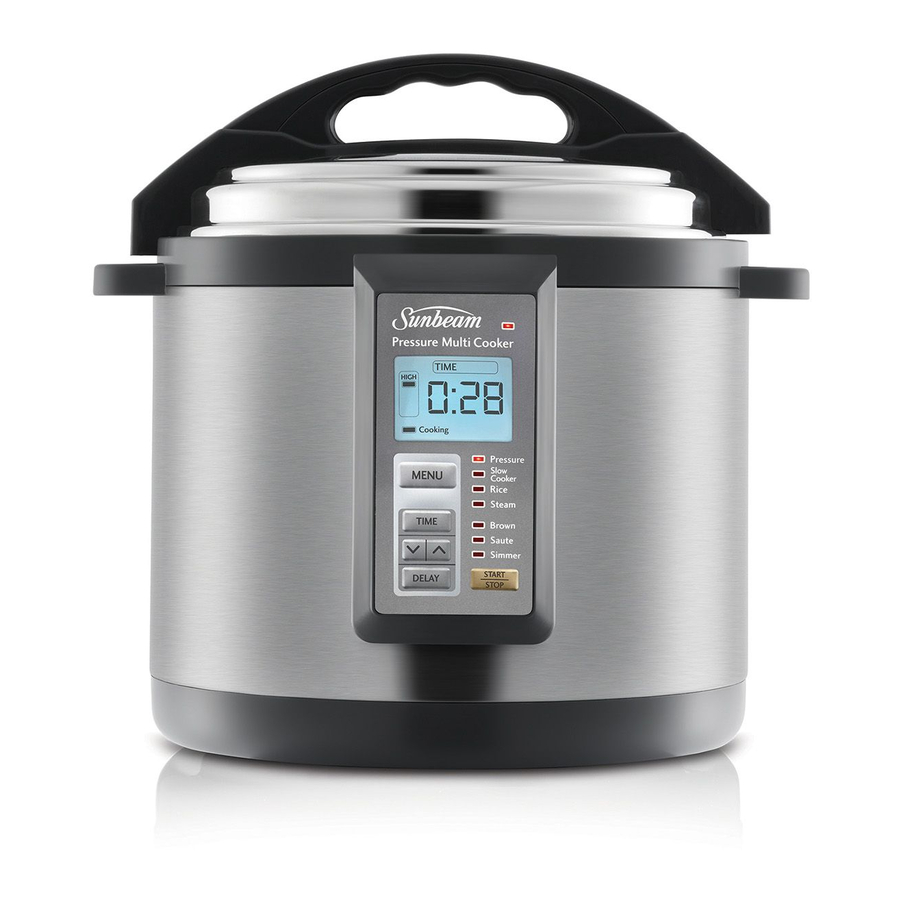
- Page 1 Aviva Pressure Cooker ™ with Slow Cooker, Rice Cooker, Steamer and Frypan functions Instruction/Recipe Booklet PE6100 Please read these instructions carefully and retain for future reference.
-
Page 3: Table Of Contents
Contents Sunbeam’s Safety Precautions Features of your Pressure Cooker The Control Panel Before the first use The Safety Lid Cooking menus overview Cooking menus settings table Cooking Pot markings Using the Pressure Cooker menu Using the Slow Cooker menu Using the Rice menu... -
Page 4: Sunbeam's Safety Precautions
• Never use any lid except the lid provided with cooked in the pressure cooker. your Sunbeam pressure cooker. • Do not immerse the base of the unit in water • Do not use the lid to carry the unit. - Page 5 • Never leave an appliance unattended while in use. If you have any concerns regarding the performance and use of your appliance, please visit www.sunbeam.com.au or contact the Sunbeam Consumer Service Line. Ensure the above safety precautions are understood.
-
Page 6: Features Of Your Pressure Cooker
Features of your Sunbeam PE6100 Pressure Cooker Safety Locking Lid The lid is used for all menus except Frypan. Remove the lid whilst in Frypan (Brown, Sauté, Simmer) menus Condensation Collector Control Panel Marking inside the pan Max PC marketing is for Pressure and Slow Cooker menus. - Page 7 Non-stick Removable Cooking Pan The removable cooking pan is to be used inside the unit for all cooking menus. It is non-stick for easy cleaning. 6L capacity is perfect for a large family. Cool Touch Handles Non-slip feet Keeps the unit secure on the bench top during use and prevents scratching of bench top surfaces.
- Page 8 Features of your Sunbeam PE6100 Pressure Multi Cooker continued Cooking Rack Cooking rack is suitable for steaming Pressure & Steam Release Valve Lid Lock Rod Lid Lock Valve Steam Release Valve Cover Sealing Gasket...
-
Page 9: The Control Panel
The Control Panel The control panel on the Pressure Cooker is designed to ensure easy use and to show the progress of your cooking. Choose from the 7 cooking menus – Pressure Cook, Slow Cook, Rice, Steam and Frypan (Brown, Sauté, Simmer). Choose your cooking menu, set the time and start cooking. - Page 10 The Control Panel continued 5. Start/ Stop button 7. Power Light Press the START button to begin the This light will illuminate when the power is selected cooking menu once all settings switched on. When the unit is not in use, have been chosen.
-
Page 11: Before The First Use
Before the first use 1.Remove all packaging, plastic, paper and 4. Remove the cooking pan and the cardboard from the unit. condensation collector and wash in warm, soapy water. Dry thoroughly before 2.Ensure the power is switched off at the replacing back in the unit. -
Page 12: The Safety Lid
The Safety Lid Releasing Pressure at the End of Cooking The Sunbeam Pressure Cooker has been designed with safety in mind and has various a. Natural Release Method. The unit is switch off safety measures. turned off and left to cool gradually until 1.Pressure will not build if the lid is not shut... -
Page 13: Cooking Menus Overview
Cooking Menus Overview Pressure Cooking Capacity. When the unit is used on the Pressure Cook menu, the maximum capacity Pressure Cooking is an ideal way to create to use is the MAX PC marking on the inside quick, flavoursome and delicious meals. of the cooking pan. - Page 14 Cooking menus overview continued Slow Cooking Rice Cooking Slow Cooking achieves flavour filled meals, When cooking rice, use the ‘Rice’ menu. and tender moist meats cooked to perfection. This is suitable for all types of rice including As the name suggests, meals are not cooked White and Brown rice.
- Page 15 Cooking Menu Settings continued Sauté is a medium temperature and is suitable to sauté onions, and mire poix (mixture of chopped onion, carrot, celery) often used in pressure cooker and slow cooker recipes. Sautéing onions allows caramelisation which contributes to flavour and colour in the end dish.
-
Page 16: Cooking Menus Settings Table
Cooking Menu Settings Table Pressure Slow Cook Rice Steam Frypan Brown Cooking Menu Pressure Cook Slow Cook Rice Steam Sauté Simmer Cooking Temperature Temperature Temperature Pressure Pressure (not Pressure) (not Pressure) Method (not Pressure) Pressure & Steam Valve SEAL RELEASE SEAL SEAL Setting... -
Page 17: Cooking Pot Markings
Cooking Pot markings Note: Except when cooking rice, never load Inside the removable cooking pan are two the cooking pan above the maximum ingredient sets of markings. level line marked MAX PC on the inside of the One side is marked MAX PC which indicates cooking pot. -
Page 18: Using The Pressure Cooker Menu
Using the Pressure Cooker menu Place the Pressure Cooker on a flat, level 8. The Pressure Cooker needs to gain surface. pressure before pressure cooking can commence. When the unit is gaining Plug in the unit. The unit will beep, and pressure, ‘Cooking’... -
Page 19: Using The Slow Cooker Menu
Using the Slow Cooker menu The Slow Cook menu does not cook under 7. Once you have set the desired MENU and pressure, but does need the lid locked cooking TIME settings, press START. to commence cooking. It cooks similar 8. -
Page 20: Using The Rice Menu
Using the Rice menu 7. If the menu is not set to Rice, set the Place the Pressure Cooker on a flat, level surface. cooking menu by scrolling through the MENU button until a light appears next Plug in the unit. The unit will beep, and to Rice on the control panel. - Page 21 Using the Rice menu continued Method (using the finger tab on the pressure release valve). TIP: The Rice Cooking settings are in the Cooking Menu Settings Table on page 13. Note: During cooking, steam will build up in the unit, so when lifting the lid use a kitchen glove or mitt to protect your hand.
-
Page 22: Rice Cooking Charts
Rice Cooking Chart – White Rice The maximum quantity of White Rice is 12 cups. Uncooked Rice Quantity - Fill to Water Indicator Approximate Cooking Time Using Rice Cup (excluding time to gain pressure) 6 minutes 7 minutes 8 minutes 9 minutes 10 minutes 11 minutes... -
Page 23: Types Of Rice
Types of Rice There are three main types of rice: Medium brown – is whole grain that has been hulled but not polished. It has a nutty Short Grain: The grains are short and plump. flavour and is slightly chewy in texture. It can When cooked the grains are soft and sticky be used as an all-rounder. -
Page 24: Using The Steam Menu
Using the Steam menu Place the Pressure Cooker on a flat, level 8. The Pressure Cooker needs to gain surface. temperature before steam cooking can commence. When the unit is gaining Plug in the unit. The unit will beep, and temperature, ‘Cooking’... -
Page 25: Using The Brown, Sauté, Simmer Menus
Using the Brown, Sauté, Simmer menus These 3 Frypan menus do not cook under 3. When the unit is gaining temperature, pressure. They work similar to standard ‘Cooking’ will flash in the LCD screen. frypan cooking, requiring dry heat and When the temperature has been reached, therefore do not need a lid. -
Page 26: How To Use The Time Delay
How to use the Time Delay Example. Time Delay is available on the Pressure Cooker, Slow Cooker, Rice and Steam menus It’s 4pm and you want to have 12 cups only. The Pressure Cooker allows you to delay of white rice cooked and ready in 2 hours the start of your cooking so that cooking time for dinner at 6pm. -
Page 27: Care And Cleaning
Dry all parts thoroughly. Sealing gaskets will need to be replaced every 1 – 2 years depending on regular Cooking Pan use. Contact your nearest Sunbeam Service To remove food that is cooked onto the Centre. bottom of the removable cooking pan, soak the pan in warm water before cleaning. - Page 28 Care and Cleaning continued Pressure and Steam Release Valve Lid Lock Valve Ensure the pressure and steam release valve Gently lift the valve and ensure it is clear is clear from debris before you commence from debris before you commence using the using the unit.
-
Page 29: Hints And Tips
Hints and Tips Liquid With your Pressure Cooker you can create an large variety of delicious meals, snacks and Do not use the pressure cooker without liquid desserts. Various foods take different times as this could severely damage the unit. to cook perfectly, so sometimes it may take a Pressure cooking works by cooking food in little trial and error to get the cooking times... - Page 30 Hints and Tips continued Slow Cooking Roasts • If you are slow cooking, you can use the • You can roast a whole chicken as well as Brown menu first which allows you to sear whole pieces of meat, such as lamb, beef, meat and vegetables at the beginning, but veal and pork by using the Slow Cook also allows you to thicken sauces and make...
- Page 31 Hints and Tips continued Roasting Meat (such as beef, lamb and veal) Stocks • To get the best roasting results, we • You can easily make stocks. Many slow recommend sealing your meat first. Trim cooker recipes use stock as part of the away any excess fat.
- Page 32 Hints and Tips continued Rice Lid and Gasket • Use only the Sunbeam rice measuring • Sealing Gasket. The rubber gasket on cup provided. Rice measuring cups and the inside of your pressure cooker lid standard measuring cups are not the same.
-
Page 33: Trouble Shooting Guide
Trouble Shooting Guides Problem Possible Reason Solution Menu lights on the The program has not Set the MENU, TIME and press START control panel are been set flashing ‘Cooking’ light is The unit is warming up Wait until ‘Cooking’ light stops flashing on the and/or gaining pressure. - Page 34 Trouble Shooting Guides continued Problem Possible Reason Solution Unit not gaining The pressure and steam Check the valve and flick to the ‘Seal’ pressure safety valve is not in position the ‘Seal’ position The sealing gasket Carefully remove the lid, and check may not be correctly the sealing gasket is smoothly in place positioned...
- Page 35 LCD User Screen Display Information Display Reads Problem Solution Sensor malfunction Contact Sunbeam Customer Service on Australia 1300 881 861 New Zealand 0800 786 232 Pressure can not gain Ensure the lid is locked on, and the pressure valve is in the ‘SEAL’ position.
-
Page 36: Recipes
Recipes - Stocks All the recipes have been specifically created and tested by the Sunbeam Test Kitchen for the Aviva Pressure Cooker. We hope you enjoy using your Sunbeam Aviva. Beef Stock Chicken Stock Makes: 2 Litres Makes: 1.5 Litres... - Page 37 Recipes - Side Dishes Legumes Makes: 1.5 Litres Menu: Pressure Cooker 3 cups water 1 cup dried beans 1.Place all ingredients in pan. Secure lid. 2.Press MENU and select PRESSURE HIGH. Press TIME and set desired time. Make sure the steam vent is closed.
- Page 38 Recipes - Side Dishes continued Hummus Makes: 5 cups Menu: Pressure Cooker 6 cups water 2 cups or 375g dried chickpeas 1 cup olive oil 3 cloves garlic, peeled ¼ cup tahini ½ cup water Juice of 2 lemons 1 tablespoon good quality soy sauce Salt and freshly ground black pepper, to taste 1.Place chickpeas and water in the pan.
- Page 39 Recipes - Main Meals Char Sui Pork Chili Con Carne Serves: 6 Serves: 8 - 10 Menu: Pressure Cooker Menu: Pressure Cooker ¼ cup hoisin sauce 1 tablespoon vegetable oil ¼ cup honey 2kg gravy beef ¼ cup tomato ketchup 1 tablespoon olive oil ¼...
- Page 40 Recipes - Main Meals continued Chicken Provençal 5.Press MENU and select PRESSURE HIGH. Press TIME and set for 45 minutes. Serves: 6 Make sure the steam vent is closed. Press Menu: Pressure Cooker START. 1 tablespoon olive oil 6.Once cooking is completed, and the 2 cloves garlic, crushed pressure has released, set aside to cool.
- Page 41 Recipes - Main Meals continued Pulled Pork Burgers Duck Ragu Serves: 4 - 6 Serves: 4 - 6 Menu: Pressure Cooker Menu: Pressure Cooker 2 long red chilli’s 1 tablespoons butter 2 cloves garlic 500g duck breasts, skin on, deboned 2 cm piece ginger, peeled 100g bacon, chopped 1 tablespoon coriander seeds...
- Page 42 Recipes - Main Meals continued 7.Once cooking is completed, and the oregano, parmesan and paprika. Season pressure has released, set aside to cool. with salt and pepper. Stuff each squid tube with equal amounts of crumb mixture. 8.Season to taste with salt and pepper. Serve Secure ends with a toothpick.
- Page 43 Recipes - Main Meals continued Massaman Curry 6.Once cooking has completed, and the pressure has released, season to taste with Serves: 6 to 8 salt and pepper. Serve with rice. Menu: Pressure Cooker 2 tablespoons vegetable oil Lamb Tagine 1kg beef chuck steak Serves: 6 to 8 1 ½...
- Page 44 Recipes - Main Meals continued onions cooking for 4-5 minutes or until Lamb Shanks with Lemon and Dill tender. Add remaining ingredients into the Serves: 4 pan. Press STOP. Secure the lid. Menu: Slow Cooker 5.Press MENU and select SLOW COOK 4 lamb shanks HIGH.
- Page 45 Recipes - Main Meals continued Beef Bolognese Coq au Vin Serves: 4 - 6 Serves: 4 - 6 Menu: Slow Cooker Menu: Slow Cooker ½ cup olive oil 1 leek, halved 3 onions, chopped 5 sprigs fresh flat-leaf parsley 2 carrots, peeled, chopped 3 sprigs fresh thyme 2 stalks celery, chopped 1 bay leaf...
- Page 46 Recipes - Main Meals continued minutes or until tender. Thai Pumpkin Soup Serves: 4 - 6 5.Stir through flour and tomato paste. Add remaining ingredients into the pan. Press Menu: Slow Cooker STOP. Secure the lid. 20g butter 6.Press MENU and select SLOW COOK 2 onions, chopped HIGH.
- Page 47 Recipes - Main Meals continued Express Paella Mushroom and Gorgonzola Risotto Serves: 6 - 8 Serves: 6 - 8 Menu: Rice Cooker Menu: Rice Cooker 2 tablespoons olive oil 2 tablespoons olive oil 500g chorizo, sliced 2 cloves garlic, crushed 3 cloves garlic, crushed 2 onions, chopped 1 onion, chopped...
- Page 48 Recipes - Main Meals continued Basil and Lemon Risotto Classic Risotto Serves: 6 Serves: 6 Menu: Rice Cooker Menu: Rice Cooker 30g butter Pinch saffron threads 1 clove garlic, crushed 30g butter 1 onion, chopped 2 onions, finely chopped 3 ½ cups Arborio rice 2 cloves garlic, crushed ½...
- Page 49 Recipes - Main Meals continued Spanish Rice Steamed Ricotta Stuffed Zucchinis Serves: 6 Serves: 6 Menu: Rice Cooker Menu: Steamer 2 tablespoons olive oil ¼ cup olive oil 2 red onions, sliced 3 cloves garlic, crushed 2 cloves garlic, crushed 1 onion, finely chopped 2 long red chillies, sliced 2 cups ricotta cheese...
- Page 50 Recipes - Main Meals continued 7.Once cooking has completed and the Asian Steamed Chicken pressure is released, carefully remove Serves: 4 zucchinis and repeat with remaining Menu: Steamer zucchinis. Serve hot or cold. 2 long green onions, sliced 2 cloves garlic, crushed Herbed Salmon Parcels 2 tablespoons lime juice Serves: 4...
- Page 51 Recipes - Desserts Red Wine Poached Pears Chocolate Orange Rice Pudding Serves: 6 Serves: 8 Menu: Pressure Cooker Menu: Pressure Cooker 6 bosc pears, peeled, core removed 4 cups milk 2 cardamom pods, crushed 2 cups Arborio rice 2 cloves 1 cup caster sugar 1 cinnamon stick 2 cups thickened cream...
- Page 52 Recipes - Desserts continued Butterscotch Steamed Pudding MENU and select SIMMER. Stir constantly for 5 minutes or until all sugar has Serves: 8 dissolved and sauce has thickened. Serve Menu: Steamer hot sauce over steamed pudding. 175g butter, room temperature 175g brown sugar Steamed Chocolate Puddings 1 teaspoon vanilla essence...
- Page 53 Recipes - Desserts continued the steam vent is closed. Press START. 4.Beat the eggs and sugar on medium speed of an electric mixer until light and fluffy. 7.Once cooking has completed and the pressure is released, allow puddings to 5.Fold the dry ingredients through the egg cool for 5 minutes before removing from mixture and then mix through the orange ramekins.
- Page 54 Notes...
- Page 55 You are also Alternatively, you can send a written claim entitled to have the goods repaired or to Sunbeam at the address listed below. replaced if the goods fail to be of acceptable On receipt of your claim, Sunbeam will...
- Page 56 Sunbeam Corporation Limited 2012. ABN 45 000 006 771 Units 5 & 6, 13 Lord Street Botany NSW 2019 Australia Unit 3, Building D 26 Vestey Drive Mt Wellington Auckland New Zealand Sunbeam Corporation is a division of GUD Holdings Ltd. 3/13...