Table of Contents
Advertisement
Advertisement
Table of Contents

Summary of Contents for GMC BD1500
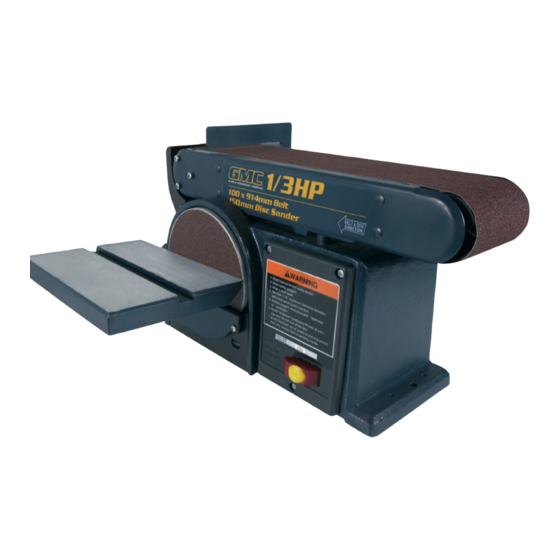
- Page 1 1/3 HP BELT/DISC SANDER BD1500 INSTRUCTION MANUAL...
-
Page 2: Table Of Contents
General safety rules Additional safety rules for belt & disc sanders Unpacking Accessories Know your product Getting to know your belt and disc sander Mounting belt and disc sander to workbench Installing sanding disc and guard Installing work support Installing table assembly... -
Page 3: Introduction
Introduction Your new GMC power tool will more than satisfy your expectations. It has been manufactured under stringent GMC Quality Standards to meet superior performance criteria. You will find your new tool easy and safe to operate, and, with proper care, it will give you many years of dependable service. -
Page 4: General Safety Rules
General safety rules WARNING. Read all instructions. Failure to follow all instructions listed below may result in electric shock, fire and/ or serious injury. The term “power tool” in all of the warnings listed below refers to your mains operated (corded) power tool or battery operated (cordless) power tool. -
Page 5: Additional Safety Rules For Belt & Disc Sanders
• Always unplug the sander before moving it. Properly • Put the sander on a firm level surface where there is plenty of room for handling and properly supporting the workpiece. • Support the sander so it does not rock. -
Page 6: Unpacking
• Never use another person as a substitute for a table extension, or as additional support for a workpiece that is longer or wider than the basic sander table, or to help feed, support or pull the workpiece. • When finishing on the disc always press the workpiece against the “down”... -
Page 7: Accessories
Accessories The Belt & Disc sander is supplied with the following parts: 1. Work table 2. Table support 3. Mitre gauge 4. Sanding disc 5. Disc guard 6. Work support 7. Table lock knob 8. Washers (6.5 x 17.8 x 1.6) x5 9. -
Page 8: Know Your Product
Know your product 1. On/off switch 2. Base 3. Mounting holes (x2) 4. Work table 5. Table lock knob 6. Disc guard 7. Sanding disc 8. Sanding plate 9. Work support 10. Work support hex screw 11. Sanding belt 12. Belt bed 13. -
Page 9: Getting To Know Your Belt And Disc Sander
Mounting belt and disc sander to workbench If belt and disc sander is to be used in a permanent location, it should be fastened securely to a firm supporting surface such as a workbench. -
Page 10: Installing Table Assembly
3. Loosen the belt bed locking screw (15) and raise the belt sander bed (12) to the vertical position. Retighten the locking screw (15). 4. Attach work table assembly (4) to auxiliary holes in belt bed. -
Page 11: Installing The Sanding Belt - Tensioning And Tracking
Installing the sanding belt – tensioning and tracking WARNING: To avoid injury from accidental start, turn switch ‘OFF’, remove key and remove plug from power source outlet, before removing or installing belt. On the smooth side of the sanding belt, you will find a ‘directional arrow’. -
Page 12: Positioning Belt Bed
Positioning belt bed The belt bed locking hex screw locks the belt bed (12) in a vertical or horizontal position. To adjust vertical position: 1. Remove work support (9) 2. Loosen the hex head locking screw (15) using a 6 mm hex wrench. -
Page 13: Sanding Small End Surfaces On The Sanding Disc
Sanding small end surfaces on the sanding disc 1. Use of the mitre gauge is recommended for this operation. 2. Rest the workpiece against the edge of the mitre gauge. 3. Always move the work across the left hand side of the sanding disc. - Page 16 GMC customer assist If your product needs repairing, replacing, technical service or you simply need help or advice, please contact us on our Customer Assist Line 1300 880 001 (Australia) or 0800 445 721 (New Zealand). For prompt service we suggest you log your service request online at www.gmcservice.com.au.


