Table of Contents
Advertisement
Quick Links
Advertisement
Table of Contents

Related Manuals for Zotac ZBOX Giga ID72 Plus


Summary of Contents for Zotac ZBOX Giga ID72 Plus
- Page 2 ZOTAC. Products and corporate names mentioned in this manual may not be reg- istered trademarks or copyrights of their respective companies, and are used for identification purposes only.
-
Page 3: Table Of Contents
Setting up your system ----------------------------------------------------------------------- 4 Care during use -------------------------------------------------------------------------------- 4 Welcome --------------------------------------------------------------------------------------------- 5 Package contents ------------------------------------------------------------------------------ 5 Getting to know your ZOTAC ZBOX Giga ------------------------------------------------- 6 Front view ---------------------------------------------------------------------------------------- 6 Rear view----------------------------------------------------------------------------------------- 7 Setting up the ZOTAC ZBOX Giga ----------------------------------------------------------- 9... -
Page 4: Product Specifications
ZOTAC ZBOX Giga Product specifications Chipset • Intel ® H61 Chipset Product Dimensions • 210mm x 210mm x 67.5mm Microprocessor support • Intel ® Core i3-2100T (3M Cache, 2.50 GHz) Onboard graphics • Integrated Intel ® HD Graphics 2000 • DX10.1 and OpenGL 3.0 are supported •... -
Page 5: Safety Information
ZOTAC ZBOX Giga Safety information Your ZOTAC ZBOX is designed and tested to meet the latest standards of safety for infor- mation technology equipment. However, to ensure your safety, it is important that you read the following safety instructions. Setting up your system Read and follow all instructions in the documentation before you operate your system. -
Page 6: Welcome
Welcome Congratulations on your purchase of the ZOTAC ZBOX Giga mini-PC. The following illustration displays the package contents of your new ZOTAC ZBOX Giga. Please contact your retailer If any of the below items are damaged or missed. Package contents •... -
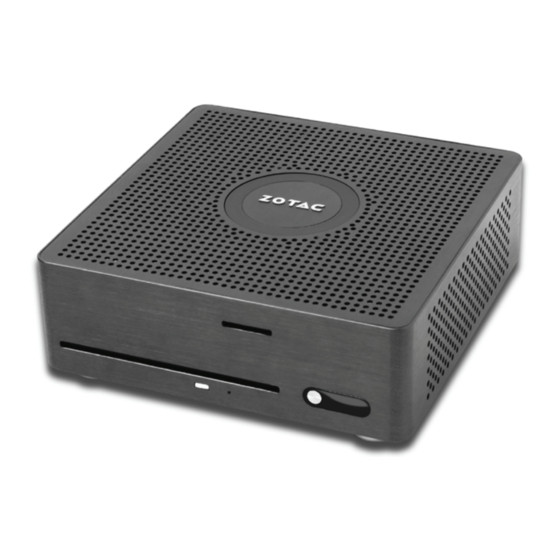
Page 7: Getting To Know Your Zotac Zbox Giga
ZOTAC ZBOX Giga Getting to know your ZOTAC ZBOX Giga Front view Refer to the diagram below to identify the components on this side of the system 1. Optical drive The optical drive is a slot-in type drive which supports compact discs (CD), and digital video discs (DVD). -
Page 8: Rear View
ZOTAC ZBOX Giga Rear view Refer to the diagram below to identify the components on this side of the system. 1. PS2 Keyboard/Mouse port The PS2 port is compatible with PS2 keyboard and PS2 mouse. 2. USB 3.0 ports The USB 3.0 ports support the SuperSpeed USB 3.0 devices and are backwards compatible with USB 2.0/1.1 devices. - Page 9 ZOTAC ZBOX Giga 8. eSATA port The external SATA port is compatible with e.SATA devices such as external hard drives and Blu-ray drives. 9. Ethernet port The eight-pin RJ-45 LAN port supports standard Ethernet cable for connection to a local area network (LAN) with speeds of 10/100/1000Mbps.
-
Page 10: Setting Up The Zotac Zbox Giga
ZOTAC ZBOX Giga Setting up the ZOTAC ZBOX Giga Please connect the peripherals before using the ZOTAC ZBOX Giga. 1. Connecting to PS2 Keyboard/Mouse Connect a PS2 keyboard or PS2 mouse to the PS2 Keyboard/Mouse connector. 2. Connecting a DisplayPort display Connect the DisplayPort connector to the DP port. - Page 11 Connect a digital audio device via optical S/PDIF output. 13. Connecting to a Kensington safety lock Connect Kensington Safety Lock to ZBOX Giga and lock. Note: When your ZOTAC ZBOX Giga is not in use, unplug the power adapter or switch off the AC outlet to conserve power.
-
Page 12: Ir Receiver
Enjoy more of your favorite entertainment by MCE (Media Center Edition) remote controller with USB IR receiver. External USB IR receiver Remote control ZOTAC ZBOX Giga is shipped with a remote control. Follow the instructions below to use the remote control. Function keys Navigation Buttons Playback Buttons ... -
Page 13: Lithium Cell Installation
ZOTAC ZBOX Giga Lithium cell installation 1. Locate the arrow on the rear cover of the remote control, and push the cover as the arrow direction. 2. Remove the rear cover, and insert the CR2032 lithium cells into the battery jar at a 45 degree angle. -
Page 14: Installing Drivers And Software
Install system drivers to gain full functionality of the ZOTAC ZBOX Giga hardware and features. Installing system drivers Before you can use the full features of the ZOTAC ZBOX Giga, the system drivers must be installed. The following types of operating systems are supported by the ZOTAC ZBOX Giga driver DVD: •... -
Page 15: Using Your Zotac Zbox Giga
• Intel Management Engine • Azurewave WIFI driver • Card reader Driver Note: Each driver must be installed individually to ensure proper operation of the ZOTAC ZBOX Giga. Select the driver you want to install. The driver installer should launch. -
Page 16: Using A Dynamic Ip (Pppoe Connection)
Note: Contact your internet Service Provider (ISP) if you have problems connecting to the network. Configuring audio output via an HDMI device Follow the steps below to enable audio output via HDMI when connecting the ZOTAC ZBOX to a TV or receiver via HDMI. Access the Sound settings via the system Control Panel. - Page 17 ZOTAC ZBOX Giga 291-MA171-03...