
Related Manuals for Electrolux ESL6350LO


Summary of Contents for Electrolux ESL6350LO
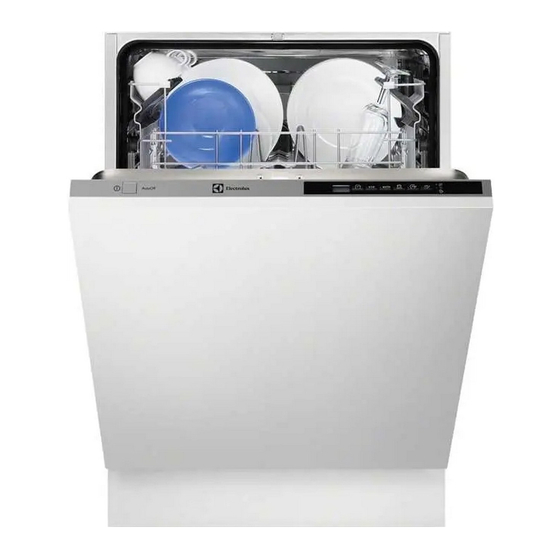
- Page 1 ..................... ESL6350LO EN DISHWASHER USER MANUAL...
-
Page 2: Table Of Contents
11. TECHNICAL INFORMATION ..........16 WE’RE THINKING OF YOU Thank you for purchasing an Electrolux appliance. You’ve chosen a product that brings with it decades of professional experience and innovation. Ingenious and stylish, it has been designed with you in mind. -
Page 3: Safety Instructions
ENGLISH SAFETY INSTRUCTIONS Before the installation and use of the ap- • Always use a correctly installed shock- pliance, carefully read the supplied in- proof socket. structions. The manufacturer is not re- • Do not use multi-plug adapters and ex- sponsible if an incorrect installation and tension cables. - Page 4 • Do not drink and play with the water in 1.3 Use the appliance. • This appliance is intended to be used in • Do not remove the dishes from the ap- household and similar applications such pliance until the programme is comple- ted.
-
Page 5: Product Description
ENGLISH 2. PRODUCT DESCRIPTION Upper spray arm Upper basket Lower spray arm 2.1 Light beam Filters Rating plate • When a programme starts to operate, a red light beam shows on the floor be- Salt container low the appliance door. When the pro- Water hardness dial gramme is completed the light beam Rinse aid dispenser... -
Page 6: Programmes
Indicators Description Salt indicator. It is always off while the programme operates. Rinse aid indicator. It is always off while the programme operates. Multitab indicator. 4. PROGRAMMES Pro- Degree of Programme Dura- Energy Water soil phases tion (kWh) gramme... -
Page 7: Options
ENGLISH Information for test institutes For all the necessary information for test performance. send an email to: info.test@dishwasher-production.com Write down the product number (PNC) that is on the rating plate. 5. OPTIONS Activate or deactivate the Multitab adjustment of the level of the water soft- option before the start of a pro- ener occurs. -
Page 8: Before First Use
6. BEFORE FIRST USE 1. Make sure that the set level of the wa- 5. Processing residues can stay in the ter softener agrees with the water appliance. Start a programme to re- hardness in your area. If not, adjust move them. -
Page 9: Electronic Adjustment
ENGLISH • Electronic adjustment indicator continues to flash. 1. Press the on/off button to activate the appliance. • The acoustic signals operate. E.g. five intermittent acoustic signals = 2. Do the Reset function. level 5. 3. Press and hold, at the same time, •... -
Page 10: Daily Use
10 www.electrolux.com 6.3 Filling the rinse aid dispenser Press the release button (D) to open the lid (C). Fill the rinse aid dispenser (A), no more than the mark 'max'. Remove the spilled rinse aid with an absorbent cloth to prevent too much foam. - Page 11 ENGLISH 7.1 Using the detergent Press the release button (B) to open the lid (C). Put the detergent in the compartment (A) . If the programme has a prewash phase, put a small quantity of deter- gent in the compartment (D). If you use detergent tablets, put the tablet in the compartment (A).
-
Page 12: Hints And Tips
12 www.electrolux.com Cancelling the programme Press again and again until the display shows the delay time you want Do the Reset function. to set (from 1 to 24 hours). Make sure that there is detergent • The display shows intermittently the... -
Page 13: Care And Cleaning
ENGLISH instructions on the detergent • Put the small items in the cutlery bas- packaging. ket. • Put the light items in the upper basket. 8.3 Loading the baskets Make sure that they do not move. • Make sure that the spray arms can Refer to the supplied leaflet with move freely before you start a pro- examples of the load of the bas-... -
Page 14: Troubleshooting
14 www.electrolux.com To disassemble the filter (A), pull apart (A1) and (A2). Remove the filter (B). Wash the filters with water. Before you put the filter (B) back, make sure that there are no residues of food or soil in or around the edge of the sump. - Page 15 ENGLISH Problem Possible solution If the delay start is set, cancel the setting or wait for the end of the countdown. The appliance does not fill with Make sure that the water tap is open. water. Make sure that the pressure of the water sup- ply is not too low.
-
Page 16: Technical Information
16 www.electrolux.com • The display shows the current set- 6. Press the on/off button to deactivate ting. the appliance and to confirm the set- ting. Rinse aid dispenser off. 7. Adjust the released quantity of rinse aid. Rinse aid dispenser on. - Page 17 ENGLISH...
- Page 18 18 www.electrolux.com...
- Page 19 ENGLISH...
- Page 20 www.electrolux.com/shop...