Table of Contents
Advertisement
Advertisement
Table of Contents
Troubleshooting

Related Manuals for DeLonghi ESAM 4200


Summary of Contents for DeLonghi ESAM 4200
- Page 1 5713210811/ 07.08...
- Page 2 BEAN TO CUP ESPRESSO AND CAPPUCCINO MACHINE ESAM4200...
-
Page 7: Table Of Contents
INDEX Measuring water hardness.......15 Setting water hardness ......15 INTRODUCTION........7 DISPLAYED MESSAGES ....16 Instructions ..........7 Meaning of the normal operation indicator Symbols used in these instructions ...7 lights ............16 Letters in brackets........7 Meaning of the alarm indicator lights and Troubleshooting and repairs ......7 what to do when they are on....16 SAFETY..........7 TROUBLESHOOTING ......18... -
Page 8: Introduction
INTRODUCTION Troubleshooting and repairs In the event of problems, first try and resolve Thank you for choosing the ESAM 4200 Bean to them by following the information given in the Cup espresso and cappuccino machine. section "Meaning of the normal operation indica- We hope you enjoy using your new appliance. -
Page 9: Designated Use
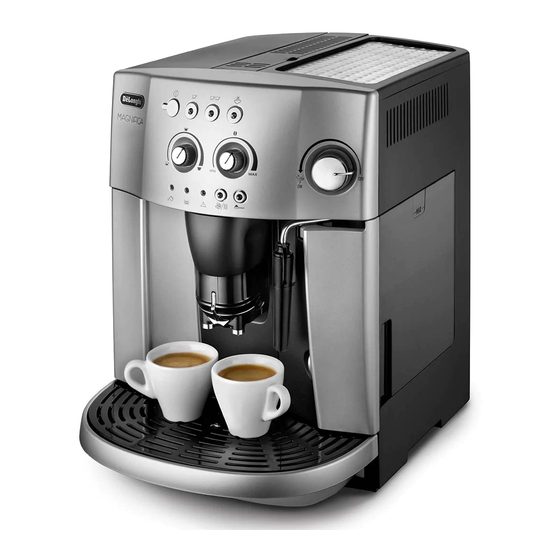
Important: Risk of burns! This appliance DESCRIPTION produces hot water, and steam may form while it is in operation. Description of the appliance Avoid contact with splashes of water or hot (see page 3 for diagram) steam. A. Cup warmer tray When the appliance is in operation, please be B. -
Page 10: Before Use
BEFORE USE Filling the container with coffee beans Checking after transport After removing the packaging, make sure the pro- duct is complete and undamaged and that all • Coffee has been used to factory test the accessories are present. appliance and it is therefore completely nor- Do not use the appliance if it is visibly damaged. -
Page 11: Preparing The Coffee (Using Coffee Beans)
normal operation indicator lights”). 6) After a few seconds, when both the green A few moments before the lights stop flashing indicator lights are on again, ano- the machine automatically performs a rinse ther coffee can be made. cycle: a little hot water will come out of the 7) To switch the machine off, press the but- delivery spouts and will be collected in the... -
Page 12: Regulating The Coffee Mill
4) While the machine is making the coffee, the remove the water tank. If it is removed, the delivery can be stopped at any time by pres- machine will not be able to make the coffee sing the button (Fig. 12) or button and the "no water"... -
Page 13: Hot Water
• Move the milk frother (D) towards the outside (Fig. 3). Important! • Prepare the espresso coffee as described in • Never add pre-ground coffee when the machi- the previous paragraph, using sufficiently ne is off or it could spread through the inside large cups. -
Page 14: Cleaning And Maintenance
• The milk frother must always be cleaned Emptying the drip tray after use. Proceed as follows: • Release a little steam for a few seconds by Important! If the drip tray is not emptied turning the steam knob anticlockwise until it regularly, the water could overflow from the edge stops (Fig. -
Page 15: Cleaning The Spouts
2. Try removing the toughest coffee encrusta- Important! Do not use washing up liquid to tions with a toothpick or a stiff brush. clean the infuser (M). The detergent would remo- If this is not sufficient, soften the encrusta- ve the lubricant applied to the inside of the piston, tions by soaking the grounds container in causing the infuser to seize up and become unu- warm soapy water for a few minutes. -
Page 16: Setting Water Hardness
descaler pack and the warnings relating to the pro- • When the tank is empty, the light goes cedure to follow in the event of contact with the skin off and the light comes on. and eyes. • Turn the steam knob all the way clockwise (Fig. -
Page 17: Displayed Messages
DISPLAYED MESSAGES Meaning of the normal operation indicator lights LIGHT DESCRIPTION MEANING The machine is not ready to make coffee (the ideal indicator water temperature has not yet been reached). Wait for lights flash the indicator lights to come on steady before making the coffee. - Page 18 LIGHTS MEANING DESCRIPTION ACTION The ground coffee has not been pou- Add the ground coffee. light flashes red into the funnel with the function selected. Fill the container with beans. No more coffee beans If the coffee grinder is very noisy, it means Contact an authorised Dè...
-
Page 19: Troubleshooting
TROUBLESHOOTING Below is a list of some of the possible malfunctions. If the problem cannot be resolved as described, contact a Technical Assistance centre. PROBLEM POSSIBLE CAUSE REMEDY The coffee is not hot • The cups have not been • Heat the cups by rinsing preheated. - Page 20 PROBLEM POSSIBLE CAUSE REMEDY The coffee does not come out • The spouts are blocked. • If necessary, remove coffee of one of the spouts. deposits with a toothpick (fig. 28), sponge or stiff bristled kitchen brush. The coffee does not come out •...
-
Page 21: Service And Customer Care
TECHNICAL SPECIFICATION DISPOSAL Important information for correct disposal Voltage: 220-240 V~ 50/60 Hz max. 10A of the product in accordance with EC Absorbed power: 1350W Directive 2002/96/EC. Pressure: 15 bar At the end of its working life, the product must not be disposed of as urban waste. It must The appliance complies with the following be taken to a special local authority differentiated EC directives:...