Table of Contents
Advertisement
IMPORTANT SAFETY INFORMATION: Always read this manual first
before attempting to install or use this fireplace. For your safety, always
comply with all warnings and safety instructions contained in this manual
to prevent personal injury or property damage.
To view the full line of Dimplex products, please visit
www.dimplex.com
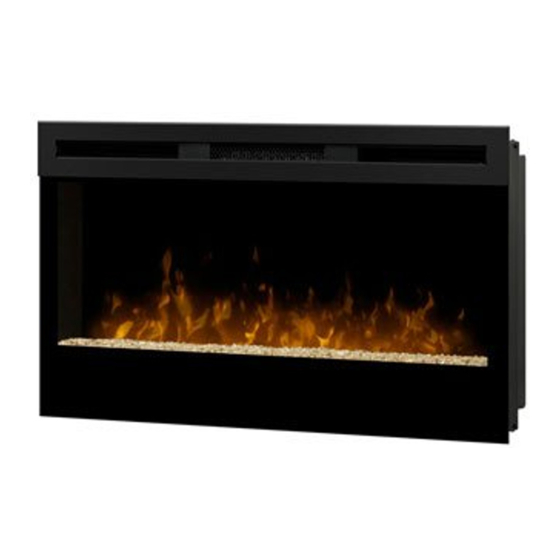
Owner's Manual
Model
BLF34
7212800100R00
Advertisement
Table of Contents

Related Manuals for Dimplex BLF34


Summary of Contents for Dimplex BLF34
- Page 1 For your safety, always comply with all warnings and safety instructions contained in this manual to prevent personal injury or property damage. To view the full line of Dimplex products, please visit www.dimplex.com 7212800100R00...
-
Page 2: Table Of Contents
CAUTION: Procedures and tech- niques which, if not carefully followed, will result in damage to the equip- ment. WARNING: Procedures and techniques which, if not carefully followed, will expose the user to the risk of fire, serious injury, or death. www.dimplex.com... -
Page 3: Welcome & Congratulations
Welcome & Congratulations Thank you and congratulations for choosing to purchase an electric fireplace from Dimplex, the world leader in electric fireplaces. Please carefully read and save these instructions. CAUTION: Read all instructions and warnings carefully before starting installation. Failure to follow these instructions may result in a possible electric shock, fire hazard and will void the warranty. -
Page 4: Important Instructions
② or a qualified person in order to This fireplace is hot when in avoid a hazard. Contact Dimplex use. To avoid burns, do not let Technical Service for obtaining a bare skin touch hot surfaces. -
Page 5: Save These Instructions
IMPORTANT INSTRUCTIONS or exhaust opening as this may electrician to install the proper cause an electric shock or fire, or outlet. Do not change the plug in damage to the heater. any way. Always plug heaters di- rectly into a wall outlet/receptacle. ⑭... - Page 6 · Consult the dealer or an experienced radio/TV technician for help. Operation is subject to the following two conditions: (1) this device may not cause interference and (2) this device must accept any interference, including interference that may cause undesired operation of the device. www.dimplex.com...
-
Page 7: Quick Reference Guide
Quick Reference Guide Figure 1 ① The electrical information regarding your electric fireplace can 6.8 in. (172 mm) be found on the rating label located 3.8 in. on the front of the unit, behind the (95 mm) glass. Before installation, please record your fireplace's serial number below for future reference. -
Page 8: Fireplace Installation
3. Remove fireplace, front glass fuse blows on a regular basis and hardware from the box when the heater is operating. Ad- and remove all packaging ma- ditional appliances on the same terials before installation. www.dimplex.com... -
Page 9: Wiring
Fireplace Installation Wiring 120V~ 60Hz 4. Store the fireplace in a safe, Figure 2 dry and dust free location until you are ready to install the fireplace. Hardwire Installation The fireplace is provided with a two prong polarized plug installed for plug-in convenience. - Page 10 7. Connect the black wire (L) from the unit to the live wire from the power supply using one of the wire connectors removed in step 4. 8. Connect the white wire (N) from the unit to the neutral www.dimplex.com...
-
Page 11: Surface Mount Installation
Fireplace Installation Surface Mount Installation wire from the power supply us- ing the second wire connector CAUTION: Two people may from step 4. be required for various steps 9. Attach the grounding wire to of this procedure. the cover with the provided 1. - Page 12 1½ in. installation procedures. (3.8 cm) mounting screws and washers into the wall and/or wall anchors. 7. Install the bottom support Figure 8 bracket to the wall centered Figure 7 Mounting holes Mounting hole 2 x 4 Framing www.dimplex.com...
-
Page 13: Partial Recessed Installation - 2X4 Framing
Fireplace Installation Partial Recessed Installation opening of 30 ½ in. (77.5 cm) - 2x4 Framing wide x 16 ½ in. (42 cm) high (Figure 7). CAUTION: Two people may NOTE: The sizing has allowed be required for various steps for ¼ in. (6.4 mm) around the of this procedure. -
Page 14: Flush Mounted Installation - 2X8 Framing
NOTE: The sizing has allowed for ¼ in. (6.4 mm) around the 3. Lift fireplace and insert into fireplace insert for ease of instal- opening. The fireplace's lation. This fireplace does not mounting trim should be flush require any additional venting. www.dimplex.com... -
Page 15: Front Glass Installation
Fireplace Installation Front Glass Installation against the wall (Figure 9). 4. Use the supplied bubble level 1. Evenly distribute supplied to level the fireplace within the glass rock on the front tray of framing, adjust as required. the fireplace (Figure 11). 5. -
Page 16: Operation
“ MANU- a slight, harmless odor when first AL ”; “ OFF ”; and “ REMOTE ”. used. This odor is a normal condi- In “ MANUAL ” mode, the fire- tion caused by initial heating of www.dimplex.com... -
Page 17: Remote Control
CAUTION: If you need to from between the remote cas- continuously reset the heater, ing and battery cover (Figure disconnect power and call 14). Dimplex customer service at Remote Control Initialization/ 1-888-DIMPLEX Reprogramming (1-888-346-7539). If the remote control or remote... - Page 18 The level is increased every time the ON button is pressed on the remote control and the fireplace can be turned off at any point by pressing the OFF button. www.dimplex.com...
-
Page 19: Maintenance
Accessories Contact your local authorized Dimplex dealer for these and other available accessories for your electric fireplace. Wall Switch Remote Control (WRCPF-KIT) Wall mounted remote for flame On/Off and thermostat control. -
Page 20: Warranty
(mantels) and trims, covered by this product. limited warranty have been tested and What Dimplex will do in the event of a inspected prior to shipment and, subject defect to the provisions of this warranty, Dimplex... - Page 21 Warranty repair or replace such defective product placement product or part) including, or part without charge. If Dimplex is un- without limitation, all shipping costs and able to repair or replace such product transportation costs to and from the or part, or if repair or replacement is authorized dealer’s or service agent’s...
-
Page 22: Replacement Parts
Mounting Kit........9600770100RP Dimplex North America Limited 1367 Industrial Road Cambridge ON Canada N1R 7G8 © 2013 Dimplex North America Limited www.dimplex.com...