
Related Manuals for Motorola L701


Summary of Contents for Motorola L701
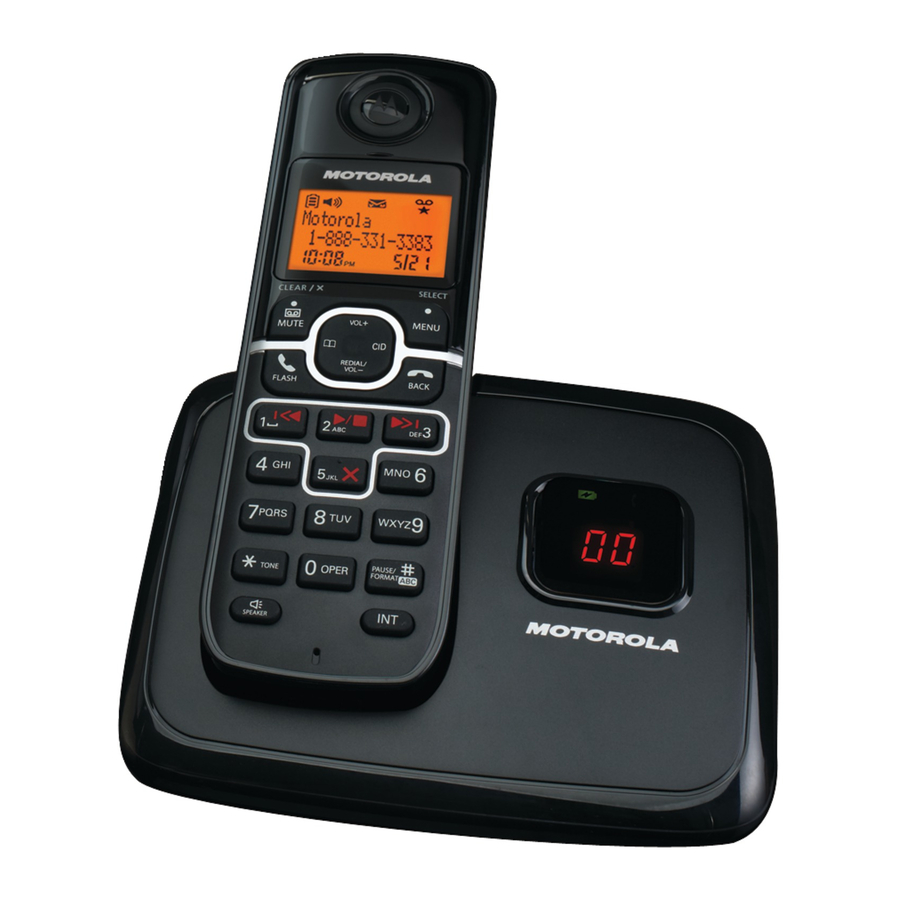
- Page 1 User’s Guide L701 / L702 / L703 / L704 / L705 L701M / L702M / L703M / L704M / L705M DECT 6.0 Digital Cordless Phone with Answering machine Warning Use only the adapter and telephone line cord provided in the box.
- Page 2 Motorola Phone! Please retain your original dated sales receipt for your records. For warranty service of your Motorola product, you will need to provide a copy of your dated sales receipt to confirm warranty status. Registration is not required for warranty coverage.
- Page 3 This User's Guide provides you with all the information you need to get the most from your phone. Before you make your first call you will need to set up your phone. Follow the simple instructions in 'Getting Started', on the next few pages.
-
Page 4: Table Of Contents
1. Getting started ..........6 3.12 Caller ID ............16 3.12.1 Calls List ..........16 1.1 Connecting the base........... 7 3.12.2 Viewing the calls list .......17 1.2 Installing and charging the handset battery pack... 7 3.12.3 Saving a number from the calls list to 1.3 Assembling the rubber band of cordless handset the phonebook ........17 (Not applicable for L70xM models)..... - Page 5 3.21.1 Playing messages .........22 3.21.2 Turning on or off the answering machine ..........23 3.21.3 Setting the announcement mode ...23 3.21.4 Setting the number of rings ....23 3.21.5 Announcement ........24 3.21.6 Recording a memo ........24 3.21.7 Call screening on/off ......25 3.21.8 Deleting all old messages ......25 3.21.9 Remote access ........25 3.21.10Setting the security code .......26 4.
-
Page 6: Getting Started
1. Getting started HANDSET RANGE Optimal range is reached when there are no other electrical WARNING appliances working within the range area. Any obstruction Do not place your phone in the bathroom or other humid between the base and handset will also reduce the range areas. -
Page 7: Connecting The Base
Connecting the base Installing and charging the handset battery pack 1. Plug the power adapter and the telephone line cord into the base. The power adapter with the larger pin is for the charger (only in multi- handset packs). 2. Plug the other end of the power adapter into a power outlet and the telephone line cord into a telephone wall 1. -
Page 8: Assembling The Rubber Band Of Cordless Handset (Not Applicable For L70Xm Models)
2. Slide the battery compartment cover back on. 2. Press and smooth out the rubber band to enwrap the 3. Put the handset on the base to charge for at least 24 handset firmly. hours. Once charged, the will indicate that the handset is fully charged. -
Page 9: Setting The Date And Time
Setting the date and time 2. Getting to know your phone 1. Press MENU and then VOL+ or REDIAL/VOL- to select Overview of your handset DATE&TIME . If you're a subscriber to your network's Caller ID service, the date and time is automatically set when a call is received. - Page 10 Get acquainted with the following 14 buttons on your Talk off / Back a) In menu / editing mode: Press to exit to previous level. handset and their multi-function tasks. b) In pre-dial mode / phonebook / calls list / redial list Scroll up / Volume up entry / answering machine mode: Press to exit to idle.
- Page 11 Speaker 12 Talk On / Flash a) In idle / pre-dial mode: Press to make a call with the a) In idle / pre-dial mode: Press to make a call. speakerphone. b) Calls List / phonebook / redial list entry: Press to make b) During a call: Press to toggle between the speakerphone a call to the selected entry.
- Page 12 Cordless Handset LCD Display On when there is received new voice mail not yet listened to. Off when new voice mail has been listened to. On when a call is muted. Full battery power level. 2/3 battery power level. 1/3 battery power level. Display Icons Flashes when low battery level is detected, needs charging.
-
Page 13: Base Led Indicators
In idle mode the current date is displayed. Find a) Press to find/page all registered handsets. Press the button In Caller ID mode, the date of the call is displayed. again, or any key on the handset, to turn off page signal. Overview of the base Base LED Indicators Answering machine is OFF. -
Page 14: Using The Phone
3. Using the phone Flashing: Indicates an incoming call/recording of An/09 an incoming call. The number (e.g. 09) indicates Making a call the total number of new messages. Flashing: Indicates the line remote access is in 1. Enter the phone number and then press /FLASH or progress. -
Page 15: Muting A Call
Muting a call Adding an entry to the phonebook 1. During a call, press /MUTE to mute the microphone, 1. Press so that you can talk to someone else in the room without 2. Press MENU and then VOL+ or REDIAL/VOL- to scroll your caller hearing you. -
Page 16: Dialing From The Phonebook
3.11 Dialing from the phonebook • Information about incoming calls will vary by country and network operator. Some operators may charge a 1. Press and then VOL+ or REDIAL/VOL- to scroll subscription for their Caller ID service. and select the entry you want to dial. 3.12.1 Calls List 2. -
Page 17: Viewing The Calls List
3.12.2 Viewing the calls list 3.12.3 Saving a number from the calls list to the phonebook 1. Press CID to enter the calls list. 1. Press CID to enter the calls list. 2. Scroll VOL+ or REDIAL/VOL- to browse the calls list. 2. -
Page 18: Personal Settings
3.13 Personal Settings Menu map MAIN MENU DATE & TIME PHONEBOOK SETUP HS SETUP BS ANSWER MACHINE RESET SETTINGS SUB MENU YEAR VIEW RINGER TONE DIAL MODE ANSWERER ON (if CLR VOICE MAIL answering machine is off) DATE RINGER VOLUME FLASH TIME ALL SETTINGS TIME... -
Page 19: Intercom
3.14.1 Calling another handset 1. Press MENU. 2. Press VOL+ or REDIAL/VOL- to scroll through the 1. Press INT. Except for the originating handset, all menu. registered handsets will be displayed in the list. 3. Press MENU for opening sub-menus and/or saving. 2. -
Page 20: Three-Party Conference Call
3.15 Setting the dial mode 4. When the other handset answers by pressing /FLASH /SPEAKER, press /BACK to transfer the The default dialing mode is suitable for your country and call. If the other handset does not answer, press network operator. It is unlikely that you should need to MUTE to talk to your caller again. -
Page 21: Setting The Area Code
2. Press MENU and then VOL+ or REDIAL/VOL- to select To register an additional handset, FLASH TIME 1. Press MENU and then VOL+ or REDIAL/VOL- to select 3. Press MENU and then VOL+ or REDIAL/VOL- to the SETUP HS flash time you want. (8 options are available : 2. -
Page 22: Resetting All Settings
3.19 Resetting all settings 3.21 Using your answering machine 3.21.1 Playing messages 1. Press MENU and then VOL+ or REDIAL/VOL- to select RESET SETTINGS 1. Press /MUTE on the handset from idle mode. New messages will be played followed by any older 2. -
Page 23: Turning On Or Off The Answering Machine
NOTE 3. Press MENU and then VOL+ or REDIAL/VOL- to select When you are on a call, the answering system will not the announcement modes: answer the second incoming call. ANNC & RECORD • invites your callers to leave a message. ANNOUNCE ONLY •... -
Page 24: Announcement
3.21.5 Announcement 3.21.5.2 Playing the announcement This is the message your callers hear on the answering 1. Press MENU and then VOL+ or REDIAL/VOL- to select ANSWER MACHINE machine. There are two pre-recorded outgoing messages, or you can record your own. 2. -
Page 25: Call Screening On/Off
3.21.8 Deleting all old messages 4. Press MENU again to stop recording and save the message. The just saved message is played 1. Press MENU and then VOL+ or REDIAL/VOL- to select automatically. ANSWER MACHINE NOTE 2. Press MENU and then VOL+ or REDIAL/VOL- to select DEL ALL OLD MSG When playing the message, pressing /MUTE will delete... -
Page 26: 10Setting The Security Code
3. Press MENU and then VOL+ or REDIAL/VOL- to select Press the following keys on your another phone to perform the following functions, after entering your remote access mode. 4. Press MENU to confirm. Press... To... To enter the remote access mode, dial your phone number Repeat the message from another phone, when you hear the announcement, press Play/Stop the current message playback... -
Page 27: Help
4. Help No ring tone • The ringer may be off. icon is not scrolling when the handset is • The volume may need to be increased. placed on the base Caller ID does not work • Handset not properly seated on the base cradle -readjust •... -
Page 28: General Information
1. Read this User's Guide. • Check that the power adapter is connected properly into 2. Visit our website: www.motorola.com the electrical outlet. 3. Contact Customer Service in the US and Canada at • Move the handset closer to the base. It may be out of 1-888-331-3383. - Page 29 Unplug this cordless phone immediately 4. Do not allow anything to rest on the power cord. Place the power cord so that it will not be walked on. from an outlet if: 5. Never insert objects of any kind into the product vents •...
- Page 30 Battery Safety Instructions 5. Do not place this product on an unstable cart, stand, or table. This product may fall, causing serious damage to • Do not burn, disassemble, mutilate, or puncture the the product. battery. The battery contains toxic materials that could be 6.
- Page 31 BINATONE or its authorized distributor at its option and Limited Warranty ("Warranty") within a commercially reasonable time, will at no charge Thank you for purchasing this Motorola branded product repair or replace any Products or Accessories that does not manufactured under license by Binatone Electronics conform to this Warranty.
- Page 32 OR FOR ANY INDIRECT, INCIDENTAL, SPECIAL OR Products Covered Length of Coverage CONSEQUENTIAL DAMAGES OF ANY KIND, OR LOSS Consumer Products One (1) year from the date of the OF REVENUE OR PROFITS, LOSS OF BUSINESS, LOSS products original purchase by the OF INFORMATION OR OTHER FINANCIAL LOSS first consumer purchaser of the ARISING OUT OF OR IN CONNECTION WITH THE...
- Page 33 (b) broken seals or that show evidence of tampering; (c) mismatched board serial numbers; or (d) Abuse & Misuse. Defects or damage that result from: (a) nonconforming or non-Motorola branded housings, or parts, improper operation, storage, misuse or abuse, accident or are excluded from coverage.
- Page 34 warranty card was included in your box, a completed installation. This equipment generates, uses and can radiate warranty card showing the serial number of the Product; (d) radio frequency energy and, if not installed and used in a written description of the problem; and, most importantly; accordance with the instructions, may cause harmful (e) your address and telephone number.
- Page 35 This device complies with Part 15 of the FCC rules. Operation back or bottom of this equipment contains, among other is subject to the following two conditions: (1) this device may things, a product identifier in the format US: not cause harmful interference, and (2) this device must AAAEQ##TXXXX.
- Page 36 This equipment may not be used with Party Lines. If you make changes in its facilities, equipment, operation, or have specially wired alarm dialing equipment connected to procedures that could affect the proper functioning of this your telephone line, ensure the connection of this equipment product.
- Page 37 Technical Specifications The term "IC: " before the certification/registration number only signifies that the Industry Canada technical RF frequency band 1921.536 MHz - 1928.448 MHz specifications were met. Channels The Ringer Equivalence Number (REN) for this terminal Operating 5ºC to 45ºC equipment is 0.0.
- Page 38 Manufactured, distributed or sold by Binatone Electronics International LTD., official licensee for this product. MOTOROLA and the Stylized M Logo are trademarks or registered trademarks of Motorola Trademark Holdings, LLC. and are used under license. All other trademarks are the property of their respective owners.
Need help?
Do you have a question about the L701 and is the answer not in the manual?
Questions and answers