Table of Contents
Advertisement
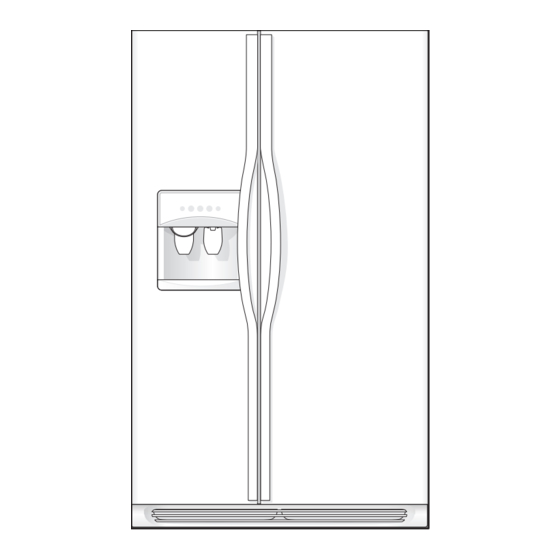
Use & Care Manual
Side by Side
Refrigerator
Got Questions?
Need Parts or Service?
Before Calling Your
Local Repair Service - CALL:
solutions hotline
1-800-944-9044
1-800-265-8352
√ Resolve many service issues over the phone at
your convenience!
√ If we can't resolve your service issue, we'll
schedule a reputable local service technician for
you!
√ Order Genuine Electrolux Parts & Accessories
√ Purchase Extended Warranty Protection
read and save these instructions
(United States)
(Canada)
TABLE OF CONTENTS
Important Safety Instructions ........................ 2
Installation .............................................. 3
Connecting Water Supply ............................. 4
Door Removal Instructions ........................... 5
Mechanical Temperature Controls .................. 6
Electronic Temperature Controls .................... 7
Automatic Ice & Water Dispenser ................... 9
Normal Operating Sounds & Sights ................14
Care and Cleaning ....................................15
Major Appliance Warranty Information ............16
Before you Call ........................................17
Features at a Glance .................................19
PN: 241856001 (April 2009)
Advertisement
Table of Contents

Related Manuals for Frigidaire 241856001


Summary of Contents for Frigidaire 241856001
-
Page 1: Table Of Contents
Electronic Temperature Controls ... 7 Automatic Ice & Water Dispenser ... 9 Normal Operating Sounds & Sights ...14 Care and Cleaning ...15 Major Appliance Warranty Information ...16 Before you Call ...17 Features at a Glance ...19 PN: 241856001 (April 2009) -
Page 2: Important Safety Instructions
• Do not plug the unit into an electrical outlet controlled by a wall switch or pull cord to prevent the refrigerator from being turned off accidentally. Pressing and holding the On/Off button for 3 seconds, located on the left side of the temperature control panel (Electronic controls), or turning the Freezer and Fresh Food controls to “0”... -
Page 3: Installation
• If possible, place the refrigerator out of direct sunlight and away from the range, dishwasher or other heat sources. • The refrigerator must be installed on a floor that is level and strong enough to support a fully loaded refrigerator. • Consider water supply availability for models equipped with an automatic ice maker. -
Page 4: Connecting Water Supply
To determine the length of tubing needed, measure the distance from the ice maker inlet valve at the back of the refrigerator to your cold water pipe. Then add approximately 7 feet (2.1 meters), so the refrigerator can be moved out for cleaning (as shown). -
Page 5: Door Removal Instructions
Screw Phillips head Screw Driver DOOR REmOVAL INStRUCtIONS: If it is necessary to move the refrigerator through narrow doorways, follow these steps to remove the doors. Before you start: to remove the hinge cover: (some models) to remove the refrigerator door: to remove the freezer door: To reinstall the refrigerator and freezer doors, reverse the above steps. -
Page 6: Mechanical Temperature Controls
CONtROLS COOL DOWN PERIOD To ensure safe food storage, allow the refrigerator to operate with the doors closed for at least 8 to 12 hours before loading it with food. REfRIGERAtOR & fREEzER CONtROLS NOtE When changing control settings, wait 24 hours for the temperature to stabilize before making additional changes. -
Page 7: Electronic Temperature Controls
ALLOWING COOLING tImE BEfORE USE To ensure safe food storage, allow your refrigerator to operate with the doors closed for at least 8 to 12 hours before placing food inside. During this cooling period, you do not need to adjust the controls, which are preset at the factory. -
Page 8: Indicator Lights
NOtE Pressing the On/Off button on the control panel disables your refrigerator’s cooling system but does not disconnect power to lights and other electrical components. To turn off power to your refrigerator you must unplug the power cord from the wall outlet. -
Page 9: Automatic Ice & Water Dispenser
AUtOmAtIC ICE & WAtER DISPENSER AUtOmAtIC ICE & WAtER DISPENSER OPERAtING INStRUCtIONS features may vary according to model. EXtREmE fREEzE To freeze food at a faster rate to preserve freshness, push the Touch Pad this feature. A green light will appear above the Touch Pad. Push the Touch Pad seconds to deactivate. -
Page 10: How The Ice Maker Works
filter. - Page 11 If the auger is not properly aligned when replacing the ice bin, the refrigerator will only dispense Crushed Ice. The freezer door may also not close properly causing warm air to leak into the freezer.
- Page 12 Order new filter cartridges through the dealer where you bought the refrigerator, contact the Electrolux Solutions Hotline at 1-800-944-9044, or go to our web site at www.frigidaire. com. It might be good to order some filter cartridges when you first install your refrigerator. Be sure to ask for the RG-100 PureSource™* replacement cartridge.
- Page 13 Order new filter cartridges through the dealer where you bought the refrigerator, contact the Electrolux Solutions Hotline at 1-800-944-9044, or go to our web site at www.frigidaire. com. It might be good to order some filter cartridges when you first install your refrigerator. Be sure to ask for the FC-100 PureSource™* replacement cartridge.
-
Page 14: Normal Operating Sounds & Sights
Your new high-efficiency refrigerator may make unfamiliar sounds. These are all normal sounds and soon will become familiar to you. They also indicate your refrigerator is operating as designed. Hard surfaces, such as vinyl or wood floors, walls, and kitchen cabinets may make sounds more noticeable. -
Page 15: Care And Cleaning
ImPORtANt If the refrigerator is going to be stored or moved in freezing temperatures, the water in the ice and water system must be drained completely. Failure to do so could result in water leaks when the refrigerator is put back into service. Contact a service representative to perform this operation. -
Page 16: Major Appliance Warranty Information
3. Rust on the interior or exterior of the unit. 4. Products purchased “as-is” are not covered by this warranty. 5. Food loss due to any refrigerator or freezer failures. 6. Products used in a commercial setting. 7. Service calls which do not involve malfunction or defects in materials or workmanship, or for appliances not in ordinary household use or used other than in accordance with the provided instructions. -
Page 17: Before You Call
When new ice is made, dispenser should operate. • Remove ice cubes that are jamming the dispenser. • Close both doors gently. • Ensure floor is level and solid, and can adequately sup- port the refrigerator. Contact a carpenter to correct a sagging or sloping floor. • Ensure floor is level and solid, and can adequately sup- port the refrigerator. Contact a carpenter to correct a sagging or sloping floor. •... - Page 18 • It’s normal for the refrigerator to work longer under these conditions. • Warm air entering the refrigerator causes it to run more. Open doors less often. • Ensure refrigerator is level. Keep food and contains from blocking door. See PROBLEM column OPENING/CLOSING OF DOORS/DRAWERS.
-
Page 19: Features At A Glance
fEAtURES At A GLANCE features may vary according to model Electronic Controls mechanical Controls...