Table of Contents
Advertisement
Quick Start Guide
Quick Start Guide
Be sure to install the software programs before connecting the scanner
to the computer!
Please read this guide before operating this scanner. After you finish reading this guide, store it in
a safe place for future reference.
Setup and Scanning
Try the Additional Features
3
4
5
6
7
8
11
12
16
1
Advertisement
Table of Contents

Related Manuals for Canon CanoScan 5200 F


Summary of Contents for Canon CanoScan 5200 F
-
Page 1: Table Of Contents
Quick Start Guide Quick Start Guide Be sure to install the software programs before connecting the scanner to the computer! Setup and Scanning Check the Package Contents Install the Software Windows Macintosh Unlock the Scanning Unit Connect the Scanner Try Scanning Try the Additional Features Using the Scanner Buttons Scanning Film... -
Page 2: Arcsoft Photostudio
• You may be required under law to obtain authorization from a person possessing copyrights or other legal rights to the item being scanned. If you are uncertain of the legality of scanning any particular item, you should consult your legal adviser in advance. • CanoScan and ScanGear are trademarks of Canon Inc. ® ®... -
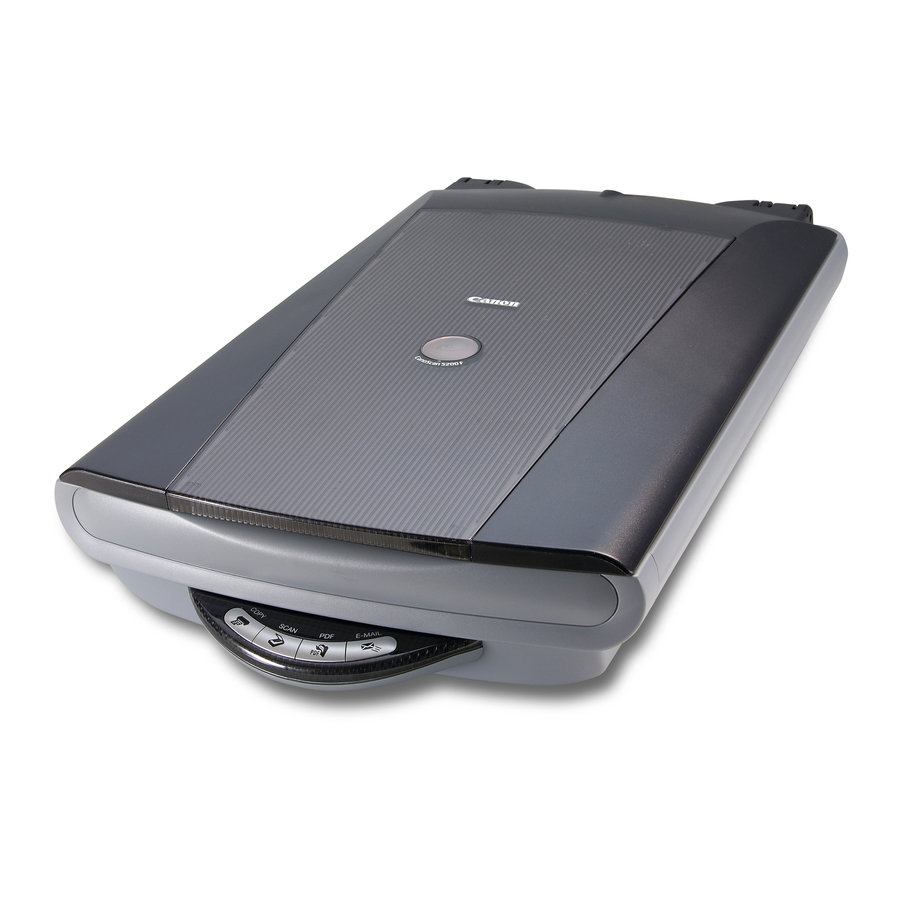
Page 3: Check The Package Contents
Check the Package Contents Check the Package Contents Scanner and Accessories Film Guides USB Interface Cable AC Adapter CanoScan 5200F (for film strip and slides) Documents and Software Programs • Quick Start Guide (this guide) • Additional Documents • CanoScan Setup Utility CD-ROM •... -
Page 4: Install The Software
Install the Software (Windows) Install the Software (Windows) Windows • With Windows XP/2000, you should log on with an administrator user name when you install or uninstall software programs. • If you are using a computer which does not equip USB 2.0 interface by standard, refer to P. -
Page 5: Macintosh
Install the Software (Macintosh) Install the Software (Macintosh) Macintosh Turn the computer on. Make sure to log in with the first created administrator to install the software. You cannot install the software when logged in using added administrator accounts. Place the CanoScan Setup Utility CD-ROM in the drive. -
Page 6: Unlock The Scanning Unit
Unlock the Scanning Unit Unlock the Scanning Unit • Unlock the scanning unit before connecting the scanner to the computer. If it is left locked, a malfunction or other problem may occur. • Do not tilt the scanner more than 90 degrees from horizontal when releasing the lock. •... -
Page 7: Connect The Scanner
Connect the Scanner Connect the Scanner • Make sure that the scanning unit is unlocked. (P. 6) Attach the FAU cable to the FAU connector on the back of the scanner ( Connect the scanner to the computer with the supplied USB interface cable ( ). USB Connector Wide Flat Connector Small Square Connector... -
Page 8: Try Scanning
Try Scanning Try Scanning The following steps explain how to scan with ArcSoft PhotoStudio. • Make sure that the power switch Bottom is turned on. Place a photo or a picture on the glass Alignment by aligning its top edge with the Mark alignment mark, and close the document cover. - Page 9 Try Scanning Click the [File] menu and choose [Select Source]. Select your scanner model name and click the [Select] button for Windows or the [OK] button for Macintosh. • After you set this setting the first time, you do not need to set it from the second time onward with the same scanner.
- Page 10 Try Scanning Select the [Output Size]. You can select from the following options. • If you selected [Print (300 dpi)] in Step 7: Flexible / 4"x6" / A4 / Letter / Add/Delete • If you selected [Image display (150 dpi)] in Step 7: Flexible / 640 x 480 / 800 x 600 / 1024 x 768 / 1600 x 1200 / 2048 x 1536 / Add/Delete With the [Flexible] option, the scan area enclosed by the...
-
Page 11: Using The Scanner Buttons
Using the Scanner Buttons Using the Scanner Buttons You can use the four convenient buttons on the front of the scanner to scan and perform related tasks easily with a single touch of the button. Place an item on the scanner before pressing a button. •... -
Page 12: Scanning Film
Scanning Film Scanning Film You can scan 35 mm film (film strip or slides) with this scanner. Film Strip Slides Positioning the Film Use the following procedures to insert the film into the Film Guide. • Make sure that the FAU Cable is connected to the FAU connector on the back of the scanner. - Page 13 Scanning Film Align the Film Guide’s tab with the FILM symbol on the document glass of the scanner. Calibration Slot • Place a black piece of paper over any gap to shield the light if you are inserting a film strip with 5 or fewer frames, or if the edge of a scanned image appears whitened.
- Page 14 Scanning Film Scanning Film The following steps explain how to scan the film with ArcSoft PhotoStudio. Press the power switch on the scanner’s left side to set it the ( I ) position. Start ArcSoft PhotoStudio. Refer to step 2 on page 8 for procedures. Start ScanGear CS.
- Page 15 Scanning Film Select the [Output Size]. You can select from the following options. • If you selected [Print (300 dpi)] in Step 7: Flexible / 4"x6" / A4 / Letter / Add/Delete • If you selected [Image display (150 dpi)] in Step 7: Flexible / 640 x 480 / 800 x 600 / 1024 x 768 / 1600 x 1200 / 2048 x 1536 / Add/Delete [Flexible] is selected in this example.
-
Page 16: Using The Usb 2.0 Interface Expansion Cards (Windows Only)
Macintosh computer with USB 2.0 Hi-Speed interface expansion card is not supported. Compatible USB Expansion Cards/Hubs Please use one the following USB expansion cards/hubs that have been verified by Canon for compatibility. Expansion Cards • Adaptec USB2connect 5100: PCI bus •... -
Page 17: Specifications
Specifications Specifications CanoScan 5200F Scanner Type Flatbed Scanning Element CCD 6-line color Light Source Cold cathode fluorescent lamp Optical Resolution 2400 x 4800 dpi Selectable Resolution 25 - 9600 dpi Color 16 bit input / 16 bit or 8 bit output for each color (RGB) Scanning Bit Depth Grayscale 16 bit input / 16 bit or 8 bit output... -
Page 18: System Information
Attached Peripherals: Connected Network System: As an ENERGY STAR Partner, Canon Inc. has determined that this model meets the ENERGY STAR Program for energy efficiency. The International ENERGY STAR Office Equipment Program is an international program that promotes energy saving through the use of computers and other office equipment.