
Related Manuals for American DJ myDMX

Summary of Contents for American DJ myDMX
- Page 1 U S E R MA N U A L - V E R S I O N 1 . 0 A me r i c a n D J © ® L o s A n g e l e s , C A 9 0 0 4 0 U S A • w w w . a me r i c a n d j . c o m K e r k r a d e , N e t h e r l a n d s •...
-
Page 2: Table Of Contents
MyDMX V1.0 Table of Contents 1. General Information......................3 2. Installation...........................8 3. Getting Started........................10 4. Fixture Profiles........................11 5. List View........................... 14 6. Scenes..........................15 7. Triggering.........................17 8. Playback.......................... 19 9. Color Manager........................20 10. Effects Manager.......................21 11. 3D Visualizer........................27 12. -
Page 3: General Information
Customer Service American DJ provides a toll free customer support line, to provide set up help and to answer any question should you encounter problems during your set up or initial operation. You may also visit us on the web at www.americandj.com... - Page 4 The consumer’s and or Dealer’s sole remedy shall be such repair or replacement as is expressly provided above; and under no circumstances shall American DJ be liable for any loss or damage, direct or consequential, arising out of the use of, or inability to use, this product.
- Page 5 MyDMX V1.0 Safety The following safety information relates to the myDMX System. Please read each item carefully to ensure you fully understand them. To prevent the risk of electrical shock, do not open this unit. There are no user serviceable parts inside this unit.
- Page 6 General Information MyDMX V1.0 Abbreviations The following abbreviations may be used throughout this manual. – ompact isc – igital ultiple – ega yte – ersonal omputer – eturn uthorization – niversal erial us – 3-pin Cannon connector, with atch and ubber guard...
- Page 7 Introduction myDMX Description MyDMX was developed to be the simplest, PC based, DMX lighting control solution available in the market today. The myDMX software is capable of controlling any type of DMX512 device through a rugged DMX interface. A USB port on the interface provides for PC connection using the included USB cable and a 3-pin DMX OUT connection for a standard 3 pin DMX cable.
-
Page 8: Installation
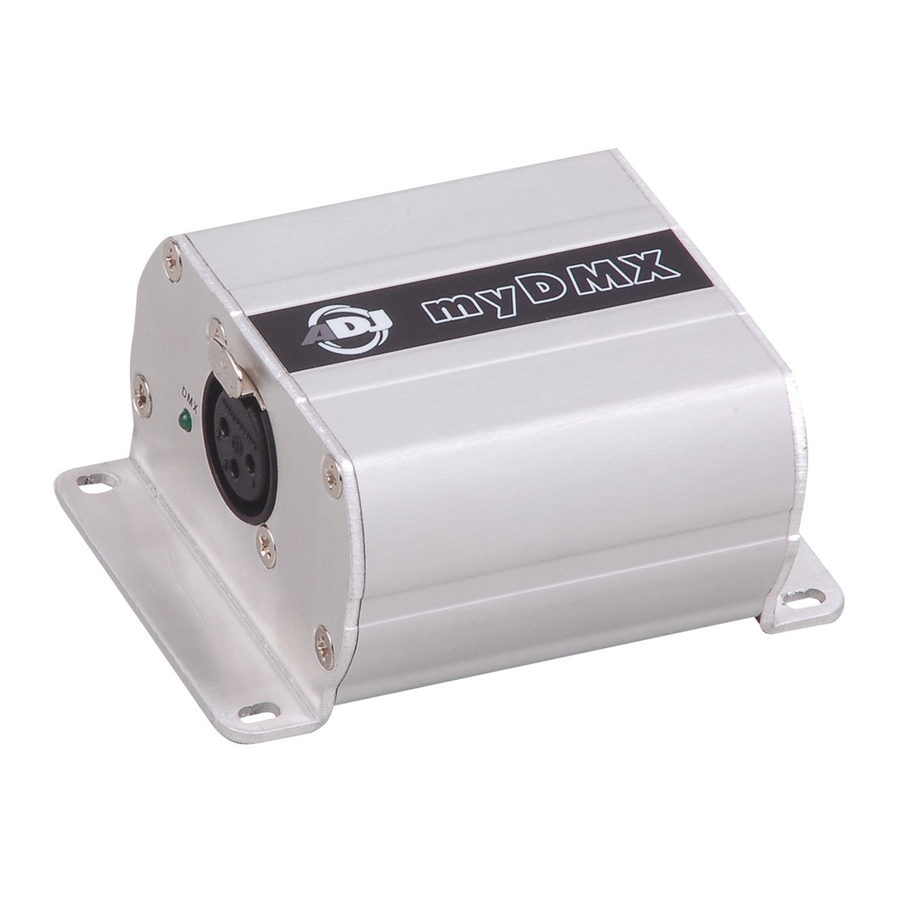
Contact your American DJ dealer as soon as possible. Do not discard packing carton in the trash. Please recycle when ever possible. Cabling Requirements The USB cable provides power to the myDMX interface and should be connected to a USB port on your Figure 1 MyDMX... - Page 9 Installation USB Driver Installation 1. Insert the myDMX Software CD into a CD drive on PC. 2. Locate the adj.exe application on the CD and double-click to begin installation. Windows will find the driver and will tell you the device is not validated, and will ask if you wish to continue.
- Page 10 MyDMX V1.0 Installation Keep in mind that the software detects the USB interface when it launches. This means that you must have the USB interface connected to your computer each time b efore launching the software. Otherwise, there will be no communication between the software and the interface. Click “Finish” when The wizard has competed the driver installation.
-
Page 11: Getting Started
Software Launch 1. Double click the myDMX desktop icon. Note: if you do not have an interface connected to the PC, the Software will launch in “Demo” mode and you will not be able to control any fixtures. If an interface is Connected thereafter, the software will not recognize it. -
Page 12: Fixture Profiles
Set Up 4. Fixture Profiles The myDMX software includes thousands of pre-created fixture profiles from most brands available in the market today. The fixture profiles include detailed channel information that allow for proper and precise control of your lighting fixtures. Profiles are created using the Scan Library Editor program which is included with the myDMX software package. - Page 13 MyDMX V1.0 Set Up 6. Enter a starting Index number that you wish to assign to your fixtures. The Index number is simply a number that will automatically be assigned to each fixture to make it easier for you to recognize it during the programming process.
-
Page 14: List View
MyDMX V1.0 Set Up 5. List View Above the DMX patch area, there is a pull down menu, with the "Grid View" option selected. Change this to "List View" to access some advanced fixture configuration options. These options include the following:... -
Page 15: Scenes
Scenes 6. Scenes With myDMX, you can create dynamic scenes by storing multiple steps that each include individual fade and wait times. Fade and wait times can be set between 0 and 43 minutes each. A scene can include up to 1,000 steps each. - Page 16 MyDMX V1.0 Scenes Step Section The step section displays all of the steps associated with the selected scene. In addition, the selected scene fade and wait times are also displayed there and can be edited at any time. The steps in this section can be manually created or automatically created when using the “FX”...
-
Page 17: Triggering
Be sure to connect your MIDI controller to your computer before launching the myDMX program so that it is recognized by the software. Once you’ve programmed your scenes, it’s simple to assign MIDI controller faders, potentiometers or buttons to externally trigger them. - Page 18 MyDMX V1.0 Triggering From the user screen, Right click on a scene or channel fader that you wish to assign to the midi controller. Left click on the “Learn MIDI command...” Prompt. Move, turn or push a fader, potentiometer or button on the midi controller that you want your relevant scene or fixture channel assigned to.
-
Page 19: Playback
MyDMX V1.0 User 8. Playback To playback scenes that you’ve created, you must be in the “User” screen. Left click the User tab> 1 - Button-area Each button represents a "scene" which can be activated with the mouse. If the button is pressed, then the scene is activated. -
Page 20: Color Manager
Color Manager MyDMX V1.0 9. Color Manager The "Color Manager" tool is basically a color editor for RGB or CMY fixtures. It allows you to create either static or dynamic color sequences very easily. Imagine you want to load a bitmap or simply write a text on your matrix of LEDs, "Color Manager"... -
Page 21: Effects Manager
MyDMX V1.0 Effects Manager 10. Effects Manager The Effect Manager is an extremely powerful tool which allows you to easily create stunning effects with your lights without having to go through the laborious process of programming each individual step and scene. - Page 22 MyDMX V1.0 Effects Manager Gradient Editor The gradient editor allows you to create many complex static gradients. Switch the editor ON by clicking on the red button and select a gradient type and range. Editing the color of a gradient In this example we have created a fade between blue and green.
- Page 23 MyDMX V1.0 Effects Manager Changing the length of a gradient Here we see an even gradient between blue and green. You may wish for the gradient to be long at the beginning and then short. To achieve this, we can create a gradient step by double clicking on a particular part of the gradient.
- Page 24 MyDMX V1.0 Effects Manager RGB Matrix Effects This tool is specifically designed for use with a matrix of LED panels. To get started, click the “+” button to add a layer. The layer name can be changed by double clicking it and there are several layer types available, the most basic being color.
- Page 25 MyDMX V1.0 Effects Manager Advanced Effects This tool allows you to have more control over the individual channels of your fixtures and is extremely usefull with moving heads and scanners as well as LED’s. To demonstrate the advanced effects section, we will insert 8 generic moving head fixtures.
- Page 26 MyDMX V1.0 Effects Manager Pan/Tilt Effects As well as using the “advanced effects” tool to create Pan/Tilt effects by creating waves, you can create more specific moving effects with the “Pan/Tilt effects” tool. As with the other effect manager tools, you’ll need to click “light beam on”. This sends a message to all the relevent shutter/iris/dimmer channels to show the light beam.
-
Page 27: D Visualizer
MyDMX V1.0 3D Visualizer 11. 3D Visualizer 3D stages are saved with the "evs" format and can be open/saved indefinitely. Stage dimensions, inserted objects and fixtures are also saved in these files. It is also possible to import or export 3D stages to or from zipped files with the "Import / Export" buttons of the "Stage"... - Page 28 MyDMX V1.0 3D Visualizer - From the “Object Settings” section click on the “Add object” button (grey cube next to the red arrow in the picture above) to insert an object from our libraries (i.e. /Music Instrument/Drums.x) - The object will be inserted at the center of the stage. You can move this object around the 3D stage using your mouse.
- Page 29 MyDMX V1.0 3D Visualizer Resolution It is possible to choose from 5 different levels of screen resolution for the 3D views. This option allows to adapt the software to the performance of your graphic card. If the rendering is too slow, select a lower level of rendering.
- Page 30 MyDMX V1.0 3D Visualizer Build Mode This chapter introduces the second mode of the software : Build mode. The screen is split and contains the 3D view, the "Objects settings" window, and the 2D views. Stage Size & Color Color and dimensions of stage (width, height and depth) can be defined within this window (available from the "Stage"...
- Page 31 MyDMX V1.0 3D Visualizer The library on the left side displays the available objects to be inserted. Once selected, the object automatically appears in the visualization window. The object selected may be previewed before it is inserted. Click on "Select" to insert the object in your stage.
- Page 32 MyDMX V1.0 3D Visualizer It is better to use this window only in "Automatic" mode to not lose all changes made before. The list on the left side shows the fixtures informations received from the controller. The "orange" fixtures are those available in the controller and already patched in the 3D visualizer, the "blue"...
- Page 33 MyDMX V1.0 3D Visualizer Three different types of objects can be created: · Cube · Sphere · Cylinder You can modify dimensions and then save them under the Microsoft X format. The "Flat" option enables you to add 2 cm in height and to quickly create a rectangular or circular screen in shape and reuse it over and over again in your future stages.
- Page 34 MyDMX V1.0 MyDMX V1.0 3D Visualizer Fixtures List The list is located in the "Objects" tab of the "Objects settings" window. All fixtures are listed and folders can be created to simply classify them. The drag& drop is used to move the fixtures within the list. To add a new folder, click on the "New folder"...
-
Page 35: Appendix
MyDMX V1.0 3D Visualizer Objects List The list is located in the "Objects" tab of the "Objects settings" window. All objects are listed and folders can be created to simply classify them. The drag & drop is used to move the objects within the list. To add a new folder, click on the "New folder"... - Page 36 MyDMX V1.0 3D Visualizer Camera · Front view · Right view · Left view · Top view · Rear view · Move the camera · Auto rotation · Create a screenshot · Open the "Movie recorder" window · Save the current position of the camera ·...
- Page 37 MyDMX V1.0 3D Visualizer Toolbars Summary (Left to Right) Standard toolbar · Create a new stage · Open a stage · Save the stage · Always visible option · Open Construction mode · Open User mode · Add new fixture(s) ·...
- Page 38 MyDMX V1.0 3D Visualizer Shotcut Keys 0 Automatic rotation 1 Front view 2 Right view 3 Left view 4 Top view 5 Rear view 6 Camera 1 (personal) 7 Camera 2 (personal) 8 Camera 3 (personal) 9 Camera 4 (personal)
-
Page 39: Troubleshooting
MyDMX V1.0 Troubleshooting 13. Troubleshooting Software and/or interface do not work 1. Check the USB interface Connect the interface to the computer. You should see 3 LEDs turn on, green, yellow, and red. Green should be blinking slowly. Yellow should be completely on. Red should be blinking fast.