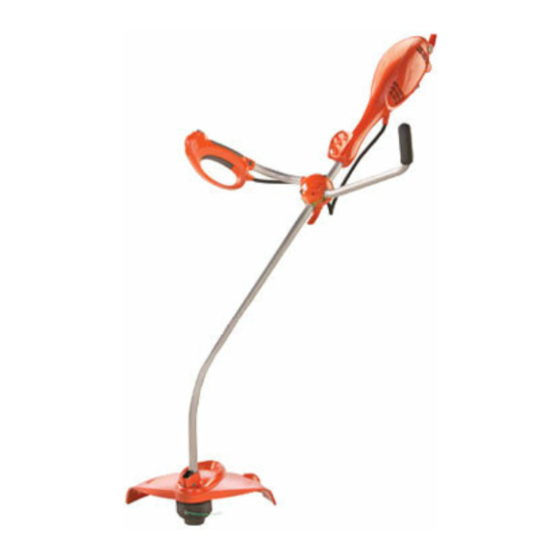
Flymo SAMURAI 1000XT User Manual
Flymo trimmer user manual
Hide thumbs
Also See for SAMURAI 1000XT:
- Original instructions manual (80 pages) ,
- Instruction manual (52 pages) ,
- Original instructions manual (9 pages)
Summary of Contents for Flymo SAMURAI 1000XT
- Page 1 SAMURAI 1000XT AUTO- MATIC SPEED CONTROL FOR YOUR SAFETY AND COMFORT For all customer enquiries or for replacement parts, contact:- ☎ ☎ 0870 609 1901 www.flymo.com customer.services@husqvarna.co.uk...
-
Page 2: Carton Contents
Management Manual Hexagon Drive Tool IMPORTANT ! Please check the contents of the carton are correct BEFORE assembling your new Flymo product. IF ANY PARTS ARE MISSING CONTACT:- Husqvarna Outdoor Products Customer Service Department direct:- Telephone : 0870 609 1901... - Page 3 10. Switch off, remove plug from mains and examine electric supply cable for damage or ageing before winding cable for storage. Do not repair a damaged cable, replace it with a new one. Use only Flymo replacement cable. 11. Always wind cable carefully, avoiding kinking.
-
Page 4: Assembly Instructions
Assembly Instructions Switch Handle and Handle Tube Assembly (A), (B) & (C) 1. Loosen the four bolts on the Handle Clamp (A). 2. Insert the Switch Handle and the Steady Handle into the holes at the side of the Handle Clamp (B1 Right Handed) (B2 Left Handed) - using the Hex Drive Tool to turn the switch handle (B3) - Page 5 (N2), release lock-off button. 2. Cut with nylon line at an angle using the tip. (P1) 3. Swing trimmer in and out of the cutting area taking small cuts (P2) 4. To feed out nylon line, see the Line Feed section above.
-
Page 6: Cutting Head
7. Refit the Spoolholder and fit the Cap ensuring it is secure. To fit nylon line only: • Remember ! Your Flymo Trimmer is designed to use only nylon line with a maximum diam- eter of 2mm. Use only genuine Flymo nylon line. -
Page 7: Maintenance
• WARNING Disconnect from the mains electricity sup- ply, before attempting any maintenance or adjustment. Cutting head continues to rotate after the trimmer has been switched off. Keep fingers and hands clear of the line cutter on leading edge of guard. -
Page 8: Fault Finding Chart
WARNING Disconnect from the mains electricity supply before attempting any maintenance or adjustment. FAULT LINE NOT FEEDING LINE TOO SHORT TRIMMER VIBRATES CONTINUOUS CLATTER- ING NOISE LINE SNAPS CONTINU- OUSLY IF NONE OF THE ABOVE OR IF FAULT PERSISTS •... -
Page 9: Ec Declaration Of Conformity
Manual and understand how to operate and maintain your machine: I, the undersigned M. Bowden of Husqvarna Outdoor Products, Aycliffe Industrial Park, NEWTON AYCLIFFE, Co. Durham. DL5 6UP. Certify that the product:- Category... Electric Lawn Trimmer Make... Husqvarna Outdoor Products Conforms to the specifications of Directive 2000/14/EC Type of Cutting Device...


