Table of Contents
Advertisement
Quick Links
T8822
Please keep this instruction sheet for future reference, as it contains important information.
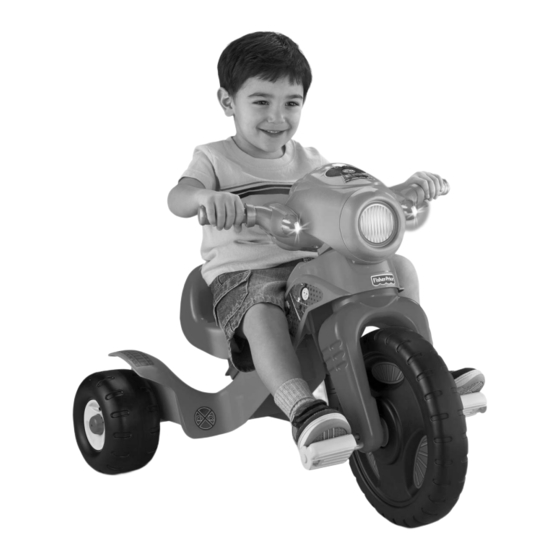
Product features and decorations may vary from the photograph.
Adult assembly is required. Tools required for assembly:
Phillips Screwdriver, Hammer and Scrap Block of Wood (not included).
Requires three "AA" batteries (included).
Age: 2-6 years.
Weight limit: 60 lbs (27 kg).
www.fi sher-price.com
Advertisement
Table of Contents

Summary of Contents for Fisher-Price T8822
- Page 1 T8822 Please keep this instruction sheet for future reference, as it contains important information. Product features and decorations may vary from the photograph. Adult assembly is required. Tools required for assembly: Phillips Screwdriver, Hammer and Scrap Block of Wood (not included).
-
Page 2: Consumer Information
WARNING TO AVOID SERIOUS INJURY: • Adult supervision is required. • Never use near cars and other motor vehicles, near streets, steps, sloped driveways, hills, roadways, alleys, swimming pools or other bodies of water. • Always wear shoes. • Never allow more than one rider. •... - Page 3 CAUTION This product contains small parts in its unassembled state. Adult assembly is required. (Indented Side Down) Straight Axle • Slide a hubcap (peg side up) onto the straight axle. • Slide a rear wheel (indented side down) onto the straight axle.
- Page 4 Pedal Hubs Pedal Axle Hole • While holding the pedal hubs on the pedal axle, insert the pedal axle through the hole in the center of the front wheel. • Push the pedal hubs into the center of the front wheel until they are fl ush with the surface of the front wheel.
- Page 5 Handlebar Fork Cover Rear of Trike • Insert the fork post up through the hole in the neck of the frame. Make sure the fork is positioned so that the fork covers face the rear wheels. • Place the handlebar onto the fork post and push it down onto the frame.
-
Page 6: Label Decoration
Label Decoration (Place label 6 on opposite side) (Place label 13 on opposite side) (Place remaining label 1’s on opposite side of SIDE VIEW front wheel) DASH VIEW • Make sure the areas where the labels will be applied are clean and dry. -
Page 7: Battery Replacement
Battery Replacement Note: For best performance, we recommend replacing the batteries that came with this trike with three, new "AA" (LR6) alkaline batteries. Headlight Cover • Loosen and remove both screws from the headlight cover. Remove the headlight cover. 1,5V x 3 “AA”... -
Page 8: Removing The Seat
HIT and the HIT logo are trademarks of HIT Entertainment Limited. Fisher-Price, Inc., a subsidiary of Mattel, Inc., East Aurora, NY 14052 U.S.A. ©2010 Mattel, Inc. All Rights Reserved. ® and ™ designate U.S. trademarks of Mattel, Inc., unless otherwise indicated.


