Table of Contents

Related Manuals for Whirlpool WED9500TW2


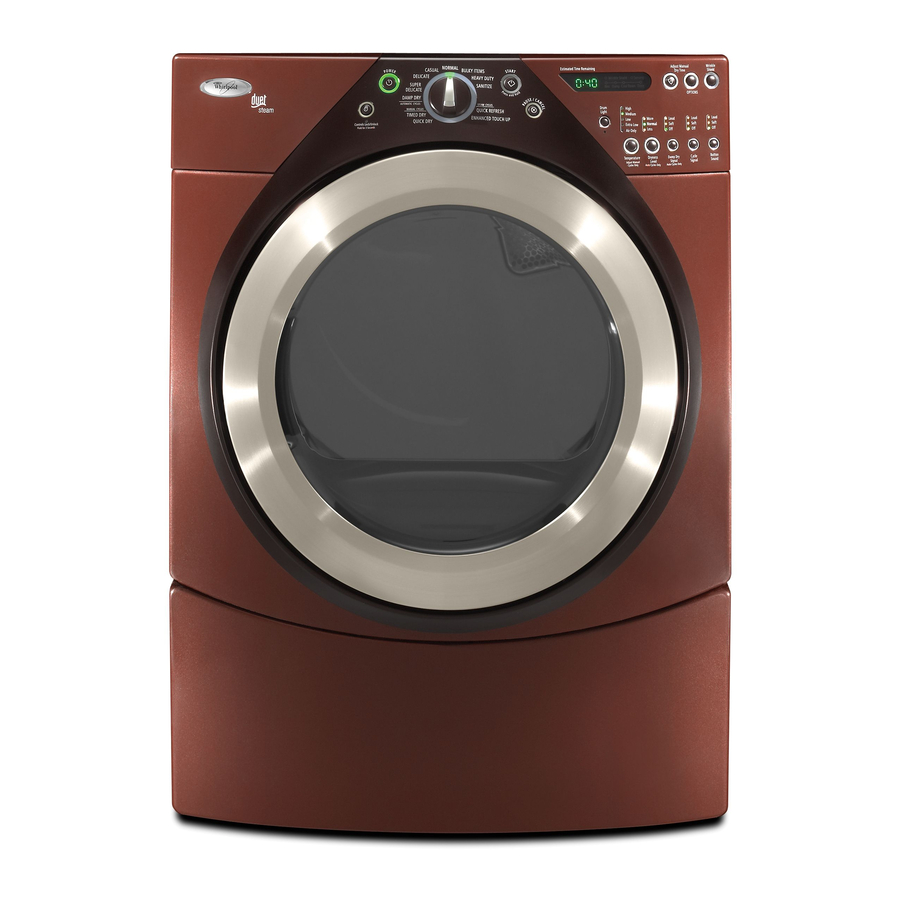
Summary of Contents for Whirlpool WED9500TW2
- Page 1 ELECTRONIC ELECTRIC DRYER For questions about features, operation/performance, parts, accessories or service, call: 1-800-253-1301 or visit our website at... www.whirlpooLcom Table of Contents ..........W10122319A...
-
Page 2: Table Of Contents
TABLEOF CONTENTS DRYER SAFETY ................Control Locked ................Drying and Cycle Tips ..............INSTALLATION INSTRUCTIONS ..........Tools and Parts ................Status Lights ................Cycles ..................Options ..................Additional Features ..............Location Requirements ..............Electrical Requirements ............... Changing Cycles, Options and Modifiers ........22 Electrical Connection .............. -
Page 3: Installation Instructions
IMPORTANT SAFETY INSTRUCTIONS WARNING: To reduce the risk of fire, electric shock, or injury to persons when using the dryer, follow basic precautions, including the following: • Read all instructions before using the dryer. • Do not repair or replace any part of the dryer or attempt any servicing unless specifically recommended in this •... -
Page 4: Options
Parts needed The pedestals are available in several colors. Check local codes. Check existing electrical supply and venting. To order, call the dealer from whom you purchased your dryer or See "Electrical Requirements" and "Venting Requirements" refer to the "Assistance or Service" section of this manual. before purchasing parts. - Page 5 Dryer Dimensions Explosion H azard Keep flammable materials a nd vapors, such as gasoline, away from dryer, Place dryer at least 18 inches (46 cm) above the floor for a garage installation. Failure to do so can result in death, explosion, or fire.
- Page 6 Closet installation - Dryer only Recommended installation spacing for recessed or closet installation, with stacked washer and dryer 48 in.2. The dimensions shown are for the recommended spacing. {310 crn 2) 48 in. 2 * (310 crn 2) I1"*1_31%" _ls"**l (2.5crn) (80cm) (12.7crn) iiiii A.
-
Page 7: Electrical Connection
It is your responsibility If your outlet looks like this: To contact a qualified electrical installer. To be sure that the electrical connection is adequate and in conformance with the National Electrical Code, ANSl/NFPA 70-latest edition and all local codes and ordinances. The National Electric Code requires a 4-wire supply 4-wire receptacle (14-30R) connection for homes built after 1996, dryer circuits involved... - Page 8 Direct Wire Power Supply Cord Fire Hazard Fire Hazard Use 10 gauge solid copper wire. Use a new UL listed 30 amp power supply cord. Use a UL listed strain relief. Use a UL listed strain relief. Disconnect power before making electrical connections. Disconnect power before making electrical connections.
- Page 9 Put power supply cord through the strain relief. Be sure Electrical Connection Options that the wire insulation on the power supply cord is inside If your home has: And you will be Go to Section the strain relief. The strain relief should have a tight fit with the dryer cabinet and be in a horizontal position.
- Page 10 Remove center silver-colored terminal block screw. 4-wire connection: Direct wire Remove neutral ground wire from external ground conductor screw. Connect neutral ground wire and the neutral wire IMPORTANT: A 4-wire connection is required for mobile homes (white or center wire) of power supply cord under center, and where local codes do not permit the use of 3-wire silver-colored terminal block screw.
- Page 11 Loosen or remove center silver-colored terminal block screw. Connect ground wire (green or bare) of direct wire cable to external ground conductor screw. Tighten screw. Connect neutral wire (white or center wire) of power supply cord to the center, silver-colored terminal screw of the terminal block.
- Page 12 When connecting to the terminal block, place the hooked end of Optional 3-wire connection the wire under the screw of the terminal block (hook facing right), squeeze hooked end together and tighten screw, as shown. Use for direct wire or power supply cord where local codes do not permit connecting cabinet-ground conductor to neutral wire.
- Page 13 4" (10.2cm) heavymetal exhaust vent DURASAFE vent products can be purchased from your dealer or by calling Whirlpool Parts and Accessories. An exhaust hood should cap the vent to keep rodents and more information, see the "Assistance or Service" section of insects from entering the home.
- Page 14 Choose your exhaust installation type A. Standard rear offset exhaust installation B. Left or right side exhaust installation C. Bottom exhaust installation (not an option with pedestal installations) Alternate installations for close clearances Venting systems come in many varieties. Select the type best for your installation.
-
Page 15: Plan Vent System
Special provisions for mobile home installations Vent system chart NOTE: Side and bottom exhaust installations have a 90 ° turn The exhaust vent must be securely fastened to a noncombustible portion of the mobile home structure and must not terminate inside the dryer. - Page 16 Examine the leveling legs. Find the diamond marking. 4. Using pliers, tighten the couplings with an additional two- thirds turn. 4. Screw the legs into the leg holes by hand. Use a wrench to finish turning the legs until the diamond marking is no longer visible.
-
Page 17: Level Dryer
9. Attach angled end of long hose to fill valve at bottom of dryer back panel. 1. Check that all parts are now installed. If there is an extra part, go back through the steps to see which step was skipped. 2. -
Page 18: Dryer Use
DRYER USE Explosion Hazard Fire Hazard Keep flammable materials and vapors, such as No washer can completely remove oil. gasoline, away from dryer. Do not dry anything that has ever had any type of oil on Do not dry anything that has ever had anything it (including cooking oils). -
Page 19: Control Locked
• Press and hold START button until dryer starts (about • Press and hold START button until dryer starts (about 1 second). 1 second). Once an Automatic cycle has started, the WRINKLE NOTE: Dryness Level is not adjustable for Manual or Steam SHIELD feature and cycle signals can be adjusted. -
Page 20: Additional Features
To unlock: Press and hold the CONTROL LOCK/UNLOCK button for The Wet light will turn on when a wet item has been detected in 3 seconds to turn this feature off. the dryer. The Wet light will remain on until: NOTE: When the dryer is running and Control Locked is on, the •... - Page 21 Casual Air Only Use this cycle to get Low heat for drying no-iron fabrics such as Use the Air Only setting for items that require drying without heat sport shirts, casual business clothes and permanent press such as rubber, plastic and heat-sensitive fabrics.
- Page 22 Cycle Signal The End of Cycle Signal produces an audible sound when the drying cycle is finished. Promptly removing clothes at the end of the cycle reduces wrinkling. Drum Light Select Drum Light to turn on the light inside the dryer drum. Loud During a cycle, if Drum Light is selected, the drum light turns on Soft...
- Page 23 3. Put the wet items on top of the rack. Leave space between Changing the Preset Dryness Level Settings the items so air can reach all the surfaces. If all your loads on all Auto Dry cycles are consistently not as dry as you would like, you may change the preset Dryness Level NOTE: Do not allow items to hang over the edge of the rack.
-
Page 24: Dryer Care
DRYER CARE As needed cleaning Laundry detergent and fabric softener residue can build up on the _ _'_7_ _ ¸_ lint screen. This buildup can cause longer drying times for your Keep dryer area clear and free from items that would obstruct the clothes, or cause the dryer to stop before your load is completely flow of combustion and ventilation air. -
Page 25: Cleaning The Lint Screen
TROUBLESHOOTING Vacation care First try the solutions suggested here and possibly avoid the cost of a service call... Operate your dryer only when you are at home. If you will be on vacation or not using your dryer for an extended period of time, you should: 1. - Page 26 Dryerdisplaying codemessage • "PF" (power failure), check the following: Clothes are not drying satisfactorily, drying times are too Was the drying cycle interrupted by a power failure? long, or load is too hot Press and hold START to restart the dryer. •...
-
Page 27: Assistance Orservice
This information will the United States. help us to better respond to your request. To locate the Whirlpool designated service company in your area, you can also look in your telephone directory Yellow Pages. If you need replacement... -
Page 28: Warranty
YOU SPECIFIC LEGAL RIGHTS AND YOU MAY ALSO HAVE OTHER RIGHTS, WHICH VARY FROM STATE TO STATE OR PROVINCE TO PROVINCE. Outside the 50 United States and Canada, this warranty does not apply. Contact your authorized Whirlpool dealer to determine if another warranty applies.