Zanussi ZWI 1125 User Manual
Hide thumbs
Also See for ZWI 1125:
- Brochure & specs (3 pages) ,
- Specifications (7 pages) ,
- User manual (32 pages)
Table of Contents
Advertisement
Advertisement
Table of Contents

Related Manuals for Zanussi ZWI 1125


Summary of Contents for Zanussi ZWI 1125
- Page 1 User manual Washing Machine ZWI 1125...
-
Page 2: Table Of Contents
Contents Safety information _ _ _ _ _ _ _ _ _ _ _ _ _ _ _ _ _ _ 2 Care and cleaning _ _ _ _ _ _ _ _ _ _ _ _ _ _ _ _ _ 12 Product description _ _ _ _ _ _ _ _ _ _ _ _ _ _ _ _ _ 4 What to do if…... - Page 3 • If the machine is situated on a carpeted floor, please aged so that the inside of the washing machine is ac- adjust the feet in order to allow air to circulate freely cessible. under the appliance. Child safety • Always be sure, that there is no water leakage from ho- •...
-
Page 4: Product Description
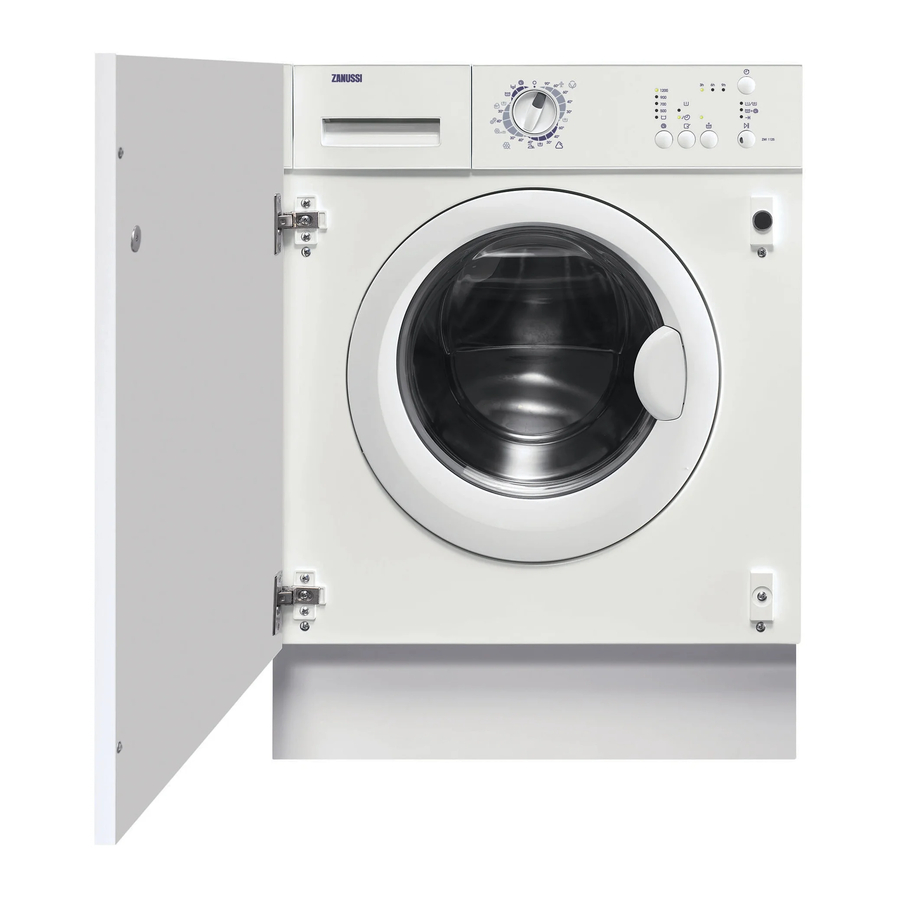
Product description Detergent dispenser drawer Control panel Door opening handle Rating plate Drain pump Adjustable feet Detergent dispenser drawer Compartment for detergent used for prewash and soak phase or for stain remover used during the stain action phase (if available). The prewash and soak detergent is added at the beginning of the wash programme. -
Page 5: Table Of Symbols
Programme selector dial START/PAUSE button SPIN reduction button DELAY START button OPTIONS button Indicator pilot lights EXTRA RINSE button Table of symbols Push buttons Pilot lights Rinse Hold Prewashing or washing Prewash Rinsing or spinning Super Quick Programme selector dial, spin speed button and available options Programme Selector Dial Prewash It allows you to switch the appliance on/off and/or to se-... -
Page 6: Washing Programmes
Start Pause When selecting a washing programme both lights A and This button allows you to start or to interrupt the selected B illuminate. programme. After having pressed the button 5 the only light corre- sponding to the running phase stays on. The machine Delay Start starts working and the door is locked. - Page 7 Programme Maximum and Minimum Temperature Cycle Description Detergent Options Maximum Spin Speed Compartment Maximum Fabrics Load Type of Laundry COTTONS SPIN REDUCTION 60° - 40° - 30° - Cold RINSE HOLD Main wash - Rinses PREWASH Maximum spin speed at 1200 rpm SUPER QUICK Max.
-
Page 8: Helpful Hints And Tips
Programme Maximum and Minimum Temperature Cycle Description Detergent Options Maximum Spin Speed Compartment Maximum Fabrics Load Type of Laundry WOOL/HANDWASH SPIN REDUCTION 30° - Cold RINSE HOLD Main wash - Rinses Maximum spin speed at 900 rpm Max. load 2 kg Washing programme for machine washable wool as well as for hand washable woollens and delicate fabrics. -
Page 9: Removing Stains
Before loading the laundry Detergents and additives Never wash whites and coloureds together. Whites may Good washing results also depend on the choice of deter- lose their whiteness in the wash. gent and use of the correct quantities to avoid waste and New coloured items may run in the first wash;... -
Page 10: First Use
When the degree of hardness is soft, readjust the quantity of the detergent. First use • Ensure that the electrical and water connections activate the ECO valve. Then run a cotton cycle at comply with the installation instructions. the highest temperature without any laundry in the machine, to remove any manufacturing resi- •... - Page 11 When selecting a programme, the light corresponding to minutes. After you have closed the door, press the button the maximum speed allowed for that programme will illu- 5 again. minate. Start the programme by pressing button 5 Select the available options by pressing buttons 3 To start the selected programme, press the button 5, the and 4 corresponding green pilot light stops blinking.
-
Page 12: Care And Cleaning
continues to run at regular intervals until the water drain- At the end of the programme, the door can be now ing. opened. Turn the programme selector dial to to switch Follow the below instructions to empty out the water: the machine off. - Page 13 securely re-tightened so as to stop leaks and young Place a container close to children being able to remove it. the pump (A) to collect any spillage. Cleaning the water inlet filters Pull out the emergency Important! If the appliance doesn't fill, takes long to fill emptying hose (B), place it with water, the starting button blinks yellow or the display in the container and re-...
-
Page 14: What To Do If
Frost precaution • if necessary, wait until the water has cooled down; • open the pump door; If the machine is exposed to temperatures below 0°C, cer- tain precautions should be taken. • place a bowl on the floor and place the end of the emergency emptying hose into the bowl. - Page 15 Problem Possible cause/Solution The door has not been closed (the button 5 red light blinks). • Close the door firmly. The plug is not properly inserted in the power socket. • Insert the plug into the power socket. There is no power at the socket. •...
- Page 16 Problem Possible cause/Solution Too much detergent or unsuitable detergent (creates too much foam) has been used. • Reduce the detergent quantity or use another one. Check whether there are any leaks from one of the inlet hose fittings. It is not always easy to see this as the water runs down the hose;...
-
Page 17: Technical Data
Problem Possible cause/Solution The electronic unbalance detection device has cut in because the laundry is not evenly distributed in the drum. The laundry is redistributed by reverse rota- tion of the drum. This may happen several times before the unbalance disap- pears and normal spinning can resume. -
Page 18: Consumption Values
Consumption values Programme Energy consumption Water consumption Programme duration (KWh) (litre) (Minutes) White Cottons 90 °C Cottons 60 °C 1.35 Cottons 40 °C 0.75 Synthetics 40 °C Delicates 40 °C 0.55 Wool/ Handwash 30 °C 0.25 1) The consumption information shown in this chart is indicative. It can vary depending on the quantity and the type of laundry, on the temperature of the water supply and on the ambient temperature. - Page 19 Positioning Caution! Do not use the hose from your previous appliance to connect to water supply. Install the machine on a flat hard floor. Make sure that air circulation around the machine is not impeded by carpets, Connect the hose to a tap rugs etc.
- Page 20 1. Into a drainage standpipe. If your drain hose looks like this (see beside) you Firstly form a hook in the end of the drain hose using do not require the “U” the “U” piece” supplied. piece”. Just push the hose firmly in to the standpipe.
-
Page 21: Building In
SHOWER SINK TOILET BATH BIDET WASHING DISHWASHER MACHINE RAINWATER ‘RUN-OFF’ FOUL DRAIN SURFACE WATER FOUL SEWERS DRAINS & SEWERS SEWAGE TREATMENT UNTREATED WORKS DISCHARGE TREATED DISCHARGE RIVER RIVER In the event of having to change the fuse in the plug sup- Electrical connection plied, a 13 amp ASTA approved (BS1363/A) fuse must be Any electrical work required to install this appliance... -
Page 22: Preparation/Assembly Of Door
35 Ø 12,5-14 depth 16-22 min. min. 176,5 22±1,5 595-598 When installing the appliance into the kitchen furniture • a) Door ensure, if possible, the hoses are placed in either of the The dimensions of the door should be: two recesses on the back of the appliance. - width 595-598 mm This will help to prevent the hoses from becoming - thickness 16-22 mm... -
Page 23: Front View
If the door has to be opened from left to right, invert the position of the plates (7), the magnet (4) and the plate (5) (Fig. B and E). Mount the counter-magnet (6) and the hinges (1) as previously described. Recommendations regarding the construction and fit- ting of a base when the installation requires an integra- ted appliance to be raised. -
Page 24: Environmental Concerns
Drill four fixing holes see Fig. G Fix the base firmly to the floor using four appropriate Position the base into the recess with its front edge as countersunk screws (see Fig. H). far forward as the adjoining plinth line will allow. With the appliance installed adjust all four feet ensuring The reason for placing the base in this position is to al- the machine is stable, and a clearance of approximately... - Page 28 www.zanussi.com/shop...