Advertisement
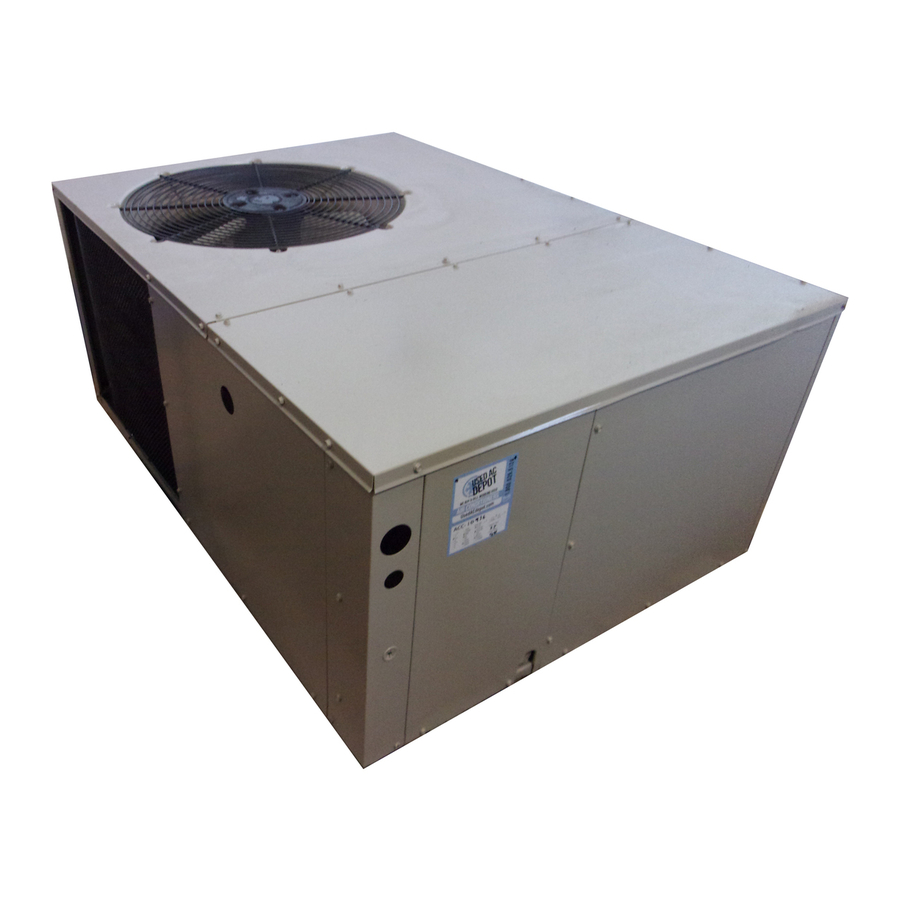
13 SEER
Single Package Air Conditioner
Single Package Air Conditioner
Read this owner information to become familiar with the capabilities
and use
of your appliance.
Keep this with literature
on other appliances
where you
have easy access to it in the future. If a problem occurs, check the instructions
and follow recommendations
given. If these suggestions
don't eliminate
your
problem, call your installing contractor
or distributor
in your area.
INTRODUCTION
Most any air conditioner will keep you cool. Our air conditioner was designed to do
it efficiently. Efficiency means less cost to you while keeping you comfortable.
WHY YOUR
AIR CONDITIONER
WORKS
SO WELL,
SO QUIETLY
1.
Air is cooled by a large evaporator
coil. Moisture
is also removed from the air by
this same coil.
2.
Air is then delivered through the main duct, via registers, into your home.
3.
Return air is drawn through the return register.
4.
This air enters the unit, passes through the evaporator coil, is cooled and dehumidi-
fied. Then the cycle begins again.
Advertisement
Table of Contents

Related Manuals for Nordyne P3RD-042K


Summary of Contents for Nordyne P3RD-042K
- Page 1 13 SEER Single Package Air Conditioner Single Package Air Conditioner Read this owner information to become familiar with the capabilities and use of your appliance. Keep this with literature on other appliances where you have easy access to it in the future. If a problem occurs, check the instructions and follow recommendations given.
-
Page 2: Owner Information
SECTION make sure it's working right, clean or change filters and make any needed adjustments. OWNER iNFORMATiON In addition, follow these simple rules: OPERATING iNSTRUCTiONS Never run your system without filter. If you do, the cooling coils will get dirty and may ToTurn On Air Conditioner become clogged. -
Page 3: Installer Information
SECTION Inspecting Equipment: All units are securely packed at the time of shipment and, upon arrival, iNSTALLER iNFORMATiON shou Id be carefully inspected for damage. Claims for damage (apparent or concealed) should be GENERAL filed immediately with the carrier. Read the following instructions completely before... - Page 4 DUCT REQUIREMENTS The supply duct system, including the number and type of registers, will have much more ef- fect on the performance of an air conditioning system then any other factor. The duct must be sufficiently large to conduct an adequate amount of air to each register.
- Page 5 collar overtheopening andalign thefournotches REGISTER in thecollarwiththefourdimplesin the panel. Usingself-drilling screws(10-16x.5) attachthe collarto therearpanel. AUTOMATIC DAMPER CLOSED WHEN UNiT iS OFF 5. LOCATING AND iNSTALLING THE RE- TURN AIR ASSEMBLY To avoid complications, locate and install the return air assembly first.
- Page 6 TYPICAL APPLiCATiONS SINGLE DUCT APPLiCATiON MULTIPLE DUCT APPLiCATiON Ref. No. Description 12"x 20" Return Air 16" x 20" Air Filter 12" x 20" Grille Supply Damper 14" Diameter Flex Return Duct 12" Diameter Flex Supply Duct 12" x 12" x 12" "Y" Fitting Figure 6.
- Page 7 CONNECTING THE RETURN AND SUPPLY AIR FLEXIBLE DUCTS The supply duct for all units is 12" in diam- _ Elbow eter. The return duct is 14" diameter for all air conditioning units. The flexible ducts can be connected to the corresponding fittings with the clamps pro- vided with the ducts.
-
Page 8: Condensate Drain
Low Voltage Route 24vcontrol wires through the sealing grommet near the power entrance. Connect the control wires to the leads in the low voltage area. (See Figure 10). OVERCURRENT PROTECTION In general, the best fuse or breaker for any air conditioner is the smallest size that will permit Low Voltage... -
Page 9: System Operation
4 Wire Heat/Cool Thermostat 2 Wire Cooling Thermostat Control Wire Leqend SingleStageElectricHeat Green - BJower ReJay Red - Transformer ---_-RED Yellow- Cooling Stage ---_YELLOW YELLOW Brown - Heating Stage ---_GREEN GREEN Orange - Heating 2rid Stage BROWN BROWN ORANGE Two Stage Electric Heat ---_-RED ---_-YELLOW ---_-GREEN... - Page 10 Turn on power supply at the disconnect Is the unit installed with the proper clear- switch. ances (See Figure 2)? Set the system switch to ON or COOL. Set the temperature setting to below room Is the wiring correct according to the wiring temperature.
- Page 11 13 SEER - Charging Charts OUTDOOR TEMPERATURE/°F) Suct. Dis. Dis. Dis. Dis. Dis. Dis. Dis. Dis. Dis. Dis. Dis. Dis. Dis. Dis. Dis. Dis. Press, Press. Temp. Press. Temp. Press. Temp. Press. Temp. Press. Temp. Press. Temp. Press. Temp. Press. Temp. 165 _ 251 I 163 170 I 255 I 168 2-1_...
- Page 12 13 SEER - Charging Charts - Continued OUTDOOR TEMPERATURE/°F) Suct. Dis. Dis. Dis. Dis. Dis. Dis. Dis. Dis. Dis. Dis. Dis. Dis. Dis. Dis. Dis. Dis. Press. Press. Temp. Press. Temp. Press. Temp. Press. Temp. Press. Temp. Press. Temp. Press. Temp. Press. Temp. 3-1/2 OUTDOOR TEMPERATURE/°F) Suct.
- Page 13 13 SEER - Charging Charts - Continued OUTDOOR TEMPERATURE (°F) Suct. Dis. Dis. Dis. Dis. Dis. Dis. Dis. Dis. Dis. Dis. Dis. Dis. Dis. Dis. Dis. Dis. Press. Press. Temp. Press. Temp. Press. Temp. Press. Temp. Press. Temp. Press. Temp. Press. Temp. Press. Temp. 189 _ 283 I 189 193 I 287 I 193 OUTDOOR TEMPERATURE/°F)
-
Page 14: Fan Motor
NOTES: Disconnect all power before servicing. Couper le courant avant de faire letretien. For supply connections use copper conductors only. Employez uniquement des conducteurs en cuivre Not suitable on systems that exceed 150 V to ground. Ne convient pas aux installations de plus de 150V a la terre. - Page 15 Packaged Air Conditioner =Single Phase NOTES: Disconnect all power before servicing, 1. Couper le courant avant de faire letretien. Legend For supply connections use copper conductors only. Employez uniquement des conducteurs en cuivre Not suitable on systems that exceed 150 V to ground, Ne convient pas aux installations de plus de 150 V a la terre.
- Page 16 iNSTALLER PLEASE LEAVE THESE iNSTALLATiON iNSTRUCTiONS WiTH THE HOMEOWNER. III IIIIIllllllllilllll Ill II! 708548B (Replaces 708548A) Specifications and illustrations subject to change without notice and without NOR_IE incurring obligations. O'Fallon, MO 708548B Printed in U.S.A. (01/07)