Table of Contents
Advertisement
Advertisement
Table of Contents

Related Manuals for Pfaff smart 100s


Summary of Contents for Pfaff smart 100s
- Page 3 Congratulations As the owner of a new sewing machine, you are about to begin an exciting adventure in creativity. From the moment you first use your machine, you will know you are sewing on one of the easiest to use sewing machines ever made. May we recommend that, before you start to use your sewing machine, you discover the many advantages and the ease of operation by going through this instruction, step by step, seated at your machine.
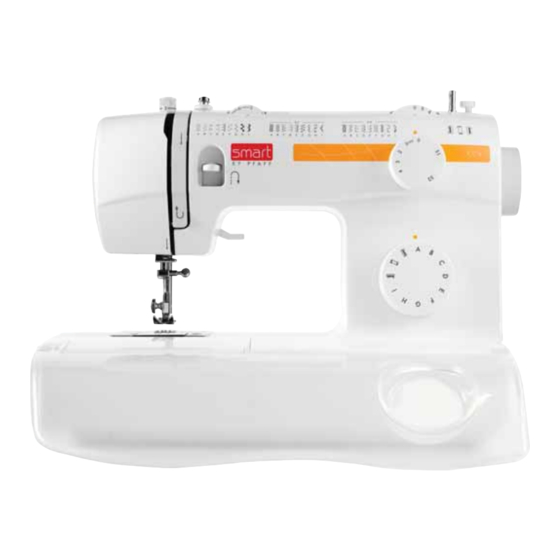
- Page 5 Principal parts of the machine 1. Tension dial 2. Bobbin thread guide 3. Thread take-up 4. Reverse lever 5. Thread cutting 6. Presser foot 7. Needle plate 8. Accessory tray 9. Bobbin winder 10. Stitch width dial 11. Stitch length dial 12.
- Page 9 Accessory tray Keep the snap-in accessory tray horizontal, and push it in the direction of the arrow. (1) Remove the accessory tray to sew cylindrical pieces such as sleeve cuffs. The inside of the snap-in accessory tray can be utilized to store your accessories.
- Page 11 Push the new bulb upward into the holder as far as it will go and turn it half a rotation in a clock-wise direction until it held firmly. Replace the cover and tighten screw. Should there be any problem, ask your authorized Pfaff dealer for advice.
- Page 13 until (f) will Note: You can use the standard foot for all stitches. Twn power switch to off (“0”) when canying out any of the above erations!
- Page 14 •...
- Page 15 Inserting the bobbin When inserting or removing the bobbin, the needle must be in the highest position. 1. Insert the bobbin the bobbin case with the thread running counterclockwise direction (arrow). 2. Pull the thread through the slit (A). 3. Draw the thread clockwise until it slips into the notch (B). 4.
- Page 16 Inserting and changing needle Change the needle regularly, especially if it is showing signs of wear and causing problems. Insert the needle following the illustrated instructions. A. Loosen the needle clamp screw and tighten again after inserting the new needle. (1) B.
- Page 19 aising the bobbin thread old the upper thread with the left hand. Turn the handwheel (1) owards you (counterclockwise) lowering, then raising needle. 3ently pull on the upper thread to bring the bobbin thread up hrough the needle plate hole (2). .ay both threads to the back under the presser foot.
- Page 20 Reverse sewing Reverse sewing is used for locking the end of seams and where needed. At the end of seam, press down the reinforcement reverse sewing lever and touch the foot control lightly. Sew a few reverse stitches. Release lever and the machine will sew forwards again (All).
- Page 21 Matching needle! fabric! thread NEEDLE, FABRIC, THREAD SELECTION GUIDE THREAD NEEDLE SIZE FABRICS Light-duty thread in cotton, nylon, polyester or cotton Lightweight fabrics: thin cottons, voile, serge, silk, muslin, Qiana, 9-11 (70-80) wrapped polyester. interlocks, cotton knits, tricot, jerseys, crepes, woven polyester, shirt & blouse fabrics.
- Page 22 ‘-‘...
- Page 27 “ “-...
- Page 31 ‘0”. is filled with until...
- Page 32 “0”. firmly in its with with with...
- Page 33 “0”. with...
- Page 34 Twin needle (Optional) Turn stitch width dial to “0”. Turn stitch length dial to the desired stitch length. Turn stitch selector to straight stitch, center needle position.. For twin needle sewing, insert the extra spool pin (included with the accessories) into the hole on top of the machine. Make sure that the two threads used to thread the twin needle are of the same weight.
- Page 35 Maintenance Attention: Disconnect the machine from the wall outlet before carrying out any maintenance or changing the sewing light bulb. Cleaning If lint and bits of thread accumulate in the hook, this will interfere with the smooth operation of the machine. Check regularly and clean the stitching mechanism when necessary.