Advertisement
Quick Links
Assembly Instructions
for the N!ergy 1210 Tent
Component List:
1 Tent
2 Tent Poles
1 Carry Bag
1 Stake Bag W/Stakes
1 Rain Fly
2 Fly Poles
1 Pole Bag
6 Pull Out Cords
1 Gear Loft
1 Divider
NOTE:
• Although it is possible to pitch this tent alone, it is faster/easier with two
people.
• Do not drop tent bag or pole bag on its end. Do not bounce tent bag on
its end to get the tent out. These actions may cut the shockcord and/or
damage the pole ends.
• The N!ergy series tents are pre-wired with three 12V outlets. Take care
to keep them in their sleeves and avoid stepping on the sockets and
wires during assembly.
1. Unroll and unfold the tent on the ground. Separate the rest of the
components and place to one side. Open the door before pitching the
tent. Do not stake the tent down (however, in windy conditions, stake
down one corner that faces into the wind).
B
C
fig 1
2. Assemble all of the shockcorded poles. Keep the end sections from
snapping together, as this can damage the ends. Make certain each
plain end has been properly seated into the metal ferrule.
tent poles
fly poles
3. Insert an assembled pole
through both sleeves from A to
B. Insert the second pole through
the sleeves from C to D, forming
an X across the tent. See fig 1.
There is a fabric loop at the tent's
peak. Capture this loop with the
top pole as you move through
the sleeves. See fig 1 & 2.
REV D 4.09
4. At A, insert the web corner pin into the end of the
tent pole ferrule. At B, grasp the tent corner pin in one
hand, the tent pole in the other. Arch the pole and
place the pin into the end of the pole. See Fig 3 & 4.
Repeat this with the second pole from C to D raising the
tent as you go. See fig 5.
B
D
5. Start at the bottom and attach all the clips to
A
the poles to create a freestanding tent. Place it in
the desired location. See fig 6.
6. Stake the tent down through the
corner loops. Stake the opposite corners
while applying tension to smooth the
floor wrinkles. Also, stake out the beckett
beneath each of the side windows. See
fig 7 & 8.
fig 2
7. Attach the fly to the poles. Lay out the fly with the inside side up, on ground at the front of
the tent. Fit the fly poles into the pockets sewn to the hem. The poles run from side to side
down the center of the fly forming an X. Secure the fly to the poles by wrapping the hook &
loop fastener around the fly poles. See fig 9, 10 and 11.
fig 3
fig 4
8. Attach the fly to the tent. Turn the fly assembly over and align it so
that the poles point out over the doors. Grasp the corners of the of the
fly and drag them up and over the roof to completely cover the tent.
A
(This is much easier with two people)
At the corners of the tent, reach under the fly and attach the hook & loop
straps to the tent poles, securing the fly in place. See fig 12.
At the bottom/corners of the tent, attach the shockcorded J-hooks to the
rings on the corner webs. See fig 13.
fig 5
9. Tie a guy rope to each of the 4
rings attached to the fly and stake
out. Adjust tension with the in-line
sliders. See fig 14 & 15.
fig 6
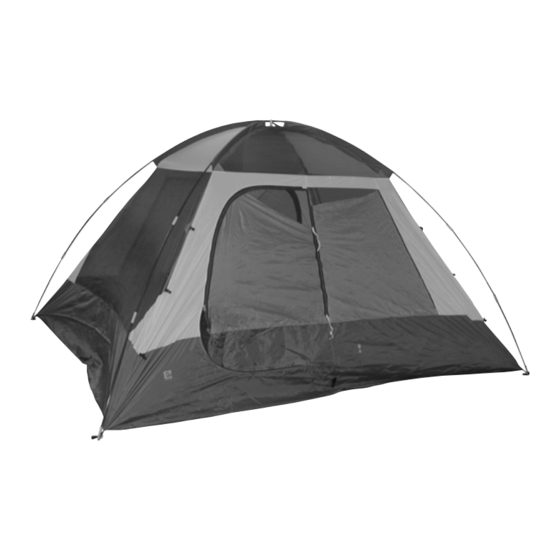
YOUR TENT IS READY !
E! Power System: To use, you will need a power source. Our E! Power Pak™ is sold separately. Once connected to
power, the control will display "green" at any switch that is "ON" and the "ON" socket will glow blue. See fig 16.
fig 7
E! Power Port: Open zipper and run extension cord through opening.
Close zipper so that it rests next to the extension cord. Make sure the
zipper cover is not twisted or tucked. The cover must lay flat against
the outside of the tent to keep out rain.
Accessories: E! Power Fan/Light, E! Power Reading Light and an E!
Power 12v Adapter Cord.
Sweep Out: Inside, at the bottom of the door is a sewn-in web loop. Pull
this loop to the outside and stake it down to provide a ready exit for
floor sweepings. See fig 17.
Take Down: Pull up all stakes. Release the fly's hook & loop straps. Remove fly.
Remove fly poles. Remove clips from tent poles and pull poles off of the pins.
fig 8
Collapse all poles and stow. Fold the tent onto itself then fold the fly and lay it
on tent. Roll up both towards the open door and stow.
Read the important safety instructions on the reverse side.
fig 9
fig 11
fig 10
fig 12
fig 13
fig 14
fig 15
blue
green
fig 16
fig 17
Advertisement

Related Manuals for Eureka N!ergy 1210


Summary of Contents for Eureka N!ergy 1210
- Page 1 7. Attach the fly to the poles. Lay out the fly with the inside side up, on ground at the front of the tent. Fit the fly poles into the pockets sewn to the hem. The poles run from side to side down the center of the fly forming an X.
- Page 2 • Never let tent poles snap together as this can damage the pole end. • Do not drop tent or pole bags on their ends and do not bounce a tent bag on its end to get the tent out. These actions may cut the shock cord and damage the pole ends.