Epson Stylus Photo RX620 Product Information Manual
Hide thumbs
Also See for Stylus Photo RX620:
- Quick manual (90 pages) ,
- Basic operation manual (45 pages) ,
- Start here manual (8 pages)
Table of Contents
Advertisement
P R O D U C T I N F O R M A T I O N G U I D E
UPDATE
12/1/04
This package provides a new product section to be added to the Epson Product Information Guide. The table of
contents of this section is listed below.
Epson Stylus
®
TABLE OF CONTENTS
......................................................................................................................... Epson Stylus Photo RX620 PartsEpson
Accessories........................................................................................................ Epson Stylus Photo RX620 - 1
Specifications.................................................................................................... Epson Stylus Photo RX620 - 2
Loading Paper .................................................................................................. Epson Stylus Photo RX620 - 5
Placing the Original Document........................................................................ Epson Stylus Photo RX620 - 6
Copying Without a Computer ......................................................................... Epson Stylus Photo RX620 - 7
Viewing Photos from a Memory Card .............................................................. Epson Stylus Photo RX620 - 9
Printing From a Memory Card......................................................................... Epson Stylus Photo RX620 - 9
Printing From Other Devices ........................................................................... Epson Stylus Photo RX620 - 11
Using EPSON Smart Panel .............................................................................. Epson Stylus Photo RX620 - 11
Scanning to a File With EPSON Scan.............................................................. Epson Stylus Photo RX620 - 12
Scanning From a Program ................................................................................ Epson Stylus Photo RX620 - 12
Scanning With the Scan Button ....................................................................... Epson Stylus Photo RX620 - 12
Placing Film or Slides on the Scanner............................................................... Epson Stylus Photo RX620 - 13
Cleaning the Print Head................................................................................... Epson Stylus Photo RX620 - 14
Replacing Ink Cartridges .................................................................................. Epson Stylus Photo RX620 - 15
Aligning the Print Head ................................................................................... Epson Stylus Photo RX620 - 16
Transporting the RX620 .................................................................................. Epson Stylus Photo RX620 - 17
Related Documentation.................................................................................... Epson Stylus Photo RX620 - 18
Photo RX620
12/04
EPSON
Advertisement
Table of Contents

Related Manuals for Epson Stylus Photo RX620


Summary of Contents for Epson Stylus Photo RX620
-
Page 1: Table Of Contents
P R O D U C T I N F O R M A T I O N G U I D E UPDATE 12/1/04 This package provides a new product section to be added to the Epson Product Information Guide. The table of contents of this section is listed below. Epson Stylus Photo RX620 ®... -
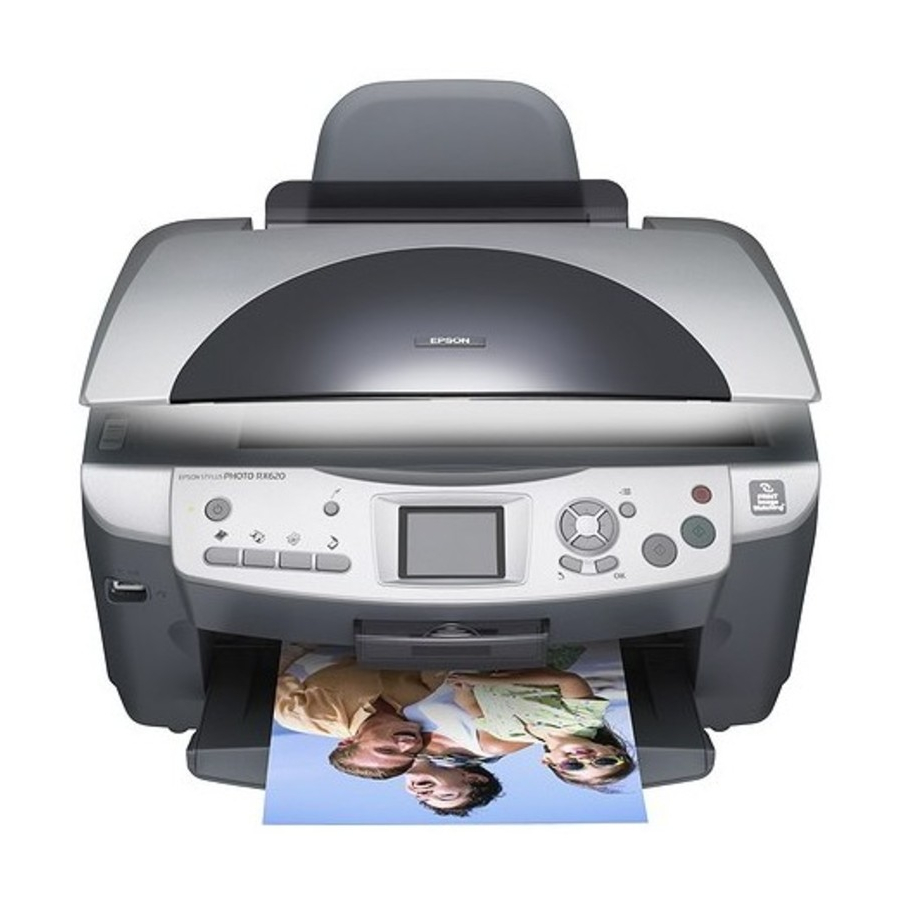
Page 2: Stylus Photo Rx620
Epson Stylus Photo RX620 Control panel Epson Stylus Photo RX620 Parts Paper support LCD screen Accessories Scanner lid Ink Cartridges On (power) button Cartridge Part number Black T048120 Cyan T048220 Light Cyan T048520 Output tray Magenta T048320 Light Magenta T048620... -
Page 3: Specifications
Epson Ink Jet Letter (8.5 × 11 inches) S041064 To ensure good results, use genuine Epson cartridges. Other Transparencies products may cause damage to your printer not covered by Epson’s Epson Iron-On Transfer Letter (8.5 × 11 inches) S041153 warranty. - Page 4 Before printing large jobs using an extended margin setting, print a single sheet to confirm print quality. Electrical You can create borderless prints using certain special Epson papers. Input voltage range 108 to 132 V (check the label on the...
- Page 5 Epson Stylus Photo RX620 Environmental SD (Secure Digital) Card MMC (MultiMediaCard) Temperature miniSD Card* Operation 50 to 95 °F (10 to 35 °C) Requires an adapter Storage* – 4 to 140 °F (– 20 to 60 °C) 1 month at 104 °F (40 °C) Transit* –...
-
Page 6: Loading Paper
❏ If you’re using special paper, follow the instructions that came with the paper. Loading Special Papers Follow these capacity guidelines when loading Epson ink jet 3. Press the sides of the left edge guide together and slide it all papers: the way to the left. -
Page 7: Placing The Original Document
Premium Bright White Paper and open the scanner lid completely. Then disconnect the cord from the TPU connector Epson Photo Quality Ink Jet Paper Photo Quality Ink Jet Paper and pull the lid straight up. Turn on the RX620 Epson Photo Quality Ink Jet Cards... -
Page 8: Copying Without A Computer
Copying Without a Computer the sheet feeder from these settings: Follow the steps below to copy a photo or document using Paper Type just the RX620. (To copy using Epson Smart Panel, see the setting Loaded paper on-screen Reference Guide.) -
Page 9: Changing The Copy Layout
4 x 6-, 5 x 7-, 8 x 10-inch, or letter size * Borderless is available only on selected Epson photo papers. paper, slightly enlarging it as ** If you notice reduced print quality at the bottom of your copy, try using the necessary** Standard setting. -
Page 10: Viewing Photos From A Memory Card
Epson Stylus Photo RX620 Note: Printing From a Memory Card To restore the color in an old film strip photo or slide and copy or scan them, see the on-screen Reference Guide. You can print photos directly from your digital camera’s Canceling Copies memory card, without connecting the RX620 to a computer. -
Page 11: Selecting A Range Of Photos
Select Print Plain paper Plain button. Epson Photo Quality Ink Jet Paper 4. To print one or a few photos, use the l and r buttons to Epson Premium Bright White Paper Epson Photo Quality Self Adhesive Sheets navigate to the first photo you want to print, then use the u... -
Page 12: Printing From Other Devices
Epson Stylus Photo RX620 Paper Type Using EPSON Smart Panel Loaded paper type setting Epson Premium Semigloss Photo Paper SemiGloss Smart Panel is an easy, step-by-step interface for scanning, Epson Semigloss Scrapbook Photo Paper copying, printing, and more. Double-click the... -
Page 13: Scanning To A File With Epson Scan
Adobe Photoshop or ArcSoft PhotoImpression—using Epson (Requires a POP3 compliant e-mail program.) Scan. Epson Scan provides three scanning modes for progressive levels of control over your scanned image: Scan to E-mail ❏... -
Page 14: Placing Film Or Slides On The Scanner
Epson Stylus Photo RX620 ❏ “Loading 35 mm Film Strips in the Film Holder” below 8. Click OK. Epson Scan scans your document or photo to the location you specified. (for film) ❏ “Placing 35 mm Slides on the Film Holder” on page 14... -
Page 15: Cleaning The Print Head
Epson Stylus Photo RX620 Placing 35 mm Slides on the Film Holder Cleaning the Print Head 1. Position the film holder so that the 35 mm slide section faces the center of the scanner glass. The positioning posts If your printouts are unexpectedly light, or dots or lines are fit in two small holes near the scanner lid, as shown. -
Page 16: Replacing Ink Cartridges
Epson Stylus Photo RX620 If you don’t see any improvement after cleaning three or four Ink Cartridge Precautions times, check the troubleshooting solutions in the on-screen Warning: Reference Guide. You can also turn the RX620 off and wait Keep ink cartridges out of the reach of children. -
Page 17: Aligning The Print Head
Epson Stylus Photo RX620 3. Open the ink cartridge holder’s cover. 7. Close the ink cartridge holder’s cover, then close the scanner section. Caution: Never attempt to open the cartridge holder’s cover while the print head is moving. Wait until the cartridges have moved to the replacement position. -
Page 18: Transporting The Rx620
Epson Stylus Photo RX620 5. On the test page, select the pattern in each row with the two 2. Open the scanner lid and slide the transportation lock to vertical lines most precisely printed on top of each other. locked position. -
Page 19: Related Documentation
Epson Stylus Photo RX620 10. Close the scanner unit carefully until it clicks back into Related Documentation place. 11. Repack the RX620 and its attachments in the original box CPD-15868 Epson Stylus Photo RX620 using the protective materials that came with them.