Table of Contents
Advertisement
Quick Links
Download this manual
See also:
Owner's Manual
o o o o o o o o o o o o o o o o o o o o o o o o o o o o o o o o o o o o o o o o o o o o o o o o o o o o o o o o o o o o o o o o o o o o o o o o o
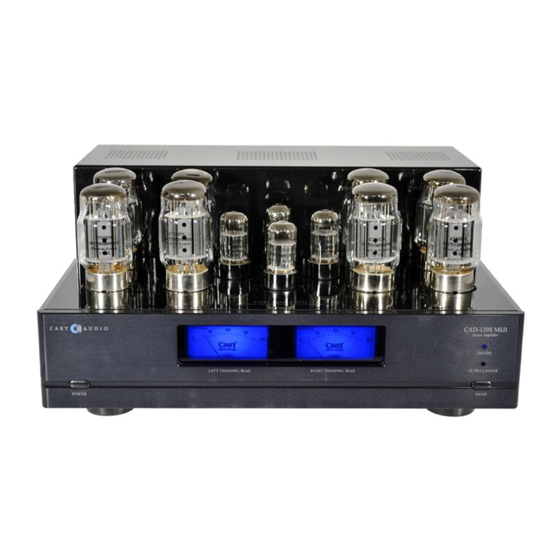
CAD 120S MKII
Stereo Power Amplifier
NOTE: Before installing your new component, please read this manual carefully
as it will inform you of the product specifications, proper installation and correct
operating procedures for your unit. Also included in this manual are guidelines
on how to service and care for your new Cary Audio Design product.
Advertisement
Table of Contents

Related Manuals for Cary Audio Design CAD 120S MKII


Summary of Contents for Cary Audio Design CAD 120S MKII
- Page 1 NOTE: Before installing your new component, please read this manual carefully as it will inform you of the product specifications, proper installation and correct operating procedures for your unit. Also included in this manual are guidelines on how to service and care for your new Cary Audio Design product.
-
Page 2: Table Of Contents
TABLE OF CONTENTS Important Safety Instructions ..........2 Welcome Thank You ................4 Unpacking and Installation ............5 Specifications Specifications ................6 Controls & Displays Front Panel ................7 Top Panel .................. 7 Rear Panel ................8 Operation Speaker Binding Posts ............. 9 Triode or Ultra-Linear Mode Switch ........ -
Page 3: Important Safety Instructions
IMPORTANT SAFETY INSTRUCTIONS WARNING: The triangle with the lightning flash symbol displayed on the unit advises the user of dangerous uninsulated voltage inside the product’s enclosure. CAUTION: To reduce the risk of electric shock, do not remove the cover. There are no user-serviceable parts inside;... - Page 4 IMPORTANT SAFETY INSTRUCTIONS 15. REPLACEMENT PARTS: When replacement parts are required, be sure the service technician has used replacement parts specified by the manufacturer or those having the same characteristics as the original parts. Unauthorized substitutions may result in fire, electric shock or other hazards. 16.
-
Page 5: Welcome
THANK YOU Thank you for purchasing the CAD 120S MKII Stereo Vacuum Tube Amplifier The stereo vacuum tube power amplifier has a great history at Cary Audio Design. The previous generation CAD 120S, Rocket 88R, and V 12R power amplifiers garnered fantastic reviews for stable power output, incredible value for the money and sound quality along with ‘Best Buy’... -
Page 6: Unpacking And Installation
If you are the original purchaser of this unit and you purchased it in the United States, fill out the enclosed warranty registration card and return it to Cary Audio Design within 15 days of your purchase. Warranty restrictions apply. Consult the warranty section of this manual for details. -
Page 7: Specifications
SPECIFICATIONS Operating the CAD 120S MKII is a simple procedure since each unit is designed for long-term stability in virtually any home operating situation. However, if the unit is operated outside the parameters outlined in this owner’s manual, damage may occur. Please read this manual carefully before operating your new CAD 120S MKII. -
Page 8: Controls & Displays
CONTROLS AND DISPLAYS FRONT PANEL 1. POWER • Press once to turn the power ON. • Press again to turn the power OFF. 2. LEFT CHANNEL BIAS • Indicates a proper DC current of between 130 to 150 ma. 3. RIGHT CHANNEL BIAS •... -
Page 9: Rear Panel
CONTROLS AND DISPLAYS REAR PANEL 1. RIGHT CHANNEL OUTPUT – NEGATIVE LEAD 2. RIGHT CHANNEL OUTPUT – POSITIVE LEAD 3. RIGHT CHANNEL INPUT – XLR INPUT 4. RIGHT CHANNEL INPUT – RCA INPUT 5. TUBE FUSE ½ AMP FAST BLOW RIGHT CHANNEL 6. -
Page 10: Operation
OPERATION Your new CAD 120S MKII power amplifier is ready for operation after the speaker, interconnect cables and the vacuum tubes have been installed into their proper sockets. Refer to the labeling on the chassis for placement and proper tube installation. SPEAKER BINDING POSTS The CAD 120S MKII will drive loudspeaker loads from as low as 2 ohms to a high of 16 ohms without any adjustment. -
Page 11: Break-In Period
OPERATION On the rear panel of the CAD 120S MKII is a bias adjustment potentiometer for each channel. This is a screwdriver slotted shaft control. After the amplifier has been powered up for a few minutes observe the meter readings. The proper reading should be 140 ma. -
Page 12: Service And Care
(RA). Refer to the next section for details about returning equipment to Cary Audio Design. Should the unit be lost or damaged in shipment, Cary Audio Design will assume no responsibility if the shipping company refuses to pay for damage due to improper packing or lack of insurance. -
Page 13: United States Limited Warranty
Cary Audio Design. Under no circumstances is Cary Audio Design liable for incidental or consequential damages. Any... - Page 14 SHIPPING INSTRUCTIONS In the event that the owner needs to return the unit to Cary Audio Design for service or repair of a possible defect, he must follow these steps: 1.
- Page 15 CARY AUDIO DESIGN 1020 Goodworth Drive, Apex, NC 27539 phone 919-355-0010 fax 919-355-0013 www.caryaudio.com o o o o o o o o o o o o o o o o o o o o o o o o o o o o o o o o o o o o o o o o o o o o o o o o o o o o o o o o o o o o o o o o o o o o o o o o o o o o o o o o o o o o o o...