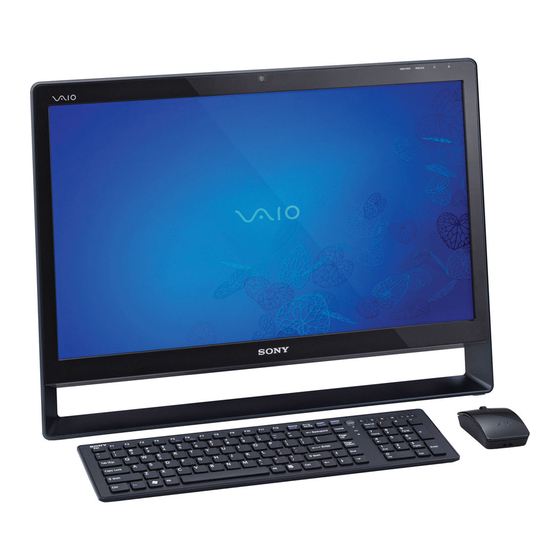
Sony VPCL135FX Replacement Instructions
Vpcl1 series hard disk drive replacement instructions
Hide thumbs
Also See for VPCL135FX:
- Safety information manual (17 pages) ,
- Replacement instructions (4 pages) ,
- Quick start manual (2 pages)
Advertisement
Quick Links
o
o
Step 1. Prepare the Computer.
CAUTION:
Make sure the computer is
turned off, and the AC plug is disconnected.
Failure to do so can result in damage to the
computer.
Place the computer standing up on a
protected surface with the back portion
facing you.
P/N 989200672
Rev. A
VPCL1 Series Hard Disk Drive
IMPORTANT!
PLEASE READ BEFORE YOU START
Carefully lay computer down. LCD
Step 2. Identify the (4) screws
securing the HDD access cover/Rear
Stand.
Replacement Instructions
face down.
(HDD Removal) Steps 3-9
Step 3. Using the enclosed magnetic
screwdriver, remove the two (4) screws
securing the HDD access cover.
Advertisement

Summary of Contents for Sony VPCL135FX
- Page 1 VPCL1 Series Hard Disk Drive Replacement Instructions IMPORTANT! PLEASE READ BEFORE YOU START (HDD Removal) Steps 3-9 Step 1. Prepare the Computer. Step 3. Using the enclosed magnetic screwdriver, remove the two (4) screws CAUTION: Make sure the computer is securing the HDD access cover.
- Page 2 VPCL1 Series Hard Disk Drive Replacement Instructions ep 4. Carefully lift the stand (Bottom side Step 5. Set HDD cover aside once Identify the (4) screws securing Step 6. first) to remove the HDD access cover removed. the HDD to the computer. CABLES ATTACHED TO DO NOT PULL.
- Page 3 VPCL1 Series Hard Disk Drive Replacement Instructions Step 12. All (4) screws and bracket After the HDD is completely Step 13. Step 14. Remove the (2) screws to be should now be removed from old HDD. removed from bracket, identify the (2) used on new HDD.
- Page 4 Power on your computer and continue with the recovery process by following the instructions described on the back of the recovery disk’s case. Return the old HDD to Sony following the included shipping instructions. Step 23. Re-install the (4) screws previously removed.


