
Related Manuals for Hoover UH60010 - WindTunnel Bagless Self Propelled Upright Vacuum


Summary of Contents for Hoover UH60010 - WindTunnel Bagless Self Propelled Upright Vacuum
- Page 1 Self-Propelled ™ WindTunnel Bagless with Powered Hand Tool by HOOVER ® This product was designed for easy Assembly (See page 3) www.hoover.com...
-
Page 2: Table Of Contents
Hoover Factory Service Center or Authorized Hoover Warranty Service Dealer (Depot). • Use vacuum cleaner only for its intended use as described in the instructions. Use only attachments recommended by The Hoover Company; others may cause © 2001 The Hoover Company hazards. -
Page 3: Assembling Cleaner
This cleaner was inspected and packaged carefully before being shipped from the factory. If you should happen to need assistance during assembly or operation, Visit us online at www.hoover.com to find the service outlet nearest you (click on the “Service” button) OR Call 1-800-944-9200 for an automated referral of authorized service outlet locations (U.S. -
Page 4: How To Use
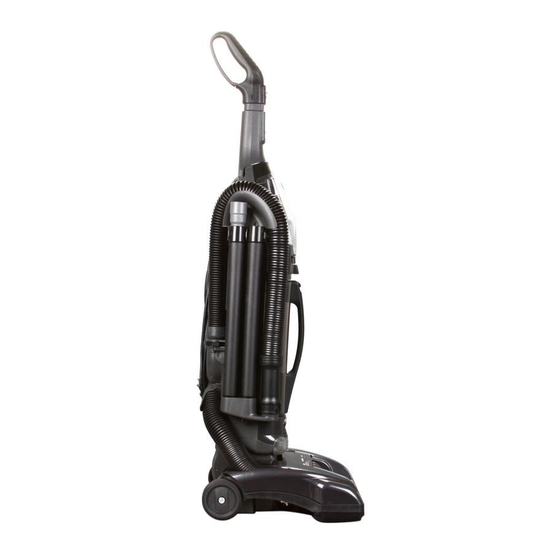
NOTE: Hose must be co 2. How to use Cleaner description The assembled cleaner will 16. Nozzle control knob: look like the drawing. slide knob to correct setting for height of car- 1. Handle pet being cleaned. 2. Self-propel button 17. -
Page 5: Embedded Dirt Finder
AUTOMATIC CARPET HEIGHT BRUSH ROLL BRUSH ROLL Handle positions Carrying cleaner Carpet height The handle of your cleaner has three The cleaner can be lifted by using the adjustment positions; upright for storage and when carrying handle on the back of the When it is necessary to raise and lower using cleaning tools;... -
Page 6: Edge Cleaning
2-12 2-10 2-11 AUTOMATIC BRUSH ROLL Automatic brush roll Edge cleaning Cleaning lightweight indicator flexible rugs Special edge groomers are provided on both sides of the nozzle to remove dirt When red is in the OFF window, brush Stand on one end of rug and move in carpet near baseboards and furniture. -
Page 7: Emptying Cup
Extra hose 2-16 2-17 (available at additional cost if not includ- ed with your cleaner) The extra reach hose provides a 20 foot reach to allow easier cleaning of stairs and hard-to-reach high places. To attach hose to your vacuum cleaner, follow the instructions below. -
Page 8: Cleaning Filters
Close dirt cup lid. To remove loose dirt from the HEPA filter, Press down on area indicated (H) to turn knob (G) on top of dirt cup lid at open dirt cup lid. Empty cup. Note: If dirt cup lid does not close com- least one complete turn. -
Page 9: Replacing Headlight
Headlight replacement 3-16 3-17 What to buy This cleaner uses a 12 volt, wedge base type 912 bulb, Hoover part No. 27313101. 3-15 Replacing lens Installing bulb Reposition lens and secure with the two Pull old bulb straight out of socket. Push Removing lens screws. -
Page 10: Replacing Belts
HOOVER belts with your cleaner. When purchasing a new belt, The flat (wide) belt is described below; ask for flat belt Hoover belt part no. the other is described under “Brush roll 38528035 (belt package part no. replacement”. -
Page 11: Replacing Brush Roll
To remove V-belt, slide back of belt brush roll. over pulley (C). Then firmly pull on belt and “snap” it out. Discard used belt. Replace with Hoover belt part no. 38528034 (belt package part no. 40201200). To install new belt (with lettering on out-... - Page 12 (Figs. 3-28 and 3-29. Pivot bottom plate down and snap closed. Replacing belt 3-36 When replacing belt, ask for HOOVER part No. 38528037. 1. Remove bottom plate, belt guard and brush roll as described in Figs. 3-28 through 3-30. 3-35 4.
-
Page 13: Maintenance
(U.S. only). and cleaning may continue. Do not send your cleaner to The Hoover If the thermal protector continues to acti- Company in North Canton for service, vate after following the above steps, this will only result in delay. -
Page 14: Trouble Shooting
Problem: Cleaning However, if the dirt does stop spinning Hoover Factory Service Center or an • Dirt cup lid not positioned properly AND there is a noticeable decrease of Authorized Hoover Warranty Service... -
Page 15: Warranty
The Hoover Company on-line at www.hoover.com This warranty does not cover pick up, delivery, or house calls; however, if you mail your appliance to a Hoover Factory Service Center for warranty service, transportation will be paid one way. While this warranty gives you specific legal rights, you may also have other rights which vary from state to state. - Page 16 HOOVER y son marcas registradas HOOVER et sont des marques déposées HOOVER and are registered trademarks R1 10-02 U6625/30-/55-900, U6630-960 Printed in Mexico 56511-B64...