DAELIM ET250 Owner's Manual
Hide thumbs
Also See for ET250:
- Service manual (24 pages) ,
- Specifications (1 page) ,
- Service manual (163 pages)
Table of Contents
Advertisement
Advertisement
Table of Contents

Related Manuals for DAELIM ET250


Summary of Contents for DAELIM ET250
-
Page 2: Table Of Contents
Tire & Wheel inspection Tire & Wheel inspection Tire Pressure Tire Pressure FUEL INDICATOR METER FUEL INDICATOR METER REVERSE INDICATOR LAMP REVERSE INDICATOR LAMP SPEEDOMETER & ODOMETER SPEEDOMETER & ODOMETER SPECIFICATIONS SPECIFICATIONS BREAK-IN YOUR NEW DAELIM ATV BREAK-IN YOUR NEW DAELIM ATV... - Page 3 TABLE OF CONTENTS TABLE OF CONTENTS THROTTLE LEVER THROTTLE LEVER Adjusting The Throttle Cable SPARK PLUG SPARK PLUG BRAKING SYSTEMS BRAKING SYSTEMS The Brake Cables Inspection The Brake Cables Adjustment The Brake Hoses Inspection To Fill The Reservoir Purging Brake Lines DRIVE CHAIN DRIVE CHAIN Chain Slack Adjustment...
-
Page 4: Your Responsibilities
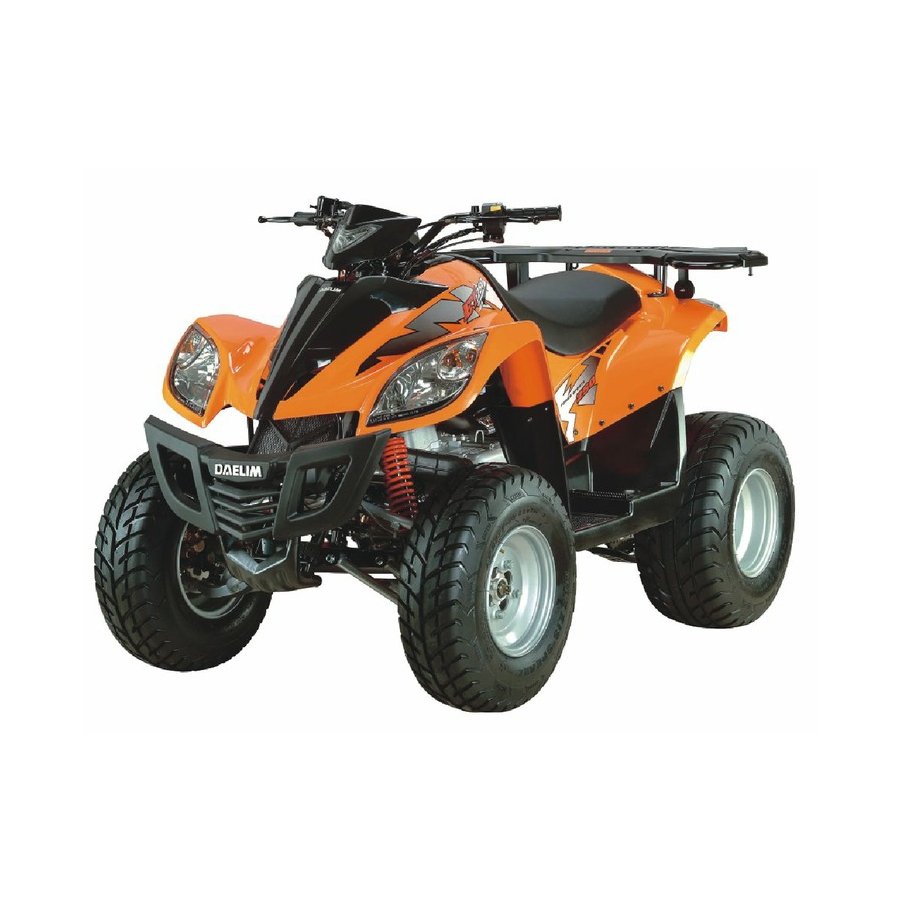
DAELIM DAELIM ET250 DAELIM YOUR RESPONSIBILITIES YOUR RESPONSIBILITIES DAELIM... - Page 5 (9) Reverse indicator lamp Rear cargo rack Rear cargo rack 12 12...
-
Page 6: Control Features
MANUAL CHOKE LEVER The throttle cable should be adjusted so there is 2mm, (1/8") free travel at the lever before The ET250 are equipped with a manually the throttle starts to open. operated carburetor choke system. This choke is operated by the lever at the bottom of the left hand control switch. -
Page 7: Fuel System
CONTROL FEATURES CONTROL FEATURES pressure to your front brakes so that the wheels lock up, stop turning, and causing a The rear brake is controlled by the long brake loss of steering control. if the front wheels lock lever on the left- handle bar. -
Page 8: Fuel Valve
CONTROL FEATURES CONTROL FEATURES Every time you refuel your unit, check the When the fuel valve set on the "ON" or "RES" rubber seal inside the cap for cuts, tears and position, the unit is equipped with a vacuum dirt. Clean or replace the seal if it becomes controlled fuel valve. -
Page 9: Tires And Wheels
CONTROL FEATURES CONTROL FEATURES Replace any tire or wheel found to be damaged. Operating your ATV with damaged tires or wheels is dangerous. Damaged tires or wheels can result in a sudden loss of tire pressure and control which could result in injuries. Check your tire pressure before each riding session and at each refueling operation. -
Page 10: Fuel Indicator Meter
FUEL INDICATOR METER FUEL INDICATOR METER REVERSE INDICATOR LAMP REVERSE INDICATOR LAMP Your ATV is equipped with a fully automatic C.V.T. transmission and has forward and reverse gearing. A transmission shifting shaft is located on the right hand side of your vehicle. The shifter has three positions "F"... -
Page 11: Speedometer & Odometer
SPEEDOMETER & ODOMETER SPEEDOMETER & ODOMETER... -
Page 12: Specifications
SPECIFICATIONS SPECIFICATIONS Engine Type 4 Stroke Single Cylinder Liquid cooled Displacement 249 cc 71mm * 63mm Bore / Stroke Compression 10.8:1 19ps @ 6500rpm Power Transmission Type Automatic (CVT V-belt + Reverse) Chassis Overall Length 1830mm / 72.0" Overall Width 1040mm / 40.9"... - Page 13 As the engine warms return the lever to As the engine warms return the lever to the full right position. (Choke open or off).] the full right position. (Choke open or off).] BREAK-IN YOUR NEW DAELIM ATV BREAK-IN YOUR NEW DAELIM ATV DAELIM...
- Page 14 DAELIM...
- Page 15 DAELIM...
-
Page 16: Throttle Lever
THROTTLE LEVER THROTTLE LEVER Throttle Stop Adjustment Boit Throttle and turn the throttle stop screw clockwise to reduce the throttle travel thus reducing the The throttle lever is located beside the right- maximum speed of the unit. Turning the stop handlebar grip and is operated by using the right- screw counter clockwise will increase the throttle hand thumb. -
Page 17: Braking Systems
BRAKING SYSTEMS BRAKING SYSTEMS Your ATV unit is equipped with dual front hydraulic disc brakes and a rear hydraulic disc brake. The front brakes (right) and rear brake (left) are applied by squeezing the brake lever on the right & left handle-bar , while the four wheel simultaneous brakes are applied pressing the brake pedal on the right-footrest. -
Page 18: To Fill The Reservoir
your fluid level and brake pads. If the brake lever Purging Brake Lines feels spongy or does not stop when squeezed, you may have air in the lines. All air must be purged from the brake lines for the disc brake to operate properly. -
Page 19: Drive Chain
DRIVE CHAIN DRIVE CHAIN AIR FILTER AIR FILTER AIR FILTER AIR FILTER Air Filter Maintenance Air Filter Maintenance 10-20mm Air Filter Box Air Filter Box 0.39"-0.79" The drive chain will stretch with use and will require periodic adjustments. To check the chain tension, remove the chain guard and measure the slack. -
Page 20: Engine Warter Cooler
PLEASE PAY SPECIAL ATTENTION that using ENGINE WARTER COOLER ENGINE WARTER COOLER poor quality coolant may shorten the service life The engine coolant is cooled by an external of the radiator. radiator located at the front of the unit. It is Concentration:50%.(Use distilled water when important that the radiator fins be kept free of mixing coolant) -
Page 21: Engiee Oil
ENGINE OIL ENGINE OIL Engine Oil Drain Checking Engine Oil Level Engine Oil Dip Stick & And F ill Tube Front Front (Bottom of Engine) 2. Remove the crankcase drain plug located on the bottom of the crankcase on the underside of the unit. -
Page 22: Electrical Battery
Transmission Oil Drain Front Front Battery GTX12-BS (Bottom of Engine) When reinstalling the battery, be sure to connect the red cable to the positive (+) terminal and the 2.R emove th e tr ansmission b ox d rain p lug black cable to the negative (-) terminal. - Page 23 I, L...
- Page 26 H9900-LRF0-0000 ( )