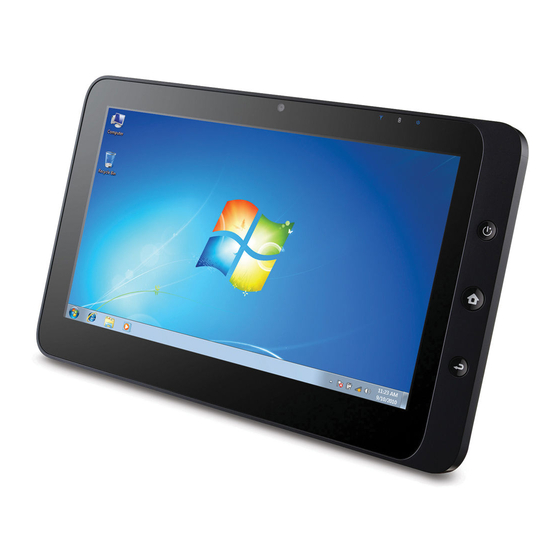
ViewSonic ViewPad 10 Firmware Update Procedure
Touch panel firmware update procedures
Hide thumbs
Also See for ViewPad 10:
- User manual (264 pages) ,
- Datasheet (2 pages) ,
- Software manual (98 pages)
Advertisement
Quick Links
Download this manual
See also:
User Manual
ViewPad 10 Touch Panel Firmware Update Procedure
Equipment required: USB Mouse, USB Keyboard (optional)
1. Make sure the AC Adapter is connected to the ViewPad 10 during the firmware update to prevent power
loss.
2. Plug the USB Mouse (and USB Keyboard).
3. Boot the ViewPad 10 in Windows 7 mode. Extract the firmware zip file to a folder on the desktop.
4. Open the folder and find HID_GUI_V1.2.exe. Right-click on the executable and select "Run as
Administrator". A "User Account Control" dialog box will appear. Click "Yes" to allow the change then
you will see the screen below:
5. Under EEPROM download, click OPEN and the tool will automatically browse to a folder to include a file
named "Hanvon10p1_v89r1003b1_1D_20110310_HC.eep.pix".
6. Double click Hanvon10p1_v89r1003b1_1D_20110310_HC.eep.pix, you will see it is added to the dialog
box of the updating tool. DO NOT click any button at this time.
Advertisement

Summary of Contents for ViewSonic ViewPad 10
- Page 1 2. Plug the USB Mouse (and USB Keyboard). 3. Boot the ViewPad 10 in Windows 7 mode. Extract the firmware zip file to a folder on the desktop. 4. Open the folder and find HID_GUI_V1.2.exe. Right-click on the executable and select “Run as Administrator”.
- Page 2 7. Open Device Manager, on the expanded list of Other Devices, right click Touch, then click Update Driver Software 8. On the dialog box, choose Browse my Computer for driver software...
- Page 3 9. Click Browse, and find …\Update FW Tool\USB_Driver, choose it then click OK 10. On the succeeding Dialog Box, click “Always install this software”.
- Page 4 11. Check Device Manager, you can see the driver is successfully installed. 12. After driver installed, the font of Download in below dialog box will turn red. Now, click Download to start updating FW. 13. After the FW is updated successfully, you will see EEP Pix File download: Success!! in the dialog box.
- Page 5 14. Click HID.After HID is clicked, you will see Hid Version = 3893 in the dialog box, which means FW updating is done. 15. Close tool.


