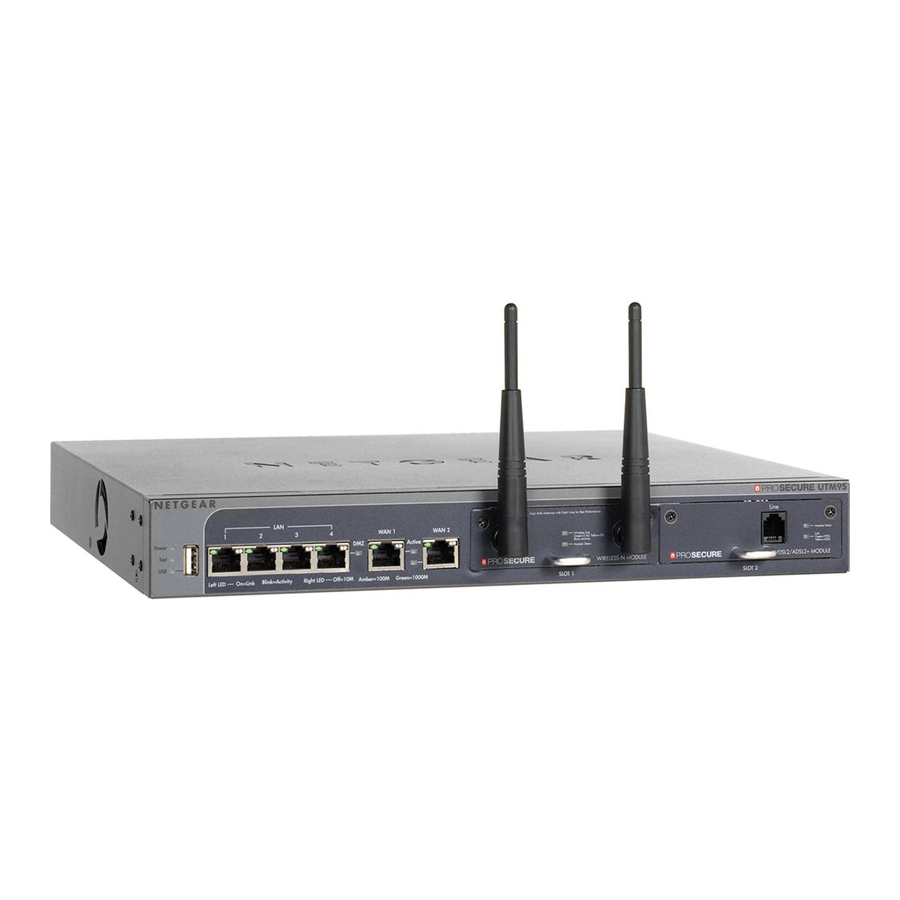
NETGEAR UTM9S Integration Manual
Utm - readynas integration guide
Hide thumbs
Also See for UTM9S:
- Reference manual (631 pages) ,
- Quick start manual (16 pages) ,
- Installation manual (2 pages)
Advertisement
Quick Links
Advertisement

Summary of Contents for NETGEAR UTM9S
- Page 1 Application Notes UTM ReadyNAS® Integration Guide...
-
Page 2: Table Of Contents
Application Notes T a b l e o f C o n t e n t s Contents ............................2 Concepts ............................3 Components ..........................3 Configuration Steps ........................4 Configuring the ReadyNAS ....................4 Configuring the UTM ......................6 Enabling Quarantine on the UTM ..................7 Conclusion ............................8... -
Page 3: Concepts
Many such devices stored very little logging information on the unit itself and required the purchase of a separate “report manager” appliance just to store logs. With the NETGEAR ProSecure UTM and NETGEAR ReadyNAS, administrators can now utilize their ReadyNAS storage device to keep logs and quarantined files. -
Page 4: Configuration Steps
Application Notes C o n f i g u r a t i o n S t e p s Configuring the ReadyNAS First, we must prepare the ReadyNAS for the integration. This involves installing the UTM Connector add-on and making a couple of simple configurations. - Page 5 Application Notes 2. Once the Add-on image is uploaded you are ready to install the Add-on. Click on the Install button and then click Apply. 3. Once the Add-on image is installed you can enable the UTM Connector Add-on by clicking on the Installed tab and then check the box next to the UTM Connector Add-on and click Save.
-
Page 6: Configuring The Utm
Application Notes Configuring the UTM We will now connect the UTM with the ReadyNAS. 4. Login to the UTM and go to Administration – ReadyNAS Integration. -
Page 7: Enabling Quarantine On The Utm
Application Notes 5. Select Yes to connect to the ReadyNAS and enter the IP address of the ReadyNAS and the admin username and password you use to manage the ReadyNAS and click Apply. 6. Go to Monitoring –> System Status and you should see the ReadyNAS and Quarantine Status set to Normal. You're all set! Now you'll have quarantine and the logs on the UTM will be persistent. -
Page 8: Conclusion
Series Reference Manual. NETGEAR, the NETGEAR logo, Connect with Innovation, ProSecure and ReadyNAS are trademarks and/or registered trademarks of NETGEAR, Inc. and/or its subsidiaries in the United States and/or other countries. Other brand names mentioned herein are for identification purposes only and may be trademarks of their respective holder(s). Information is subject to change without notice.


