Advertisement
Table of Contents
Advertisement
Chapters
Table of Contents

Related Manuals for VDO CD 413


Summary of Contents for VDO CD 413
-
Page 3: Preparation
• Red wire A7 : Connect to a permanent 12V/ CR 213-24V Orange 24V CR 223-24V Green 24V supply. This is the main power supply. CD 413-24V Orange 24V Ensure this connection can handle a current of CD 423-24V Green 10A/5A. -
Page 4: Mounting
CONNECTOR B (fig.3) supplied) Loudspeakers (use 4 ohm loudspeakers only) • Remove the trimplate around the front panel. • Insert both U-brackets into the holes on the • Do not connect any of the loudspeaker leads to front of the set until they lock. Pull out the radio earth or directly to a booster/amplifier without high (fig.10). -
Page 5: Security
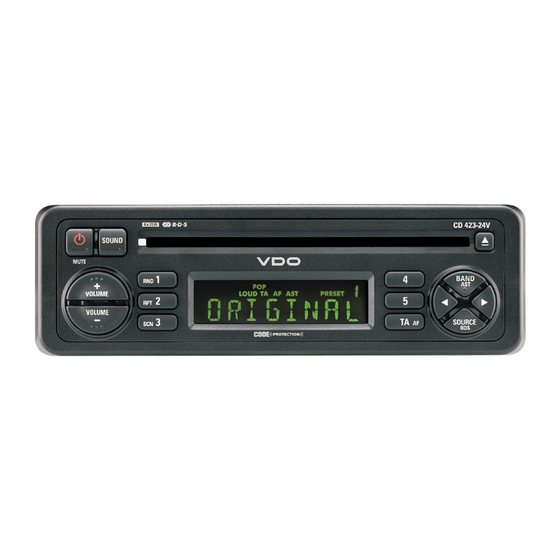
FRONT PANEL PRESENTATION SECURITY CHECKING WHETHER THE CODE PROTEC- For illustration, see page 3, figure A. TION IS ACTIVE If the Code Protection is active, the display briefly ... Preset button 1 shows "CODE" each time the set is switched on. RND* .... -
Page 6: Audio
2 Enter the code as described in "Entering the AUDIO code". You will hear two beeps indicating that ON/OFF the Code Protection has been deactivated. • Press to switch on the set. Press If an incorrect code is entered, you have to follow more than 2 seconds to switch off the set. -
Page 7: Radio Data System (Rds) On Fm
*SOURCE Automatically storing stations (AUTO- • Press SOURCE to select the desired source : STORE) TUNER You can automatically store 5 strongest FM stations on the FM AST band or 5 strongest MW (AM) stations on the MW(AM) AST band. When you use Auto Store, the new stations replace any •... -
Page 8: Maintenance
TO STOP FAST WINDING • If the tuned station does not enable the • To stop fast winding before the end of the tape, reception of Traffic Announcements, the display press the key which is not pressed ( shows 'NO TA'. The radio automatically searches an appropriate station. -
Page 9: Troubleshooting
TROUBLE SHOOTING Cassette Display shows 'TAPE ERR'. There may be times when you suspect that your • Check cassette for faults. car radio is not functioning as you would expect it to. Before calling for service, please read the Cassette playback lacks high-notes or loss of operating / installation instructions and review the one channel.