Table of Contents
Advertisement
Quick Links
Advertisement
Table of Contents

Related Manuals for LENCO DF-1200


Summary of Contents for LENCO DF-1200
- Page 1 DF-1200 For information and support, www.lenco.eu...
- Page 2 Cautions Precautions and maintenance ● For indoor use only ● To avoid risk of fire or electric shock, do not expose the unit to moisture or condensation. ● To avoid overheating, do not block the ventilation holes on the back of the Digital Photo Frame.
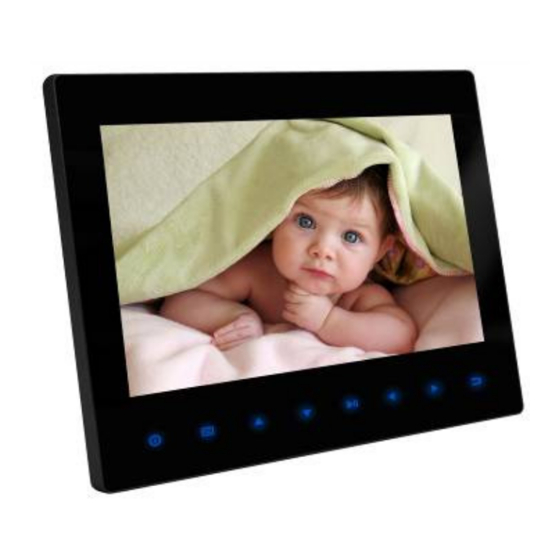
- Page 3 Introduction: Thank you for your purchase of the Digital Photo Frame. It is designed to allow quick and easy view of photos taken from your digital camera, mobile phone, or from a memory storage card. Please read this User Manual carefully to learn the correct way to use the Digital Photo Frame.
-
Page 4: Table Of Contents
CONTENTS 1. Product Diagram ------------------------------------------------------------------------------4 1. 1 Remote Control-------------------------------------------------------------------------4 1. 2 Touch Buttons and Right Side of Frame -----------------------------------------5 2. Installing&Replacing the Battery --------------------------------------------------------5 3. Getting Started---------------------------------------------------------------------------------5 4. Operating Instruction------------------------------------------------------------------------6 4. 1 Card and USB --------------------------------------------------------------------------6 4. 2 Picture Mode ----------------------------------------------------------------------------6 4. -
Page 5: Product Diagram
1 Product Diagram 1.1 Remote Control 1. POWER─ Turn on/off 2. 16:9/ 4:3─ Change picture display in these two ratios 3. MUTE─ Press this button to silence the voice temporaril 4. MENU─Press to enter “Info Bar” when playing pictures or videos, or show the menu for copy / delete function in file interface. -
Page 6: Touch Buttons And Right Side Of Frame
1.2 Touch Buttons and Right Side of Frame 1.POWER 9.ON/OFF 2.MENU 10.DC IN 3.UP 11.EARPHONE 12. MINI USB 4.DOWN 5.PLAY/PAUSE 13.USB 6.LEFT 14. SD/MMC/MS/XD 7.RIGHT 15. CF 8.RETURN 2. Installing & Replacing the Battery Place the upside of the remote control down, press down on the ridged area of the battery cover and pull towards you to remove the tray. -
Page 7: Operating Instruction
“Installing & Replacing Battery” if you need a new battery. 3.4. Power on the unit by pressing the Power button on the remote control. 4. Operating Instruction After turning on the unit, you will view Setup and Calendar without inserting any card or USB device. After turning on the unit, press RETURN to the main menu. -
Page 8: Music Mode
When the picture is playing, press MENU to enter “Info Bar” and then press to choose. Press OK to operate. The functions in the Info bar from left to right as follows: Previous-Move back to previous picture Play/pause. Next-Move forward to next picture Rotate- Press this button,the picture will revolve 90°... -
Page 9: File
The functions in the Info bar from left to right as follows: Previous-Move back to previous video Fast Rewind. Play/pause. Next-Move forward to next video Fast Forward. Return-Return to the video playlist Zoom- When the video is playing, press Zoom and then press MENU to hide "info Bar", then video can be moved using Display playback times(no operation )... -
Page 10: Setup
5. Setup Press SETUP from the main menu, and then press OK to access to SETUP interface. Use to highlight the item you want to set up. Press to select, then press OK to confirm. 5.1. Language (English/French/Deutsch/Spanish/Italian) Press to choose the language and press OK to confirm. 5.2. -
Page 11: Start Mode Select
Press to the auto power ON/OFF setup menu, use to choose the set items as follows: hour, minute, mode(On /Off), press to adjust the figures or choose the mode, then press OK to confirm. 5.11Start Mode select(Calendar/picture/Music/Video/Comb/Card Select) Press to choose start mode .Press OK to confirm, next time turning on the unit,the setting will be effected. -
Page 12: Pc Connecting
8. PC Connecting If the unit has built-in memory and MINI USB, you can connect it to external equipment by using USB cable: A. Please turn on the digital photo frame, then connect it with your computer by using USB cable B. -
Page 13: Troubleshooting Guide
10.Troubleshooting Guide If you are having problems with your player, please consult both this guide and manual.If you need further assistance, please contact Technical Support. No power: Please check whether the plug is inserted correctly. Remote control no function: Please check whether the battery has power (the battery can be used for half a year in normal conditions).