Advertisement
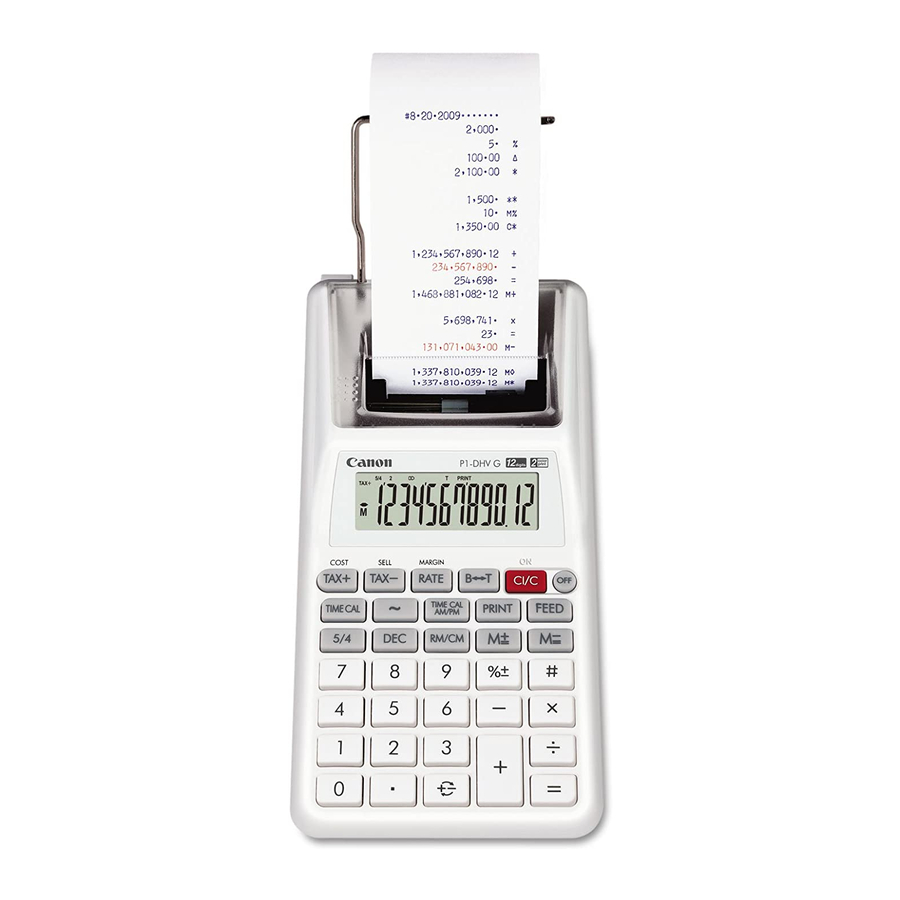
P1-DHV G
INSTRUCTIONS
INSTRUCCIONES
E-IM-2493
PRINTED IN CHINA
LOADING AND REPLACING BATTERIES
LOADING
1) Remove the battery cover by sliding in the direction of the arrow. (Figure
2) Load 4 new AA batteries as illustrated. (Figure
)
3) Replace the cover.
REPLACEMENT
• Low battery power may cause printing problems or random paper advances. It can
also disable the
key.
• If the display is dim or the printing speed decreases or the "
" icon appears
(Figure
), then the batteries may need to be replaced. Replace batteries to
resume normal operations.
• Remove the batteries if you do not plan to use the unit for a long period of time.
AC OPERATION
CANON AC ADAPTER AD-38 (OPTIONAL)
• Use only the Canon AC Adapter AD-38.
• Turn the power switch to OFF before connecting or
disconnecting the AC Adapter.
To purchase optional AC Adapter please visit
http://www.estore.usa.canon.com
When plugging the AC adapter during the "ON" mode.
• Press
key to restart the calcualtor.
INSTALLING PRINTING PAPER
1) Lift up the paper arm (Figure
).
• When inserting the paper, cut the edge of the paper as shown.
2) Place the new paper roll on the arm. The edge of the paper should be positioned
as shown (Figure
).
• Standard calculator paper – Width: 57-58mm (2-1/4")
Max. Diameter: 86mm (3-3/8")
3) Insert the paper into the slit at the back of the machine (Figure
) and continue
inserting the paper between the black and silver printer parts inside the machine
(Figure
).
4) Turn the calculator on. Press the paper feed key
to advance the paper
(Figure
).
REPLACING THE INK ROLLER (CP-13)
Note: Turn power switch off.
1) Remove the printer cover . (Figure
)
2) Hold the left side of the ink roller indicated as "pull up" and lift the ink roller up to
remove it. (Figure
)
• To maintain clear printing, change the ink roller after about 8 rolls of printing paper
have been used.
3) Insert a new ink roller. (Figure
)
4) Replace the printer cover. (Figure
)
CAUTION: The edge of the paper cutter may be sharp, please handle with care!
• Use only the Ink Roller CP-13.
• Do not attempt to refill the ink roller, since this may cause mechanical difficulties.
ADVICE AND PRECAUTIONS
1) Do not use or leave the calculator under direct sunlight. Areas subject to quick
temperature changes, high humidity, dust and dirt should also be avoided.
2) Use a dry cloth to clean the casing of the unit. Do not use water or detergents.
3) The socket-outlet shall be installed near the equipment and shall be easily
accessible.
4) Machine under abnormal shock may cause malfunction, should this occur press
key to restart the calcualtor.
ENGLISH
IMPORTANT FUNCTIONS TO REMEMBER
)
On/Clear Key – Used for turning the calculator on. When performing a
calculation, press once to clear the last entered value. Press again to clear
all entered values, except memory. This key is also used for clearing the
overflow error.
Power Off Key – Used for turning the calculator off.
Paper Feed Key – Used for advancing the paper.
Non-Add Key – Used for printing out information which does not affect the
calculation such as dates and serial numbers. Figures are printed on the
left-hand side of the paper.
Print On/Off Key – Used for turning the printer on and off. When the
"PRINT" mark is on the display, entries and results will appear on the display
and print out. When the "PRINT" mark is not on the display, entries and
results will appear on the display, but will not be printed out.
Equal Key – Used for obtaining addition, subtraction, multiplication and
division results.
CALCULATING WITH DECIMALS
Decimal Point Selector Key – Used for designating the decimal point
position (F, 0, 2, 3, 4, A) for calculated results.
A (Add-Mode) – Addition and subtraction functions are performed with an
automatic 2-digit decimal. This is convenient for currency calculations.
F (Floating Decimal point) – All effective numbers up to 12 digits are printed
or displayed.
Rounding Key – Used for rounding final multiplication or division results to a
pre-selected number of decimals. The round-off function is available when
the "5/4" mark appears on display.
OVERFLOW FUNCTION
In the following cases, when "E" is displayed, a dotted line is printed, the keyboard is
electronically locked, and further operation is impossible. Press
overflow.
The overflow occurs when:
1) The result or the memory content exceeds 12 digits to the left of the decimal point.
2) Dividing by "0".
3) The sequential operation speed is faster than the calculation processing speed.
(Buffer Register Overflow)
SPECIFICATIONS
Usable temperature: 0ºC to 40ºC (32ºF to 104ºF )
Automatic Power-off: approx. 7 minutes
Dimensions: 100mm (W) x 204mm (L) x 48mm (H) / 3-15/16" x 8-1/32" x 1-7/8"
Weight: 332 g (11.2 oz) with batteries / 264 g (8.9 oz) without batteries
Battery Life (with continuous use) High performance manganese batteries, prints
about 9,000 lines
(Subject to change without notice)
DECIMAL POINT SELECTION
ENGLISH
CARGANDO Y REEMPLAZANDO BATERÍAS SECAS
CARGA
1) Retire la tapa de la batería deslizándola en la dirección de la flecha. (Figura
2) de carge de 4 pilas AA nuevas como se ilustra. (Figura
3) Coloque la tapa.
REEMPLAZO
• Un bajo voltaje de las baterías puede causar defectos de impresión ó avance del
papel intermitentemente. También puede inhabilitar la
• Si la pantalla está oscura o disminuye la velocidad de impresión o en el icono
aparece "
Low Batt" (Figura
), a continuación, las baterías pueden necesitar
ser reemplazados. Reemplaze las baterías para reanudar las operaciones
normales.
• Remueva la baterías si no planea usar la unidad por un largo período de tiempo.
OPERACIÓN POR CA
ADAPTATEUR DE AC AD-38 DE CANON (OPCIÓNAL)
• Use únicamente el adaptador de AC AD-38 de Canon.
• Girar el interruptor de encendido en OFF antes de conectar o desconectar el
adaptador de CA.
Para comprar el adaptador de CA opciónal por
favor visite http://www.estore.usa.canon.com
Cuando vuelva a conectar el adaptador de CA durante el
mode "ON".
• Pulse la tecla
tecla para reiniciar la calculadora.
INSTALANDO PAPEL DE IMPRESIÓN
1) Cubierta de la impresora (Figura
).
• Antes de introducir el papel, corte el borde del papel como se musetra.
2) Papel en el brazo de la calculadora. El borde del papel deberá ser colocado como
se muestra en la (Figura
).
• Papel Estándar de Calculadora : Ancho: 57-58mm (2-1/4")
Máximo diámetro: 86mm (3-3/8)
to clear the
3) Inserte el borde del papel en la abertura que está detrás de la máquina (Figura
A continuación inserte el papel en la ranura entre las piezas negra y plateada de la
impresora (Figura
). Encienda la calculadora.
4) Presione la tecla de alimentación de papel
REEMPLAZANDO EL RODILLO DE TINTA (CP-13)
Nota: El interruptor de poder de vuelta completamente.
1) Retire la cubierta del impresor. (Figura
)
2) Tal como un clip para papel, en el lado izquierdo del rodillo de tinta, levante el
rodillo de tinta y retírelo. (Figura
)
• Para mantener nítida la impresión, cambie el rodillo de tinta después de que
approximadamente 8 rollos de papel de impresión hayan sido usados.
3) Introduzca un nuevo rodillo de tinta en su posición. (Figura
4) Reponga la cubierta del impresor. (Figura
PRECAUCIÓN: El borde de la cortadora de papel puede agudo, por favor, hendle
con cuidado!
• Use únicamente el Rodillo de Tinta CP-13.
• No intente recargar el rodillo de tinta, debido a que esto podría causar
dificultades mecánicas.
PRECAUCIONES Y CONSEJO
ESPAÑOL
1) No use o deje la calculadora bajo la luz directa del sol. Los lugares sometidos a
cambios rápidos de temperatura, se deberá evitar también humedad alta, polvo y
suciedad.
)
2) Use un paño suave para limpiar la cubierta de la unidad. No utilice detergentes o
)
agua.
3) La toma de corriente debe instalarse cerca del equipo y debe ser fácilmente
accessible.
4) La unidad sometida a un golpe anormal puede ocasionar malfunctionamiento, en
caso de que esto ocurriera, presione la tecla
tecla.
FUNCIONES IMPORTANTES A RECORDAR
Tecla de encendido / Borrado – Se usa para encender la calculadora.
Cuando realice cálculos, presione una vez para borrar el último valor
introducido. Presione nuevamente para borrar todos los valores introducidos,
excepto la memoria. Esta tecla también es usada para borrar el error de
rebose.
Tecla de Apagado – Tecla para desactivar la calculadora.
Tecla de Avance de Papel – Permite avanzar el papel de impresión.
Tecla de No-sumar – Utilizada para imprimir información que no afecta a los
cálculos, tales como fechas y números de serie. Los números son impresos del
lado izquierdo del papel.
Tecla de Impresión Activada / Desactivada – Se utiliza para activar y
desactivar la impresión. Cuando la marca "PRINT" en la pantalla, las entradas
y resultados serán mostrados en pantalla e impresos. Cuando la marca
"PRINT" no aparece sobre en la pantalla, las entradas y resultados aparecerán
en pantalla, pero no serán impresos.
Tecla de Igual – Utilizada para obtener resultados de adición, substracción,
multiplicación y división.
CÁLCULOS CON DECIMALES
Tecla de Selección de Punto Decimal – Utilizada para designar la posición
del punto decimal para (F, 0, 2, 3, 4, A) resultados calculados.
A (Modo de Adición) – Las adiciones y substracciones son realizadas con dos
dígitos decimales automaticamente. Es conveniente para cálculos monetarios.
F (Punto Decimal Flotante) – Todos los números efectivos hasta 12 dígitos
son impresos o desplegados.
Tecla de redondeo – Sirve para redondear los resultados finales de
multiplicaciones o divisiones a un número preseleccionado de decimales. La
función de redondeo se efectúa hacia arriba, cuando la marca "5/4" aparece
sobre el símbolo en la pantalla.
FUNCIÓN DE REBOSAMIENTO DE CAPACIDAD
En los siguientes casos, cuando aparece una "E" en la pantalla, una línea de puntos
).
es impresa, el teclado se bloquea electrónicamente y la operación subsiguiente no es
posible, presione
para borrar el rebose.
La función de rebose ocurre cuando:
para avanzar el papel (Figura
).
1) El resultado o el contenido de la memoria excede de 12 digitos a la izquierda del
punto decimal.
2) Divide por "0".
3) La velocidad de la operación secuencial es más rápida que la velocidad del
proceso de cálculo. (Rebosamiento del registro de la memoria intermedia)
ESPECIFICACIONES
Temperatura de uso: 0ºC A 40ºC (32ºF A 104ºF)
Desconexión automática: approx. 7 minutos
Dimensiones: 100mm (A) x 204mm (L) x 48mm (E) / 8-1/32" x 3-15/16" x 1-7/8"
Peso: 332 g (11.2 oz) con baterías / 264 g (8.9 oz) sin baterías
Vida útil de las pilas (Con uso continuo): Pilas de manganeso de alto rendimiento se
imprimen aprox. 9,000 lineas
(Sujetas a cambios sin previo aviso)
CONMUTADOR SELECTOR DE PUNTO DECIMAL
)
)
ESPAÑOL
para reiniciar la calculadora.
Advertisement

Related Manuals for Canon P1-DHV G


Summary of Contents for Canon P1-DHV G
-
Page 1: Replacing Batteries/Ac Operation
• Use únicamente el adaptador de AC AD-38 de Canon. Tecla de Igual – Utilizada para obtener resultados de adición, substracción, • Girar el interruptor de encendido en OFF antes de conectar o desconectar el multiplicación y división. -
Page 2: Calculation Examples
SETTING / AJUSTE: This limited warranty is only effective upon presentation of proof of purchase (bill of sale) to Canon U.S.A. or Canon Canada Factory Service Center. Canon Calculators, when delivered to you in a new condition in the original container, are warranted against defective materials or workmanship as follows: for a period of one (1) year from the date of original purchase, defective parts or Calculators returned to a Canon U.S.A.