Table of Contents
Advertisement
Quick Links
Advertisement
Table of Contents

Related Manuals for Pyle PKBRD6175P


Summary of Contents for Pyle PKBRD6175P
-
Page 2: Please Read Carefully Before Proceeding
PLEASE READ CAREFULLY BEFORE PROCEEDING Please keep this manual in a safe and handy place for future reference WARNING! • Use the speci ed power adapter, and immediately replace damaged adapter if any. • Do not disassemble the instrument, nor modify internal parts. If it malfunctions, discontinue the use immediately and have it repaired by professional serviceman. -
Page 3: Front Control Panel
• This marking indicates that this product should not be disposed with other household wastes throughout the EU. To prevent possible harm to the environment or human health from uncontrolled waste disposal, recycle it responsibly to promote the sustainable reuse of material resources. To return your used device, please use the return and collection systems or contact the retailer where the product was purchased. -
Page 4: Preparation For Performance
REAR PANEL II. Preparation for Performance USING AC/DC POWER SUPPLY ADAPTOR The AC/DC power supply adaptor must be the one designated for the instrument. Connect one side to the power supply socket on the back-panel and the other to the city-power network. (Please notice the input voltage should be the same as that of the power network.) HEADPHONE JACK Insert the headphone (not included) into the phone jack on the back of the body, so... - Page 5 2. Second, install and launch the music editing software, for example, CAKEWALK. Then the special hardware of the instrument will appear in the hardware containing the musical software, and shall be set as the default device. In this case, the data communication between the instrument and the computer has been established.
-
Page 6: Split Point
DATA DIAL Turning the [Data Dial] knob is a shortcut to pick out a voice, a rhythm, or a song. Turning it clockwise, bigger code can be reached; counterclockwise, smaller. PANEL AND KEYBOARD PERCUSSIONS There are 8 kinds of panel percussions and 61 keyboard percussions reserved in the instrument. - Page 7 Repeatedly press the [Function] button until "19 Split Pt" appears on the LED screen. In this case, the split point can be reset by pressing the [+/-] buttons or turning the [data Dial] knob, or by the keystroke of the target key. Then the new split point is set after the choosing ends.
- Page 8 When power on, the default sound is the sound coded 00, which "00 Grd Piano" on the LCD screen stands for. Press the [Sound] button to start the voice set-up function. The target voice can be picked out through the number buttons, the [+/-] buttons or the [data Dial] knob.
-
Page 9: Pitch Bend
3. In the Duble-voice function, the rst sound can be changed by rst pressing the [Sound] button to switch the instrument into the setup mode of "SOUND 1", then by pressing the [+/-] buttons or turning the [data Dial] knob. 4. - Page 10 OCTAVE The [Octave+/-] buttons can be applied to pitch the instrument an octave above or below. Press either the [Octave+] or the [Octave-] for the rst time, the present octave value shows on the LCD screen; press either of them again, the pitch of the instrument can be an octave above or below within the rang of possibilities.
- Page 11 Note: The target style code can be reached by inputting three digits. That means "00" or "0" should be added up to the one or two-digited code, for example, if the target style code is 66, digits 0, 6 and 6 should be input, and if it is 9, digits 0,0 and 9 should be input.
-
Page 12: Tempo Adjustment
INTERMEZZO 1. During the proceeding of an accompaniment, hold the [Fill In A] button until a piece of intermezzo can be heard and the cursor shines "VAR" on the LCD screen, then the normal accompaniment proceeds. 2. During the accompaniment, press the [Fill In B] button and keep it until another piece of intermezzo can be heard and the cursor shines "VAR"... - Page 13 keyboard are the chord keys. During the style proceeding, a piece of auto bass chord can be started by keystrokes on the chord keys. Note: 1. Press the [Function] button to change the split point and the range of the chord keyboard.
- Page 14 THE CHORD DICTIONARY The chord dictionary is actually a chord handbook reserved in the instrument in which the notes forming a chord can be looked up. All the chord notes are shown on the screen to lead the learner to play chords. This function is very bene cial to the rst learners who know the chord names to master the ngerings.
-
Page 15: Demonstration Songs
Note: 1. There is no sound for the keystrokes on the melody keyboard (on the right of the split point) which are to de ne the chord roots and type of chord. 2. No chords can be played out of the range of the chord keyboard, that is to say, chords should be played on the keys on the left of the split point. - Page 16 2. During the song proceeding, press the [Start/Stop] button to stop playing the current song, but the system still remains in the "song" mode; press the button again to continue playing the current song repeatedly. Note: To get the instrument back to the mode of playing the 100 songs successively, the "song"...
- Page 17 LESSON II This lesson aims at practicing playing the correct notes against the indicative keys shown on the screen. Keystrokes of the correct notes can keep the song going on, or the song will be suspended until the correct note is picked up. Note: In this mode, only correct notes can be played, but the wrong ones get no reaction.
- Page 18 4. Press the [Left] button to start left-handed practice with the shining "left hand" on the screen. Press the [Right] button to start right-handed practice with the shining "right hand" on the screen. Press the both buttons to start left and right- handed practice with the shining "left and right hands"...
- Page 19 Note: 1. After a memory mode drawn out, all the parameters can be reset and become di erent with those stored previously. In this state, the corresponding shining cursor at the bottom of the screen disappears showing the mode has been changed.
- Page 20 RECORD In this state, all notes that played on the keyboard are recorded with four beat spots on the screen successively twinkling at the setup tempo. In the "record" mode, a piece of accompaniment can be recorded directly after it is started.
- Page 21 XIV. Program PROGRAM Press the [Prog] button with the "Prog" cursor shining on the screen to change the keyboard into a percussion one. Then press a key or a panel drum to start the program function. Press the [Prog] button once more to stop programming. The completely taken-up memory can stop the program as well.
- Page 22 SOUNDS www.PyleUSA.com...
- Page 23 STYLES www.PyleUSA.com...
- Page 24 STYLES www.PyleUSA.com...
- Page 25 Keyboard Stand Assembly 1. First, prepare all the assembly parts 2. Second, take the No. 2 screw and the No. 3 support plate, x them to the two support brackets of No. 5 and tighten them separately. 3. Take the No. 2 screw and the No. 4 stand to the top of the No.
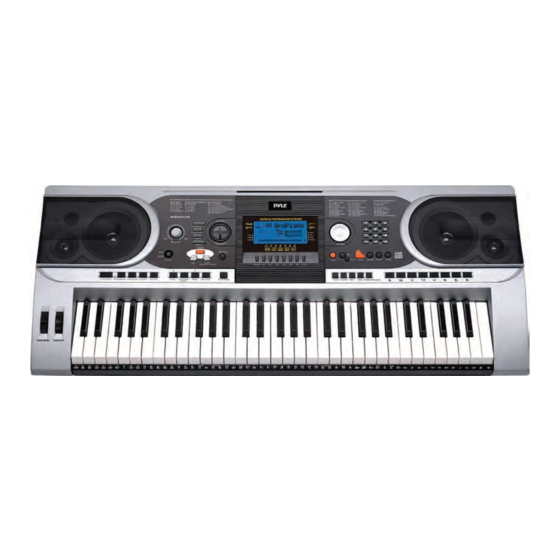
- Page 26 Features: • Wire MIDI • 200 World Well-Chosen Auto Accompaniment Styles • 8 Percussions pads / Keyboard Percussions • 2-in-1 Karaoke Keyboard: Play & Sing-Along • Compact & Portable Musical Piano • Simple Electronic Plug-in Operation • Rotary Plate for Sound Changing •...
- Page 27 What’s in the Box: Keyboard Stand Specs: • Digital Musical Karaoke Keyboard • Baked Varnish • Book Rack • Detachable Function • Adapter • Construction Material: Iron+ABS • Power Plug • Length: 31.5'' -inches • Keyboard Stand • Width: 8.3'' -inches •...
- Page 28 Questions? Comments? We are here to help! Phone: (1) 718-535-1800 Email: support@pyleusa.com...