Table of Contents
Advertisement
Quick Links
Advertisement
Table of Contents

Related Manuals for Pyle PKBRD6151PB


Summary of Contents for Pyle PKBRD6151PB
-
Page 2: Please Read Carefully Before Proceeding
PLEASE READ CAREFULLY BEFORE PROCEEDING Please keep this manual in a safe and handy place for future reference WARNING! • Use the speci ed power adapter, and immediately replace damaged adapter if any. • Do not disassemble the instrument, nor modify internal parts. If it malfunctions, discontinue the use immediately and have it repaired by professional serviceman. -
Page 3: Front Control Panel
• This marking indicates that this product should not be disposed with other household wastes throughout the EU. To prevent possible harm to the environment or human health from uncontrolled waste disposal, recycle it responsibly to promote the sustainable reuse of material resources. To return your used device, please use the return and collection systems or contact the retailer where the product was purchased. - Page 4 REAR PANEL II. Preparations before Playing USING AC/DC POWER SUPPLY ADAPTOR The AC/DC power supply adaptor must be the one designated for the instrument. Please connect one side to the power supply socket on the back-panel and the other to the city-power network. (Please notice the input voltage should be the same as that of the power network.) AUDIO OUTPUT HEADPHONE CONNECTION •...
- Page 5 MICROPHONE INPUT (not included) Insert the plug of the microphone into the microphone jack of the keyboard and you can enjoy playing and singing. III. Basic Method of Performance Press the [Power] button with the back light on, the LCD display shows some information of the present timbre, tempo, etc.
-
Page 6: Style Selection
IV. Auto-Style STYLE SELECTION The electronic keyboard contains 300 styles, from "000" to "299". The startup default is "000". Press the key "Style" to enable the rhythm selection function, and then the screen displays "STYL'' . Another style can be selected by pressing the "STYLE". -
Page 7: Auto-Bass Chord
V. Auto-Bass Chord SINGLE FINGER CHORD Press the key "Single Finger Chord" to enable the chord function, and the screen displays "Single". When the style starts, automatic chord accompaniment can be performed in the chord keyboard zone (Key 1-19 from the left) according to the ngering method of single nger chord. - Page 8 FINGERED CHORD Press the key "Fingered Chord" to enable the chord function, and the screen displays "Finger'' . When the style starts, automatic chord accompaniment can be performed in the chord keyboard zone (Key 1-19 from the left) according to the ngering method of ngered chord.
-
Page 9: Pitch Bend
SUSTAIN Press the [Sustain] button with "SUS" appearing on the display, the sound of the keystrokes takes on a sustain e ect. Press the button again with "SUS" disappearing, the function quits. PITCH BEND The pitch bend can add smooth pitch changes to notes played by the keyboard. The pitch can be increased by rolling up the pitch bend and decreased by rolling down the pitch bend. -
Page 10: Recording Function
is decreased by octave to be identical to the pitch of the left keyboard zone. The tone of the right keyboard zone can be selected as needed, and di erent sounds can be played by the left keyboard zone and right keboard zone. When the key "Keyboard Split"... - Page 11 VIII. Style Programming STYLE PROGRAMMING When the key "Program" is pressed, the style programming function is enabled, the screen displays "Program" and a set of style melody can be programmed by playing the corresponding percussion of the keyboard. * The programmed style will be automatically cleared when programming is performed again or the electronic keyboard is turned o .
-
Page 12: Intelligent Teaching Function
CALLING OF STATUS MEMORY When one of "M1" to "M4" is pressed during playing, data in the memory key can be called to replace the current status. No power failure protection is provided for the saved contents. When the electronic keyboard is turned on again after power failure, the saved contents will disappear. - Page 13 TEACHING 3: ENSEMBLE When the key "Ensemble" is pressed, the Ensemble teaching function is enabled, and the screen displays "Step 3". You can select the song to be learned by pressing the number key or pressing "+" or "-". The Ensemble teaching is applied for correct and comprehensive learning of the song duration and notes.
- Page 14 Keyboard Stand Assembly 1. First, prepare all the assembly parts 2. Second, take the No. 2 screw and the No. 3 support plate, x them to the two support brackets of No. 5 and tighten them separately. 3. Take the No. 2 screw and the No. 4 stand to the top of the No.
- Page 15 Appendix www.PyleUSA.com...
- Page 16 Sounds www.PyleUSA.com...
- Page 17 Style www.PyleUSA.com...
- Page 18 Style www.PyleUSA.com...
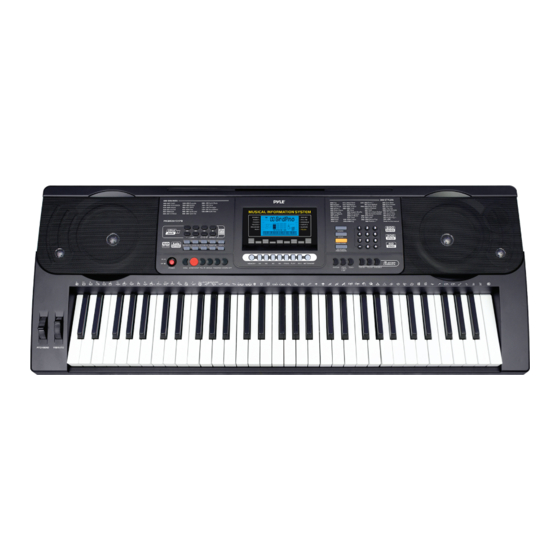
- Page 19 Features: • 2-in-1 Karaoke Keyboard: Play & Sing-Along! • Compact & Portable Musical Piano • Simple Electronic Plug-in Operation • Portable Piano • Built-in Full Range Stereo Speakers • Connect & Stream Audio from External Devices • Can Connect to Speaker and Play Sound •...
- Page 20 Keyboard Stand Specs: • Baked Varnish • Detachable Function • Construction Material: Iron + ABS • Length: 31.5'' -inches • Width: 8.3'' -inches • Height: 57.5~67.5 cm • Weight: 1.75 kg • Bearing: 15 kg Keyboard Stool Specs: • Construction Material: PU Leather, Iron, Sponge •...
- Page 21 Technical Specs: • 61 Keyboard Keys • 200 Sounds / 128 Styles • 10 Demonstration Songs: One/All • Audio Interface: Aux (3.5mm) Input Jack / Mic Input / USB input • Max Sound Level: Up to 110 dB • USB/Power Cable Length: 3.9’ ft. •...
- Page 22 Questions? Comments? We are here to help! Phone: (1) 718-535-1800 Email: support@pyleusa.com...