Table of Contents
Advertisement
Quick Links
Advertisement
Table of Contents

Related Manuals for NCR 7707-K201


Summary of Contents for NCR 7707-K201
- Page 1 Kit Instructions R6-Japan Camera 7707-K201 Issue A...
- Page 2 NCR, therefore, reserves the right to change specifications without prior notice. All features, functions, and operations described herein may not be marketed by NCR in all parts of the world. In some instances, photographs are of equipment prototypes. Therefore, before using this document, consult with your NCR representative or NCR office for information that is applicable and current.
-
Page 3: Revision Record
Revision Record Issue Date Remarks Mar 2020 First Issue... -
Page 4: Kit Contents
The R6-Japan Camera is used to capture customers and the notes they enter into the Note Recycler — in one view. This publication provides procedures for installing a Camera to the Tri-Light/Lane Light Pole of an NCR SelfServ™ Checkout (7707) unit. Kit Contents... -
Page 5: Installation Procedures
4. Turn on the R6-Japan unit. The ADD/CADD window is displayed, showing available devices. For more information, refer to NCR SelfServ™ Checkout (7707) R6-Japan Hardware Service Guide (BCC5-0000-5237). Note: The SelfServ Checkout application automatically runs and installs all available devices. -
Page 6: Removing The Camera
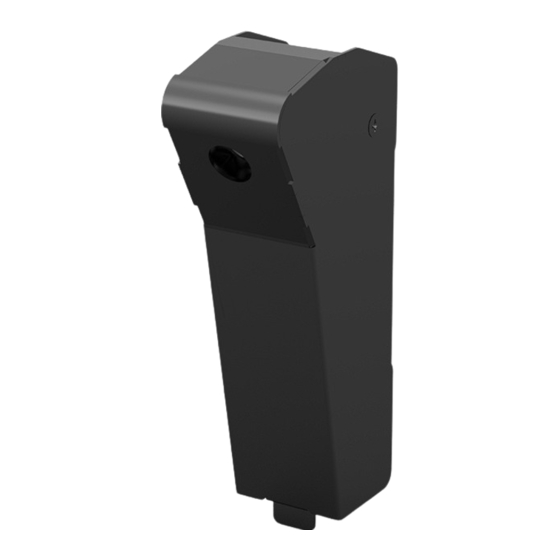
R6-Japan Camera Removing the Camera To remove the camera, follow these steps: 1. Turn off the SelfServ Checkout unit. 2. Remove two (2) screws securing the camera enclosures to the Tri-Light pole. 3. Disengage the rear enclosure by sliding it up and then out of the Tri-Light pole. - Page 7 R6-Japan Camera 4. Disengage the front enclosure by sliding it up and out of the Tri-Light pole, as shown in the image below. 5. Disconnect the cable attached to the camera.
- Page 8 R6-Japan Camera Removing Camera Blanking Plate To remove the Camera Blanking Plate, follow these steps: 1. Using a metal pry tool or a flat screwdriver, slowly remove the Blanking Plate by starting from the sides until the plate is completely detached. Caution: Use the pry tool with caution to avoid scratches on the paint.
- Page 9 R6-Japan Camera Routing Camera Cable To route the camera cable in the R6-Japan unit, follow these steps: Tip: For easier installation, route the camera and Tri-Light/Lane Light cables together because they go to the same destination. 1. Remove the back panel from the Tower frame by removing two (2) screws. 2.
- Page 10 R6-Japan Camera...
- Page 11 R6-Japan Camera 4. Route the cable through the P-loop at the rear side of the Upper Enclosure as shown in the image below. Ensure that there is at least 85 cm extra cable length from the P- loop. 5. Insert the cable through the opening on the side of the pole duct and route it out to the camera's cable access hole.
- Page 12 R6-Japan Camera 6. Connect the camera cable to the camera unit and then secure cable using a cable tie, as shown in the image below.
-
Page 13: Installing Camera
R6-Japan Camera Installing Camera To install the camera, follow these steps: 1. Do the following: a. Slide down the front enclosure hook to the corresponding slot on the Tri-Light pole. b. Lock the front enclosure by pushing it to the Tri-Light pole. 2. - Page 14 R6-Japan Camera 3. Secure the enclosures to the Tri-Light pole using two (2) screws.