Xerox DocuColor 12 Using Manual
Controller interface kit
Hide thumbs
Also See for DocuColor 12:
- User manual (292 pages) ,
- Color manual (126 pages) ,
- Supplementary manual (120 pages)

Related Manuals for Xerox DocuColor 12


Summary of Contents for Xerox DocuColor 12
- Page 1 U S I N G T H E F I E R Y X 1 2 / F I E R Y X 4 0 A D V A N C E D C O N T R O L L E R I N T E R F A C E K I T Part Number: 4501XXXX...
- Page 3 Copyright © 2000 Electronics For Imaging All rights reserved. This publication is protected by copyright, and all rights are reserved. No part of it may be reproduced or transmitted in any form or by any means for any purpose without express prior written consent from Electronics For Imaging except as expressly permitted herein.
- Page 4 OR OTHER SPECIAL, INCIDENTAL, CONSEQUENTIAL OR INDIRECT DAMAGES ARISING FROM THE USE OF THE SOFTWARE, CODED FONT PROGRAMS OR ACCOMPANYING DOCUMENTATION, HOWEVER CAUSED AND ON ANY THEORY OF LIABILITY. THIS LIMITATION WILL APPLY EVEN IF ELECTRONICS FOR IMAGING OR ANY AUTHORIZED DEALER HAS BEEN ADVISED OF THE POSSIBILITY OF SUCH DAMAGE.
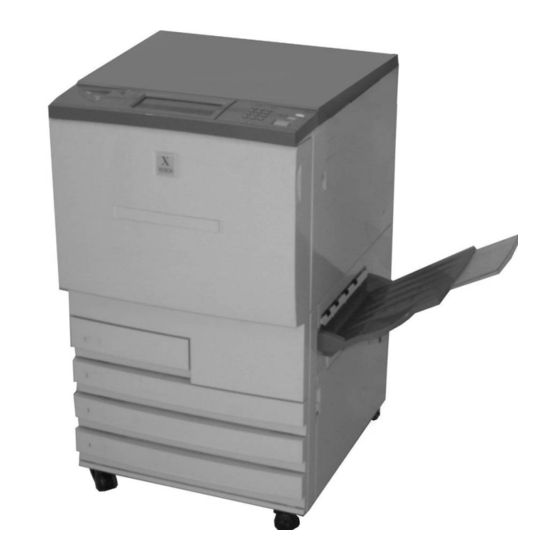
- Page 5 Using the Fiery X12/Fiery X40 Advanced Controller Interface Kit Introduction This document describes how to install the Advanced Controller Interface kit upgrade in order to connect a monitor, keyboard, and mouse to a Fiery X12 or Fiery X40. In addition to connecting the monitor, keyboard, and mouse to the back of the Fiery X12/ Fiery X40 you will also need to replace the BIOS chip installed on the motherboard.
- Page 6 Using the Fiery X12/Fiery X40 Advanced Controller Interface Kit Procedures Before you replace the BIOS chip you need to access the Service menu in order to begin installation. O ACCESS THE ERVICE MENU FROM THE 1. Select Shut Down and then Reboot System from the Functions menu. 2.
- Page 7 Procedures 4. At the next screen, select Yes and then OK to begin installation. Is option kit ready? Install Option Processing is displayed on the screen. Do not power off the system at this point; doing so may damage the BIOS chip making it difficult to boot the Fiery X12/Fiery X40. Once the system is finished processing a screen is displayed indicating it is now safe to power off the system and replace the BIOS chip with the one provided in this kit.
- Page 8 Using the Fiery X12/Fiery X40 Advanced Controller Interface Kit O OPEN THE IERY 1. Make sure you have powered off the Fiery X12/Fiery X40 and removed all the cables from the back. 2. Remove the screw from the back panel and set it aside (see below). 3.
- Page 9 Procedures BIOS O REPLACE THE CHIP The BIOS chip is located in socket U8 on the motherboard. The BIOS chip contains boot information, such as the startup diagnostics that the Fiery X12/Fiery X40 uses when you power on the system. 1.
- Page 10 7. Connect the monitor, keyboard, and mouse to the back of the Fiery X12/Fiery X40. Power switch Power connector Mouse Keyboard Monitor Copier interface (scan) Copier interface (print) (not used) 10/100BaseT 8. Connect the monitor power cable to the back of the monitor (some monitors may already have this cable attached).
- Page 11 Procedures 9. Connect the other end of the monitor power cable to a wall outlet. 10. Once all the cables are connected to the back of the, power on the monitor and the Fiery X12/Fiery X40. 11. Once the Control Panel screen indicates that the upgrade is complete, press any key on the Control Panel to reboot the system.