Advertisement
Quick Links
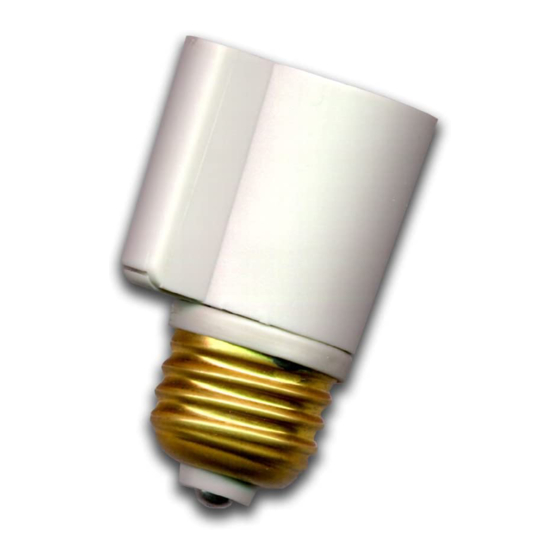
Socket Rocket, Screw-In Lamp Module, Model LM15A
INSTALLATION AND OPERATING INSTRUCTIONS
Unlike conventional X10 Modules the LM15A does not have any code wheels. You set its
code up from an X10 controller and it then remembers this code, even after a power
outage. Because the LM15A remembers its code, you can set it up in any lamp and then
move it to its final location (in an outdoor light fixture, for example). Default code is A1.
1. Unscrew your light bulb from its socket and screw the LM15A into the light socket.
2. Screw an incandescent light bulb (up to 150W) into the LM15A. Do NOT use with
fluorescent lamps! Turn the lamp switch ON.
3. Set any X10 controller to the House Code you want the LM15A to respond to.
A. To set the Unit Code and House Code from an MC460 Mini Controller, MT522/
MT10A Mini Timer, or RT504/HR12A wireless remote:
Plug the controller into the same outlet as the lamp (you can move it later). Then,
(within 30 seconds of applying power) press the ON button (corresponding to the Unit
Code you want the LM15A to respond to) on the X10 controller, 3 times, at about 1
second intervals. On the third press the lamp turns on signifying that the code has been
learned. Write your House Code and Unit Code in the box on the LM15A's label.
B. To set the code from an SC503 Maxi Controller:
Press the number button only, 3 times (within 30 seconds of applying power). On the
third press the lamp turns on signifying that the code has been learned.
The LM15A will now remember this House Code and Unit Code and respond to it from
now on (even after a power outage).
To change the code that the LM15A responds to, turn off the power to it, turn it back on,
and then repeat step A or B (within 30 seconds of applying power).
Note 1. You must leave the lamp switch or wall switch on at all times otherwise the
LM15A will have no AC power and you won't be able to control it remotely.
Note 2. The LM15A does not have local control (you cannot turn the light on from its
regular switch). If you want this feature, use the LM465 Lamp Module for plug-
in lamps, or the WS467 Wall Switch Module for light fixtures.
Note 3. The LM15A does not respond to bright and dim commands. It does respond to
the All Lights On and All Units Off commands.
Note 4. The LM15A can be used indoors or outdoors.
Note 5. The LM15A is a one-way device. For two-way applications use the LM14A.
Check Out our Web site at:
www.x10.com
For more information on X10 products and
special promotional offers.
.
X10 Wireless Technology, Inc. LIMITED 1-YEAR WARRANTY
X10.com, a division of X10 Wireless Technology, Inc. (X10) warrants X10 products to be
free from defective material and workmanship for a period of one (1) year from the original
date of purchase at retail. X10 agrees to repair or replace, at it's sole discretion, a defective
X10 product if returned to X10 within the warranty period and with proof of purchase.
If service is required under this warranty:
1. Call 1-800-675-3044 or visit www.x10.com, or e-mail sales@x10.com to obtain a
Return Merchandise Authorization (RMA) number.
2. Return the defective unit postage prepaid to X10 (see address on back).
3. Enclose a check for $4.00 to cover postage and handling.
4. Enclose a dated proof of purchase.
5. X10 is not responsible for shipping damage. Units to be returned should be packed
carefully.
Please visit www.x10.com/warranty
to complete your on-line warranty registration. Thank you.
For help or more information on setup, please visit: www.x10.com/support
LM15A-10/01
Advertisement


