Table of Contents
Advertisement
Advertisement
Table of Contents

Related Manuals for Uniden Grant LT


Summary of Contents for Uniden Grant LT
- Page 1 COVER...
-
Page 2: Table Of Contents
Microphone Hanging Kit Mounting Bracket Kit DC Power Cord Reference Guide Part 95 Subpart D (FCC Rules) Product Registration Card If any items are missing or damaged, call Uniden at 1-800-297-1023. Please be sure to complete and mail your Product Registration Card. -
Page 3: Description
D D e e s s c c r r i i p p t t i i o o n n Your Uniden Grant LT represents the highest quality communications device designed for use in the Citizens Band Radio Service. It will operate on any of the 40 AM frequencies authorized by the Federal Communications Commission (FCC). -
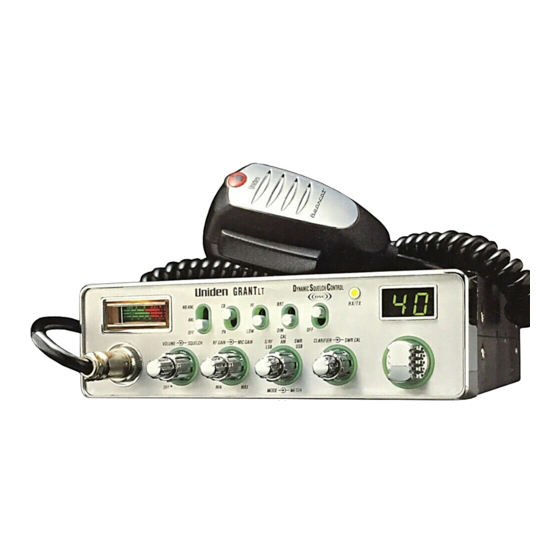
Page 4: Controls And Functions
C C o o n n t t r r o o l l s s a a n n d d F F u u n n c c t t i i o o n n s s FRONT VIEW - Grant LT BACKLIGHTED PANEL 1. - Page 5 18. Channel Display: Displays current channel selection. 19. ANT.: Connects antenna cable to transceiver. To prevent acoustic feedback, separate the microphone from the speaker when operating the PA at high output levels. 20. PA. SP.: Connects external 8-ohm 4-watt Public Address speaker. When the external speaker is plugged in, the internal speaker is off.
-
Page 6: Installation
I I n n s s t t a a l l l l a a t t i i o o n n MOUNTING THE RADIO BRACKET Plan the location of the transceiver and microphone bracket before beginning installation. 1. -
Page 7: Connecting The Antenna
Connecting the Antenna Connect the CB antenna plug to the Antenna Connector on the rear panel. (For more information on antenna installation, please refer to the instruction guide that came with your antenna.) CB Antenna Tips A vertically polarized quarter-wavelength whip antenna provides the most reliable operation and greatest range. -
Page 8: To Receive
T T o o R R e e c c e e i i v v e e Be sure that the power source, antenna, and microphone are properly connected before proceeding. 1. Turn unit ON and set VOLUME Control to a comfortable level. -
Page 9: To Transmit
5. Adjust RF GAIN knob to optimize reception in strong signal areas. 6. Adjust CLARIFIER knob to reduce or eliminate adjacent channel interference. 7. Set the meter selector to S/RF . T T o o T T r r a a n n s s m m i i t t Select a channel. -
Page 10: Multi-Function Meter
M M u u l l t t i i - - F F u u n n c c t t i i o o n n M M e e t t e e r r SWR Meter: Measures SWR (standing wave ratio) of antenna. Use to check antenna system or to adjust your antenna to the proper length. -
Page 11: Preventive Maintenance
RF Meter: Measures RF Output Power for transmitter. To use the RF Meter, position the Meter Selector at S/RF . Press the microphone PTT Switch to read your transmitting RF power. S-Meter: Measures incoming signal strength. To use the S-meter, position the Meter Selector at S/RF . -
Page 12: Troubleshooting
If you do not get satisfactory results after performing the above checks, call the Uniden Customer Service Center at (800) 297-1023, 8:00 a.m. to 5:00 p.m. CST, Monday through Friday. Do not return this product to the place of purchase. -
Page 13: Servicing Your Transceiver
S S e e r r v v i i c c i i n n g g Y Y o o u u r r T T r r a a n n s s c c e e i i v v e e r r Technical information, diagrams, and charts are provided on request. -
Page 14: Radio Code Definitions
R R a a d d i i o o C C o o d d e e D D e e f f i i n n i i t t i i o o n n s s The following list contains common “10-Codes”... -
Page 15: Specifications
S S p p e e c c i i f f i i c c a a t t i i o o n n s s General Channels: CB Frequency Range: Frequency Control: Frequency Tolerance: Frequency Stability Operating Temperature: Microphone: Input Voltage: Current Drain:... -
Page 16: Warranty
(E) used in any conjunction with equipment or parts or as part of any system not manufactured by Uniden, or (F) installed or programmed by anyone other than as detailed by the owner’s manual for this product. - Page 17 back cover...