Advertisement
Operator's
Manual
32cc/1.9 cu.in. 2-Cycle
GASOLINE
WEEDWAOKER
®
Model No.
358.791040
•
Safety
• Assembly
•
Operation
•
Maintenance
•
Parts List
•
Espar_ol,
p. 22
WARNING:
Read and follow all Safety
Rules and Operating
Instructions
before first use of this product.
For answers
to your questions
about this product:
Call 7 am-7
pm, Mon.-Sat.,
or 10 am-7
pm, Sun.
1-800-235-5878
_Hoo_s
listed are Centrat
Time)
Sears, Roebuck
and Co., Hoffman
Estates,
IL 60179 U.S.A.
545140962
12/15/06
Advertisement
Table of Contents

Related Manuals for Craftsman 358-79104


Summary of Contents for Craftsman 358-79104
- Page 1 Operator's Manual 32cc/1.9 cu.in. 2-Cycle GASOLINE WEEDWAOKER Model No. 358.791040 • Safety • Assembly • Operation • Maintenance • Parts List • Espar_ol, p. 22 WARNING: Read and follow all Safety Instructions before first use of this product. For answers to your questions Call 7 am-7 pm, Mon.-Sat.,...
-
Page 2: Service And Ad Just Ments
When used and maintained according to the operator's manual, if this product fails due to a defect in material or workmanship chase, return it to any Sears store, Sears Service Center, or other Craftsman outlet in the United States for free repair (or replacement... -
Page 3: &Warning
Never use flailing devices with any attach- ment. This unit (when used with sup- plied line trimmer attachment) is de- signed for line trimmer use only. Use of any other accessories with line trim- mer attachment will increase the risk of injury. - Page 4 • Look for and replace damaged loose parts before each use. Look for and repair fuel leaks before use. Keep in good working condition. • Replace trimmer head parts that are chipped, cracked, broken, or dam- aged in any other way before using the unit.
- Page 5 (rocks, broken glass, nails, wire, etc.) which can be thrown by or become entangled in line. Hard ob- jects can damage the trimmer head and be thrown causing serious injury. • Only use the trimmer attachment trimming, scalping, mowing and sweeping.
- Page 6 Remove ob- jects (rocks, broken glass, nails, wire, etc.) which can be thrown or become entangled in the blade or trimmer line. • Throw away and replace blades that are bent, warped, cracked, broken or damaged in any other way.
- Page 7 The tines b ecome very s harp from use. • Donot r un unit a thigh s peed u nless cultivating. HEDGE TRIMMER SAFETY DANGER: RiSK OF CUT; KEEP HANDS AWAY FROM BLADE - Blade moves momentarily after the trigger is released.
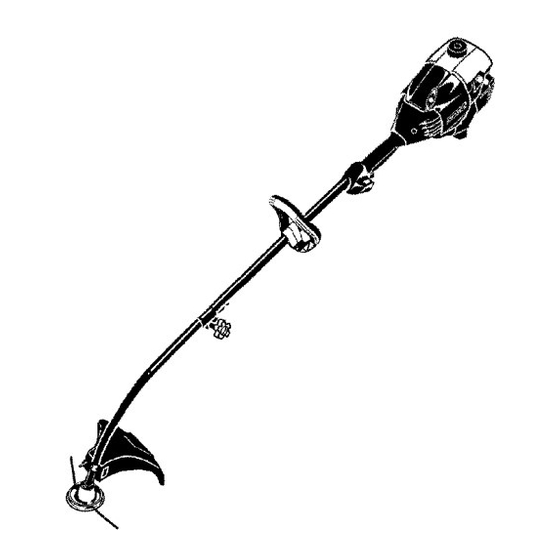
- Page 8 CARTON CONTENTS Check carton contents against the fol- lowing list. Model 358.791040 • Powerhead • Trimmer attachment • Shield • Wing Nut (screwed onto shield) • Container of line • Container of oil Examine parts for damage.
- Page 9 The line limiter blade (on under- side of shield) is sharp and can cut you. For proper orientation of shield, see KNOW YOUR TRIMMER illustration in OP- ERATION section. 1. Remove wing nut from shield. Insert bracket into slot as shown.
- Page 10 Included with this trimmer is a 3.2 ounce contain- er of oil. Pour the entire contents of this container into 1 gallon of gasoline to achieve the proper fuel mixture. DO NOT USE automotive oil or marine oil.
- Page 11 If the unit still doesn't start, refer to TROUBLESHOOTING TABLE or call 1-800-235-5878. CRAFTSMAN ® CONVERTIBLE FEATURE This model is equipped with a coupler which enables optional attachments be installed.
- Page 12 Cut from your right to your left. _'WARNING: Always wear eye protection and hearing protection. Never lean over the trimmer head. Rocks or debris can ricochet or be thrown into eyes and face and cause blindness or other serious injury.
- Page 13 TRIMMING - Hold the bottom of the trimmer head about 3 inches (8 cm) above the ground and at an angle. Al- low only the tip of the line to make contact with vegetation.
-
Page 14: Maintenance
MAINTENANCE SCHEDULE _lm WARNING: Disconnect the spark plug before performing except for carburetor adjustments. CARE & MAINTENANCE TASK Check for loose fasteners and parts Check for damaged or worn parts Inspect and clean unit and decals Clean air filter Inspect muffler and spark arresting Replace spark plug GENERAL RECOMMEN... -
Page 15: Replace Spark Plug
Set spark plug gap at 0.025 inch (0.6 ram). Ignition timing is fixed and nonadjustable. LINE REPLACEMENT • Always use Craftsman replacement line. Choose the line size best suited for the job at hand. Red line is designed for cutting grass and small weeds. - Page 16 Air Filter Idle Speed Screw _&WARNING: Recheck the idle speed after each adjustment. trimmer head must not move or spin at idle speed to avoid serious the operator or others. If you require further assistance unsure about performing this proce-...
-
Page 17: Troubleshooting
TROUBLESHOOTING TABLE _,WARNING: Always stop unit and disconnect ing all of the recommended remedies unit to be operating. CAUSE TROUBLE 1. ON/OFF switch Engine will not start. OFF position. 2. Engine flooded. 3. Fuel tank empty. 4. Spark plug not firing. 5. -
Page 18: Warranty
YOUR WARRANTY RIGHTS AND OB- LIGATIONS: The U.S. Environmental Protection Agency/California Air Re- sources Board and Sears, Roebuck and Co., U.S.A., are pleased to explain the emissions control system warranty on your year 2007 and later small off- road engine. In California, all small off- road engines must be designed, built, and equipped to meet the State's strin- gent anti-smog... -
Page 19: Emission Control
MAINTENANCE, REPLACEMENT AND REPAIR OF EMISSION RE- LATED PARTS: Any Sears approved replacement part used in the perfor- mance of any warranty maintenance repair on emission related parts will be provided without charge to the owner if the part is under warranty. The information on the product label indicates Example:...