Aqara Radiator Thermostat E1 - Smart Thermostatic Radiator Valve with Voice Control Manual
- User manual ,
- Manual (15 pages) ,
- User manual
Advertisement
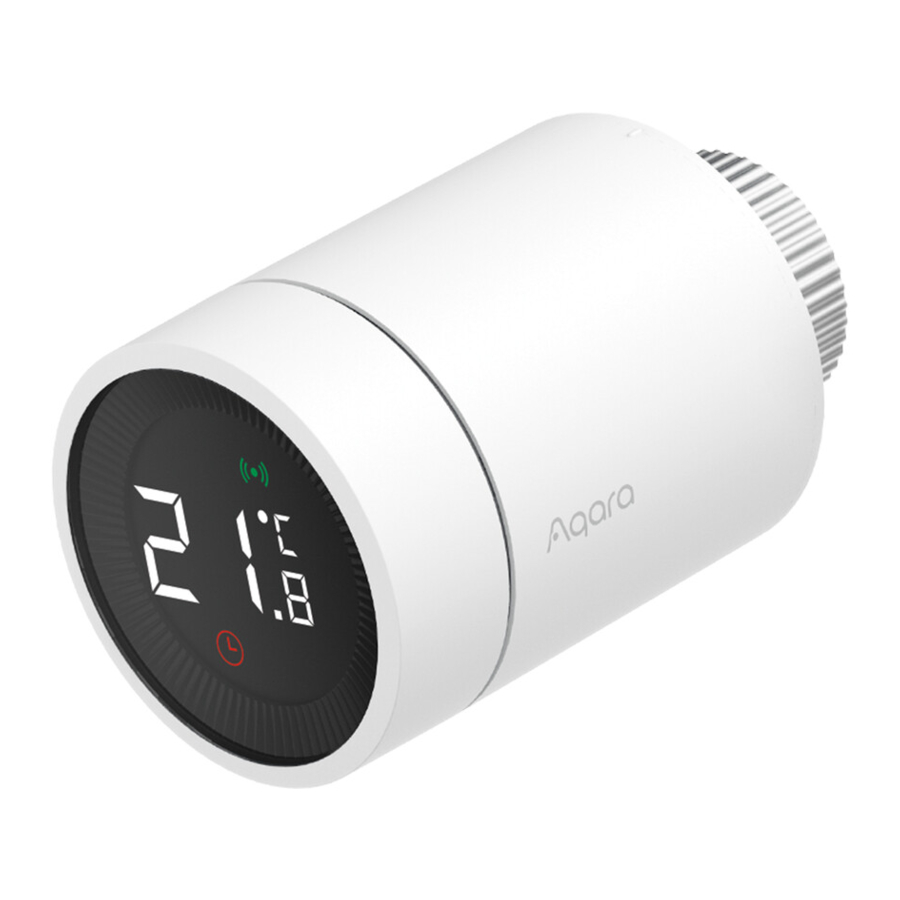
Product Introduction
Smart Radiator Thermostat El is a thermostatic radiator valve (TRV) powered by dry (alkaline) batteries applicable to water heating radiators, featuring no wiring and convenient installation. It can realize satisfactory temperature control effects. This product, with a built-in low-power Zigbee wireless communication module and an LCD display, can be used alone or added to the Aqara Home app through the Aqara hub, becoming an intelligent thermostat that can be set and checked in the app. It can realize automatic temperature adjustment and window-open detection supported with the Aqara Temperature and Humidity Sensor and the Aqara Door and Window Sensor.
- An Aqara Zigbee 3.0 hub is required for smart functionality.
- To work with HomeKit, a specific hub is required. Visit www.aqara.com/support for more details.
- This product is for indoor use only.

* Knob button
Note: Short press, long press, and rotation operations are available
What's in the Box
- Smart Radiator Thermostat El x 1
- User Manual x 1
- 1.5V AA Battery x 2
- Adapter (RA/RAV/RAVL) x 3

Note: Batteries have been installed before leaving the factory. Please pull out the insulating tab before use.
Description of Knob Button Functions
| Screen status | Function | Description |
| Any status | Long press for 10 seconds | Network joining/network resetting |
 | Press for 3 consecutive times | Valve calibration (before calibration, ensure that the thermostat has been properly installed on the valve interface) |
 | Short press for 1 time | Switch module |
| Long press for 3 seconds | Enable/disable child lock function | |
| Rotate | Adjust temperature |
Screen Status Description
- To Be Installed
The screen will display the status as shown in the figure every time batteries are loaded. At this time, install the thermostat into the valve interface as soon as possible, and then press the button 3 consecutive times or click "More Settings" in the app to calibrate the valve.
Note: Ensure that the thermostat is properly installed on the valve interface before calibration.
![]()
- Manual Mode
The user can rotate the knob or set the target temperature on the app as needed.
![]()
- Anti-Freezing Mode
This is designed for usage when you are away for an extended period, to protect the water pipe from freezing at low temperature.
![]()
- Off
The valve will be closed to stop heating, which is suitable for service in the summer when there is no heating needed.
![]()


Icon Description
![]()
| Temperature control fault | In case of abnormal temperature control. Refer to the "Troubleshooting" in the manual for troubleshooting. |
| Low battery | In case of low battery. Replace the batteries as soon as possible. |
| Set temperature | Display the set temperature. |
| Window-open detection | When the window-open detection function is activated. |
| Intelligent schedule | When the intelligent schedule function is activated. |
| Manual mode | When the thermostat is in manual mode. |
| Installation | When the thermostat is in installation status. |
| Networking | Status of networking:
|
| Child lock | To prevent children from touching by mistake, long press for 3 seconds to enable or disable the function. |
Installation Instructions
- Please pull out the insulating tab before use, and confirm that the device is turned on.

- It is recommended to install the thermostat on the radiator valve interface within 5 minutes after the TRV starts up.

- The Thermostat supports both horizontal and vertical installation methods. However, the vertical installation method may result in inaccurate temperature readings caused by the built-in temperature sensor being close to the radiator.

Note: In any of these methods, an external Aqara Temperature and Humidity Sensor is required to make temperature control more accurate. - Align the thermostat interface nut with the radiator valve, and rotate the nut until it is tightened.

Note: Installation of [M30*1.5 mm] valve interface is shown in the figure. - Press the thermostat button 3 consecutive times to calibrate the valve. During calibration, the screen displays the [F12] symbol.
![]()
Note: The valve must be calibrated, otherwise it may cause abnormal temperature control. Follow the above steps or click "More Settings" in the app to calibrate the valve. - The [F12] symbol disappears in about 10 seconds, and the screen displays the currently set temperature, indicating the completion of installation.
- The Thermostat supports both horizontal and vertical installation methods. However, the vertical installation method may result in inaccurate temperature readings caused by the built-in temperature sensor being close to the radiator.


Installation with Other Adapters:
RA Adapter
Connect the RA adapter with the valve, tighten the screw to complete the connection, then align the thermostat interface nut with the RA adapter, and rotate the interface nut until it is tightened.

RAV Adapter
Connect the RAV adapter with the valve, tighten the screw, insert the pushrod into the valve thimble to complete the connection, then align the thermostat interface nut with the RAV adapter, and rotate the interface nut until it is tightened.

RAVL Adapter
Connect the RAV adapter with the valve, tighten the screw, insert the pushrod into the valve thimble to complete the connection, then align the thermostat interface nut with the RAV adapter, and rotate the interface nut until it is tightened.

Quick Setup
Adding the Device to the Aqara Home app:
- Before using the product, please ensure that the Aqara Home app has been downloaded and an Aqara Zigbee 3.0 hub has been installed.
- Start the app, click "+" in the upper-right corner of the home page to enter the "Add Device (Accessories)" page, select "Smart Radiator Thermostat El", and operate according to the prompts on the page.
* If the device is not added, please move it closer to the hub and try again.
Effective distance verification: after the successful network configuration, adjust the thermostat at the preselected installation position and observe whether the status in the app is synchronized.
Battery Replacement
- Rotate the housing in the direction of the arrow at the bottom and pull it out until it is unlocked.

- Referring to the polarity marks in the battery compartment, put in 2 AA alkaline batteries as shown in the figure.

Note: Rechargeable batteries should not be used. - With batteries loaded, the thermostat starts automatically, and the screen displays the symbol [F11] as shown in the figure.
![]()
- Place the housing, and rotate it in the direction of the arrow at the bottom until it is locked, to complete the battery loading.

Note: Please replace the batteries as soon as possible in case of a low battery warning.


Troubleshooting
| No. | Fault | Possible cause | Solution |
| 1 | The thermostat works normally, but the room temperature is evidently higher than the set temperature | Incorrect installation of the thermostat | Remove the thermostat from the valve, take out the batteries, and put them back after 30 seconds. Reinstall the thermostat and observe whether the fault persists. |
| Valve fault | |||
| 2 | The thermostat works normally, but the room temperature is evidently lower than the set temperature | Valve fault | Replace the valve, take out the batteries and put them back after 30 seconds, and then reinstall the thermostat. |
| Low radiator inlet temperature | Contact professionals to repair the hot water pipeline. | ||
| 3 | The thermostat can't be operated via the app | The thermostat is not connected to the app | Check network configuration. |
| The thermostat is located far or blocked from the hub | Adjust the distance or add another hub. | ||
| Battery low | Replace the batteries. | ||
| 4 | The thermostat works normally, but the room temperature is not constant | Battery low | Replace the batteries. |
| The room is over-ventilated, and the heat is lost | Check whether the doors or windows are open or not fastened. | ||
| 5 | The thermostat shows no response when batteries are loaded | Battery low | Replace the batteries. |
| The batteries are loaded in the wrong polarity direction. | Replace the batteries. | ||
| Product failure | Contact after-sales for repair or replacement. | ||
| 6 | LCD screen displays a fault icon | Incorrect installation of the thermostat | Remove the thermostat from the valve, take out the batteries and put them back after 30 seconds, reinstall the thermostat and observe whether the fault persists. |
| The temperature is set too high | Reset the temperature. | ||
| Valve fault | Replace the valve, take out the batteries and put them back after 30 seconds, and then reinstall the thermostat. | ||
| The room is too large (the radiator does not match it) or over-ventilated | Replace the radiator or check whether the doors or windows are open or not fastened. | ||
| Low water inlet pressure or temperature | Check the water inlet pressure and temperature. |
Note: In case of any issue not resolved, please contact the after-sales department support@aqara.com
Specifications
| Model | SRTS-A01 |
| Battery | 3V  (2 x 1.5V AA) (2 x 1.5V AA) |
| Operating Temperature | 00C ~ 400C (320F~1040 F) |
| Operating Humidity | 0~95% RH, no condensation |
| Threaded Connection | M30x1.5 mm |
| Zigbee Maximum Output Power | <10 dBm |
| Zigbee Operation Frequency | 2405-2480 MHz |
| Wireless Protocols | Zigbee 3.0 |
| Dimensions | Ø57x89 mm (Ø 2.24x3.5 in.) |
Under normal use, this device should be kept at a separation distance of at least 20 cm between the antenna and the body of the user.
Safety Information

- This product is NOT a toy. Please keep children away from this product.
- This product is designed for indoor use only. Do NOT use it in humid environments or outdoors.
- Beware of moisture, do NOT spill water or other liquids onto the product.
- Do NOT place this product near a heat source. Do NOT place it in an enclosure unless there is normal ventilation.
- Do NOT attempt to repair this product by yourself. All repairs should be performed by an authorized professional.
- This product is only suitable for improving the entertainment, convenience of your home life, and reminding you about the device status. It should NOT be used as security equipment for homes, buildings, warehouses, or any other places. If a user violates the product use instructions, the manufacturer will NOT be liable for any risks and property losses.
- Replacement with batteries of the wrong model may cause a fire or explosion. Only batteries of the same or equivalent model are allowed for replacement.
- Do not put any battery into fire, oven, or microwave oven, to avoid explosion.
- Do not disassemble, impact, squeeze, cut, or mechanically damage the battery in any way, to avoid explosion.
- Do not expose the batteries to extremely low air pressure or extremely high temperature, which may cause battery explosion and flammable liquid or gas leakage.
- Do not discard the waste batteries, and dispose of them properly in accordance with relevant national and regional regulations.
Lumi United Technology Co., Ltd
Room 801-804, Building 1, Chongwen Park, Nanshan iPark, No. 3370, Liuxian Avenue, Fuguang Community, Taoyuan Residential District, Nanshan District, Shenzhen, China
Online Customer Service: www.aqara.com/support
Email: support@aqara.com

Documents / Resources
References
Download manual
Here you can download full pdf version of manual, it may contain additional safety instructions, warranty information, FCC rules, etc.
Download Aqara Radiator Thermostat E1 - Smart Thermostatic Radiator Valve with Voice Control Manual
Advertisement
Thank you! Your question has been received!


Need Assistance?
Do you have a question about the Radiator Thermostat E1 that isn't answered in the manual? Leave your question here.