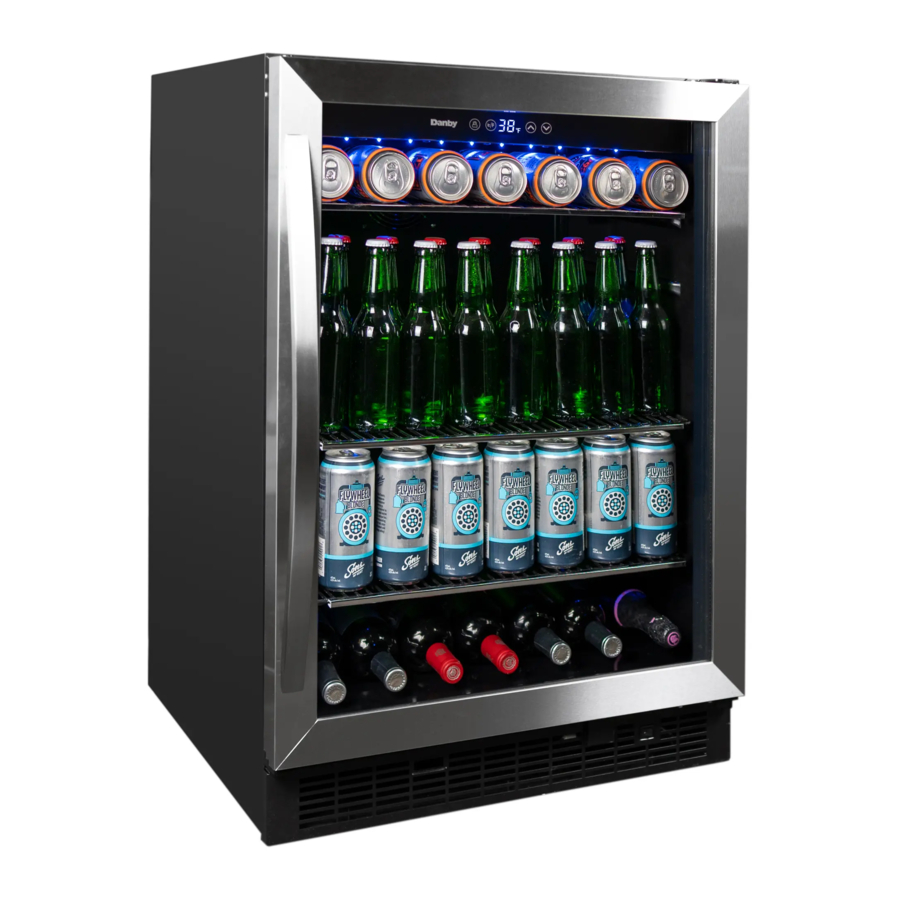
Danby DBC057A1BSS - 5.7 cu. ft. Built-in Beverage Center Manual
- Owner's manual (33 pages)
Advertisement
Important Safety Information
 READ AND FOLLOW ALL SAFETY INSTRUCTIONS
SAFETY REQUIREMENTS

Risk of fire or explosion. Flammable refrigerant used. Do not puncture refrigerant tubing.
- Ensure that servicing is done by factory authorized service personnel, to minimize product damage or safety issues.
- Consult repair manual or owner's guide before attempting to service this product. All safety precautions must be followed.
- Dispose of properly in accordance with federal or local regulations.
- Follow handling instructions carefully.
- Do not store explosive substances such as aerosol cans with a flammable propellant in this appliance.

- Keep ventilation openings, in the appliance enclosure or in the built-in structure, clear of obstruction.
- Do not use mechanical devices or other means to accelerate the defrosting process, other than those recommended by the manufacturer.
- Do not damage the refrigerant circuit.
- Do not use electrical appliances inside the food storage compartments of the appliance, unless they are of the type recommended by the manufacturer.

Children should be supervised to ensure that they do not play with the appliance.
Risk of child entrapment. Before throwing away an old appliance:
- Remove the door or lid.
- Leave shelves in place so that children may not easily climb inside.
This appliance is not intended for use by persons (including children) whose physical, sensory or mental capabilities may be different or reduced, or who lack experience or knowledge, unless such persons receive supervision or training to operate the appliance by a person responsible for their safety.
This appliance is intended to be used in household and similar applications such as:
- Staff kitchen areas in shops, offices and other working environments;
- Farm houses and by clients in hotels, motels and other residential type environments;
- Bed and breakfast type environments;
- Catering and similar non-retail applications.
GROUNDING INSTRUCTIONS
This appliance must be grounded. Grounding reduces the risk of electrical shock by providing an escape wire for the electrical current.
This appliance has a cord that has a grounding wire with a 3-prong plug. The power cord must be plugged into an outlet that is properly grounded. If the outlet is a 2-prong wall outlet, it must be replaced with a properly grounded 3-prong wall outlet. The serial rating plate indicates the voltage and frequency the appliance is designed for.

Improper use of the grounding plug can result in a risk of electric shock. Consult a qualified electrician or service agent if the grounding instructions are not completely understood, or if doubt exists as to whether the appliance is properly grounded.
Do not connect your appliance to extension cords or together with another appliance in the same wall outlet. Do not splice the power cord. Do not under any circumstances cut or remove the third ground prong from the power cord. Do not use extension cords or ungrounded (two prongs) adapters.
If the power supply cord is damaged, it must be replaced by the manufacturer, its service agent or similar qualified person in order to avoid hazard.
SAVE THESE INSTRUCTIONS!
INSTALLATION INSTRUCTIONS
LOCATION
- Two people should be used when moving the appliance.
- Remove interior and exterior packaging prior to installation. Wipe the outside of the appliance with a soft, dry cloth and the inside with a lukewarm wet cloth.
- Place the appliance on a fl oor that is strong enough to support it when it is fully loaded.
- Do not place the appliance in direct sunlight or near sources of heat, such as a stove or heater, as this can increase electrical consumption. Extreme cold ambient temperatures may also cause the appliance to perform improperly.
- Do not use the appliance near water, for example in a wet basement or near a sink.
- This appliance is intended for household use only. It is not designed for outside installation, including anywhere that is not temperature controlled such as garages, porches, vehicles, etc.
- Before connecting the appliance to a power source, let it stand upright for approximately 6 hours. This will reduce the possibility of a malfunction in the cooling system.
- This appliance is 23.8 inches (60.5 cm) wide, 34.9 inches (88.7 cm) high at maximum leg height and 25.4 inches (64.5 cm) deep including the handle.
FRONT VENT
This appliance is front breathing. Do not block the front air vent as this will result in high operating temperatures, higher energy usage and possible system overheating and failure.
LEVELING INSTRUCTIONS
There is an adjustable leg on the bottom of the appliance that can be turned up or down to ensure that the appliance is level. It is important that the appliance is level to minimize noise and vibration. To level the appliance:
- Turn the leveling leg counter-clockwise as far as it will go, until the top of the foot is touching the bottom of the cabinet.
- Slowly turn the leveling leg clockwise until the appliance is level.
![]()

HANDLE INSTALLATION
The appliance ships with the handle inside the cabinet to protect it from damage. It must be installed by the end user.
- Position the handle onto the column on the door.
- Tighten the screws in the side of the handle until they are snug.
![]()

PREPARING THE ENCLOSURE
Gloves and safety goggles should be worn during installation.
It is not recommended to install the appliance into a corner or directly beside a wall. The door will need to be opened more than 90° to allow full extension of the shelves. If it is necessary to place next to a wall or in a corner, leave at least 2-4 inches (5-10 cm) of space between the wall and the appliance to allow for the door opening.
The cabinet opening must be at least 24 inches (61 cm) wide by 35 inches (88.9 cm) high by 25 inches (63.5 cm) deep.
Note: The listed depth requirement is assuming that the electrical outlet is located in the adjacent cabinetry or fl ush mounted in the rear wall, not surface mounted inside the enclosure.
If the electrical outlet is located inside adjacent cabinetry, cut a 1.5 inch (3.8 cm) diameter hole to admit the power cord. If the cabinet wall is metal, the hole edge must be covered with a bushing or grommet.

REQUIRED TOOLS
- Safety goggles
- Gloves
- Tape measure
- Carpenter square
- Level
- Flashlight
- Electric drill with hole bit
OPERATING INSTRUCTIONS
FEATURES

- Low-E Glass Door: Low-E glass used to reflect and absorb heat.
- Electronic Display and Controls: For viewing and regulating the temperature.
- Magnetic Door Gaskets: Tight fitting seals retain all the cooling power and humidity levels.
- Wire Shelves
- Handle
- Front Mounted Exhaust: Allows for integrated (built-in) applications.
- Light Switch:Allows for constant illumination of the interior of the appliance.
- Leveling Legs: Adjust to level the appliance.
- Interior Light (not shown): Blue LED lighting illuminates the interior without the heat of an incandescent bulb.
CONTROL PANEL

- Lock Button: The control panel will automatically lock after 3 minutes of inactivity. No buttons can be pressed while the control panel is locked. Press and hold the lock button for 3 seconds to unlock the control panel.
- °C / °F: Button: Press to change the temperature display between °C and °F.
- Temperature Display: Shows the set temperature. If a button is pressed while the control panel is locked, it will show "Lc".
- Up and Down Buttons: Used to increase or decrease the set temperature in 1° increments.
FUNCTION INSTRUCTION
The default temperature setting is 54°F (12°C).
The default temperature scale is °C.
Press the °C/°F button to change the temperature scale.
The temperature can be set as low as 38°F (3°C) or as high as 64°F (18°C)
Actual temperature inside the appliance can vary based on ambient temperature, how often the door is opened and how many warm beverages have recently been added to the appliance.
INTERIOR LIGHT
The interior light will default to turning on and off when the door is opened or closed.
The light switch can be used to set the light to constant illumination when the door is both open and closed.
If the door is open for more than 10 minutes, the interior light will automatically turn off.
STORAGE INSTRUCTIONS
The maximum capacity of this appliance is 154 (355 ml) cans.
DEFROST
This appliance is equipped with an automatic defrost function and does not require manual defrosting. Defrost water from the appliance is channeled into a drip tray located above the compressor. Heat transfer from the compressor causes the defrost water to evaporate.
POWER FAILURE
Most power failures are corrected within a few hours and should not affect the temperature of your appliance if you minimize the number of times the door is opened. If the power is going to be off for a longer period of time, take the proper steps to protect your contents.
Note: Wait 3 to 5 minutes before attempting to restart the appliance if operation has been interrupted.
MOVING
- Make sure the appliance is empty.
- Secure the shelves with tape.
- Secure the door with tape.
- Turn the adjustable foot up to the base to avoid damage.
- Protect the outside of the appliance with a blanket or similar item.
- Be sure the appliance stays in the upright position during transportation.
- If the appliance is placed on its back or side during transportation, upon reaching the destination, allow it to remain upright for 6 hours before plugging in to avoid damage to internal components.
DOOR REVERSAL INSTRUCTIONS
If the appliance is placed on its back or side for any length of time it must be allowed to remain upright for 6 hours before plugging in to avoid damage to internal components.
- Remove the two screws that secure the right hinge axis to the lower right hinge. Slide the door outward from the bottom to remove it from the upper right hinge.

- Remove the upper right hinge from the cabinet.

- Remove the screw hole covers from the upper left side of the cabinet and install the upper left hinge. Place the screw hole covers in the screw holes on the upper right side of the cabinet.

- Remove the hinge hole cover from the upper left side of the door and place it in the hinge hole on the upper right side of the door. Install the door on the upper left hinge.

- Slide the bottom of the door toward the unit to line it up with the lower left hinge. Install the left hinge axis to secure the door to the lower left hinge.

- Loosen the screw on the side of the handle using the provided hexagon spanner. Remove the handle. Remove the door gasket, the bolt and the handle fixing column on the left side of the door. Install the bolt and the handle fixing column on the right side of the door. Install the door gasket. Install the handle on the right side of the door using the same screws.


Note: Before tightening the screws to secure the hinge axis, ensure that the top of the door is level with the top of the cabinet, that the actuator on the bottom of the door is making contact with the switch on the cabinet and that the rubber gasket is making a good seal with the cabinet all the way around.
- Lower right hinge
- Axis screws
- Right hinge axis
- Actuator
- Upper right hinge
- Hinge screws
- Upper left hinge
- Lower left hinge
- Left hinge axis
- Handle fi xing column
- Bolt
CARE & MAINTENANCE
CLEANING
Ensure the appliance is unplugged before cleaning.
- To clean the inside of the appliance, use a soft cloth and a solution of a tablespoon of baking soda to one quart of water or a mild soap solution or some mild detergent.
- Wash removable shelves in a mild detergent solution, then dry and wipe with a soft cloth.
- Clean the outside with a soft, damp cloth and some mild detergent.
- It is important to keep the area clean where the door seals against the cabinet. Clean this area with a soapy cloth. Rinse with a damp cloth and let dry.
Note: Do not use cleaners containing ammonia or alcohol on the appliance. Ammonia or alcohol can damage the appearance of the appliance. Never use any commercial or abrasive cleaners or sharp objects on any part of the appliance.
VACATION
- Short vacations: Leave the appliance operating during vacations of less than three weeks.
- Long vacations: If the appliance will not be used for several months, remove all items and turn off the appliance. Clean and dry the interior thoroughly. To prevent odor and mold growth, leave the door open slightly, blocking it open if necessary.
DISPOSAL
This appliance may not be treated as regular household waste, it should be taken to the appropriate waste collection point for recycling of electrical components. For information on local waste collection points, contact your local waste removal agency or government office.
TROUBLESHOOTING
FREQUENTLY ASKED QUESTIONS
No power
- A fuse may be blown or the circuit breaker tripped
- Plug not fully inserted into the wall outlet
Internal temperature not cold enough or the appliance is running continuously
- Door is not shut properly or opened excessively
- Exhaust vent is obstructed
- Recently added a large quantity of warm bottles to the cabinet
- Close proximity to heat source or direct sunlight
- Ambient temperature or humidity is very high
- Possible system leak, evaporator fan failure or compressor failure
Condensation on the cabinet or door
- Door is not shut properly or opened excessively
- Ambient temperature or humidity is very high
ERROR CODES
CO: control system communication fault
E1: interior sensor fault
E2: defrost sensor fault dr: door is open for more than 1 minute
EH: internal temperature is 8 degrees higher than the set temperature for more than 30 minutes
EL: internal temperature is 8 degrees lower than the set temperature for more than 30 minutes
Lc: the control panel is locked
If error codes appear on the display for more than 5 minutes, a power reset may rectify the issue. Unplug the appliance, wait 5 minutes and then plug the appliance back in. If the error code persists after a power reset, contact consumer care or an authorized service agent.
In the case of the "Lc" error code, the control panel is locked. Press and hold the lock button for 3 second to unlock the control panel.
Danby Products Limited, Guelph, Ontario, Canada N1H 6Z9
Danby Products Inc. Findlay, Ohio, U.S.A. 45840
www.Danby.com

*Trademark of Danby Products

Documents / Resources
References
Download manual
Here you can download full pdf version of manual, it may contain additional safety instructions, warranty information, FCC rules, etc.
Download Danby DBC057A1BSS - 5.7 cu. ft. Built-in Beverage Center Manual
Advertisement
Thank you! Your question has been received!


Need Assistance?
Do you have a question about the DBC057A1BSS that isn't answered in the manual? Leave your question here.