
Related Manuals for Danfoss APP 21


Summary of Contents for Danfoss APP 21
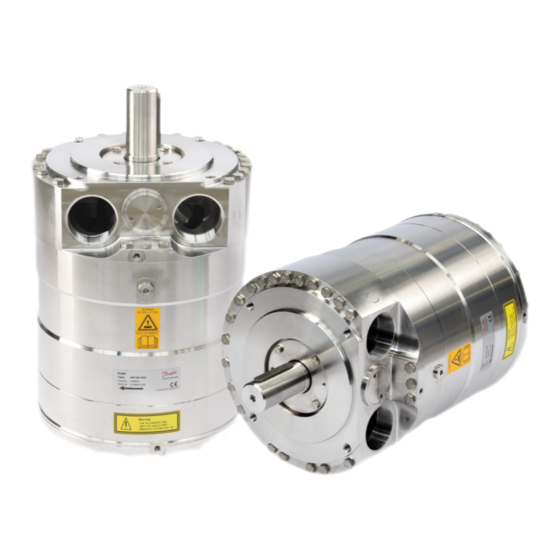
- Page 1 Service guide APP pumps APP 21 - 46 and APP W HC 15 - 30 Disassembling and assembling hpp.danfoss.com...
-
Page 2: Table Of Contents
Service guide | Disassembling and Assembling, APP 21 - 46 and APP W HC 15 -30 Table of Contents Contents Introduction ................................2 Disassembling the pump ............................. 3 Assembling the pump ............................6 Disassembling and assembling of the swash plate ..................10 Disassembling andassembling of cylinder barrel and valve plate ............11... -
Page 3: Disassembling The Pump
Service guide | Disassembling and Assembling, APP 21 - 46 and APP W HC 15 - 30 Disassembling the pump 2. Using a 10 mm combination wrench, unscrew the four bolts from shaft seal 1. Disconnect the pump and motor from the flange. - Page 4 Service guide | Disassembling and Assembling, APP 21 - 46 and APP W HC 15 -30 8. Using a 13 mm combination wrench, remove all the bolts on the mounting flange except the three shown in the next picture. 9. Unscrew the remaining three bolts. Turn...
- Page 5 Service guide | Disassembling and Assembling, APP 21 - 46 and APP W HC 15 - 30 15. Mount a 8 mm eye bolt in the cylinder barrel. Pull straight upwards. A continuous lift will elevate the cylinder barrel out of housing.
-
Page 6: Assembling The Pump
Service guide | Disassembling and Assembling, APP 21 - 46 and APP W HC 15 -30 Assembling the pump WARNING: Important: Do not use silicone when assembling the It is essential that the pump is serviced in pump. Do not reuse disassembled O-rings;... - Page 7 Service guide | Disassembling and Assembling, APP 21 - 46 and APP W HC 15 - 30 9. Place pump vertically. Place 10.5 mm pins 8. Place housing horizontally. Screw in the in port flange. rest of the screws on port flange. Tighten 10.
- Page 8 Service guide | Disassembling and Assembling, APP 21 - 46 and APP W HC 15 -30 17. Place retainer plate in cylinder barrel. Note: If pistons are replaced, place new pistons in clean filtered water for a 16. Retainer guide, retainer ball and retainer plate must be mounted as couple of minutes.
- Page 9 Service guide | Disassembling and Assembling, APP 21 - 46 and APP W HC 15 - 30 25. Lubricate shaft with clean filtered water. 26. Place stop for shaft seal on shaft. 27. Use plastic assembly tool provided with WARNING:...
-
Page 10: Disassembling And Assembling Of The Swash Plate
Service guide | Disassembling and Assembling, APP 21 - 46 and APP W HC 15 -30 Disassembling and WARNING: assembling of the Make sure that the surface on the swash swash plate plate does not get any marks. 1. Place the swash plate upside down. -
Page 11: Disassembling Andassembling Of Cylinder Barrel And Valve Plate
Service guide | Disassembling and Assembling, APP 21 - 46 and APP W HC 15 - 30 Disassembling and assembling of cylinder barrel and valve plate Mount backup rings first Mount then O-rings 1. Push a screwdriver into the hole between cylinder barrel and valve plate. -
Page 12: Changing Pistons
Service guide | Disassembling and Assembling, APP 21 - 46 and APP W HC 15 -30 Changing pistons Tools needed are: • 13 mm combination wrench • 6 mm allen key: • • Service kit - see parts list 521B0941 Disassembling 1. - Page 13 Service guide | Disassembling and Assembling, APP 21 - 46 and APP W HC 15 - 30 Drain plug 5. If the flange does not move forward - 6. Remove the flange when the remaining loosen the drain plug to empty the pump three screws have been loosened.
- Page 14 Service guide | Disassembling and Assembling, APP 21 - 46 and APP W HC 15 -30 12. Inspect the piston liners. 11. Warning: Replace any worn parts. Ensure that the piston shoes and the piston surfaces are not damaged during removal.
- Page 15 Service guide | Disassembling and Assembling, APP 21 - 46 and APP W HC 15 - 30 7.2 Assembling 1. Lubricate pistons with clean filtered water. 2. Remove the stop for retainer plate. Insert the pistons arbitrarily. 4. Place the retainer plate in an angle 5.
- Page 16 Service guide | Disassembling and Assembling, APP 21 - 46 and APP W HC 15 -30 8. Remove the guide bolt. 9. Connect the pump to the rest of the Mount the remaining screws and system and bleed the pump.
-
Page 17: When Should The Pistons Be Replaced
Service guide | Disassembling and Assembling, APP 21 - 46 and APP W HC 15 - 30 When should the Note: This section provides guidance on, how to deter- pistons be replaced mine whether the parts of APP 21-43 are worn If the pistons break down, the pump will and should be replaced. -
Page 18: Exploded View App 21-26 , App 30/1500 And App W Hc 15-24
Service guide | Disassembling and Assembling, APP 21 - 46 and APP W HC 15 -30 Exploded view APP 21-26 , APP 30/1500 and APP W HC 15-24 18 | 180R9406 | AX274339308034en-000302 © Danfoss | 2023.03... -
Page 19: Exploded View App 30/1200, App 38/1500, App 46/1780 And App W Hc 30
Service guide | Disassembling and Assembling, APP 21 - 46 and APP W HC 15 - 30 10. Exploded view APP 30/1200, APP 38/1500, APP 46/1780 and APP W HC 30 © Danfoss | 2023.03 180R9406 | AX274339308034en-000302 | 19... - Page 20 180R9406 | AX274339308034en-000302 | 20 © Danfoss | DCS-SGDPT/SI | 2023.03...