Advertisement
Table of Contents
Contents
Samsung SNOW-AAE, SBB-SNOWAAEX** Simple User Guide
Checking the Components
- Simple User Guide
- Warranty card (Not available in some locations)
- Power cord
- Batteries (AAA x 2) (Not available in some locations)
- Remote Control
- RS232C adapter
- AC/DC adapter
- OCM cable x 4
- Sensor
- Module RX x 2
- Bluetooth/Wi-Fi module
- Bluetooth/Wi-Fi module cable
- Rack case mounting bracket x 2
- Screw (M4 x L8) x 4
- Screw (M5 x L12) x 4
- USB Type-C cable x 2
- Module TX Contact the vendor where you purchased the product if any components are missing.
Interface Gender Card (I/G Card)
")
- Connects to the DATA
![]() port on the last cabinet using an OCM cable.
port on the last cabinet using an OCM cable. - Connects to the DATA
![]() port on the first cabinet using an OCM cable.
port on the first cabinet using an OCM cable. - Connects to the Bluetooth/Wi-Fi module using the Bluetooth/Wi-Fi module cable.
- Connects an external ambient light sensor to the ECO SENSOR port.
- Use to connect the optical cable with the ONE CONNECT (Group 1, Group 2, Group 3, Group 4, Group 5, Group 6, Group 7, Group 8) port after connecting the optical RX module for the I/G card.
* See "Connecting a Optical Cable" in "Connecting and using devices" * The optical cable is not provided.
 port on the last cabinet using an OCM cable.
 port on the first cabinet using an OCM cable.
BRIDGE BOX

- Connects to the Bluetooth/Wi-Fi module using the Bluetooth/Wi-Fi module cable.
- Connects to the BLUETOOTH / WI-FI port on the first cabinet using the enclosed 24 Pin System Cable.
- Connects to the HDBT
![]() port on the SNOW-AAE by using a LAN cable.
port on the SNOW-AAE by using a LAN cable.
Prior to Installation
Precautions for installation
- It is recommended that this device be installed in a 19-inch rack case, rather than under general consumer environment conditions.
- Make sure that the ambient temperature inside the rack does not exceed 35°C.
- If installing more than one S-Box, ensure that there is a space of at least 1U (approximately 44.45 mm) between the S-Boxes to prevent the vent on top of each S-Box from being blocked.
- Make sure the vent faces upward. Do NOT install the device in portrait orientation or upside down.
- Make sure the vent on top is not blocked to prevent the device from overheating.
- Exercise caution to ensure that no foreign material enters the vent on top of the device.
- If installing the device close to a wall, make sure that there is a space of at least 10 mm between the wall and the four sides of the device to ensure good ventilation.
- Make sure that there is a space of at least 50 mm between the wall and the rear ports of the device to gain access for connection of cables.
Installing S-Box on Rack Case
- Attach the brackets to both sides of the S-Box main unit.

- Fix the S-Box to the rack case.


* Use appropriate screws that are compatible with the rack case size.
* For more information about the foregoing rack, please contact Samsung or your system integrator.
Connecting and using devices
Connecting to a PC

Connecting to a Video Device

Connecting the LAN Cable

Use a cable of CAT 6 (*STP type) or higher.
- STP: Shielded Twisted Pair
- Connect to a HUB or router that supports the DHCP function.
Connecting a Optical Cable

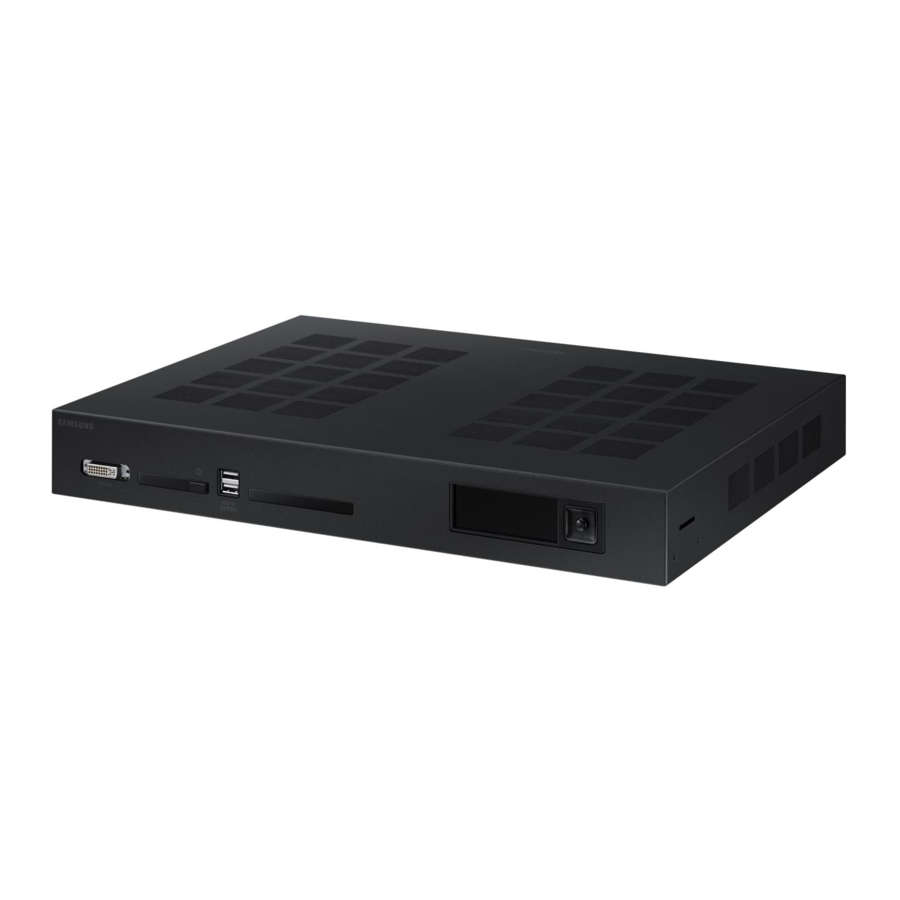
Front Side

- Dedicated to service technicians.
- This port is for servicing only and has no user function. Do not connect a cable to this port.
- Turn the product on or off.
- Connect to a USB memory device.
- Front Info LCD Display Using the jog button, you can see the product status and configure the settings.
Reverse Side

- Connects to the AC/DC adapter.
- Used for service purposes.
- Connects to a audio device using the optical(digital) cable.
- Connects to a source device using a HDMI cable or HDMI-DVI cable.
- Connects to a PC using a DP cable. 6 Connects to the HDBT IN port on the BRIDGE BOX using a LAN cable.
- Connect to a network using the LAN cable. (10/100 Mbps)
- Connects to a cabinet using an LC fiber cable.
Troubleshooting Guide
| Issues | Solutions |
| The screen keeps switching on and off. | Check that the cable between the product and the PC is connected correctly. |
| No Signal is displayed on the screen. | Check that the product is connected correctly with a cable. |
| Check that the source device connected to the product is powered on. |
Specifications
| Model Name | SNOW-AAE (SBB-SNOWAAEX**) | |
| Synchronization | Horizontal Frequency | 30 ~ 264 kHz (DP, HDMI 4), 30 ~ 135 kHz (HDMI 1~3) |
| Vertical Frequency | 24 ~ 120 Hz | |
| Resolution | Optimum Resolution | 3840 x 2160 @ 60 Hz |
| Maximum Resolution | 7680 x 4320 @ 60 Hz (DP, HDMI 4), 3840 x 2160 @ 60 Hz (HDMI 1~3) | |
| Power Supply | AC100-240V~ 50/60Hz Based on the AC voltage of the adapter. For the DC voltage of the product, refer to the product label. | |
| Environmental | Operating | Temperature : 0°C - 40°C (32°F - 104°F) Humidity : 10% – 80%, non-condensing |
| considerations | Storage | Temperature : -20°C - 45°C (-4°F - 113°F) Humidity : 5% – 95%, non-condensing |
| Supported models | IWA, IFA Series | |
- This device is a Class B digital apparatus.
- For detailed device specifications, visit the Samsung website.
- Update to the latest software to ensure support for the IW, IF series cabinets.
 The terms HDMI and HDMI High-Definition Multimedia Interface, and the HDMI Logo are trademarks or registered trademarks of HDMI Licensing Administrator, Inc. in the United States and other countries.

Documents / ResourcesDownload manual
Here you can download full pdf version of manual, it may contain additional safety instructions, warranty information, FCC rules, etc.
Advertisement
Thank you! Your question has been received!


Need Assistance?
Do you have a question about the SNOW-AAE that isn't answered in the manual? Leave your question here.