Memorex MCB428 - Aluminum Wireless Clock Radio Manual
- Manual (2 pages) ,
- Quick start manual (2 pages)
Advertisement
Includes
- 3.5mm audio cable
- Micro USB to USB cable
- Antenna attachment
- Warranty
Features
- Bluetooth wireless - range: 60 ft.
- Built-in stereo speakers
- Voice prompts
- Speakerphone
- Built-in FM radio and Auto Scan radio presets
- Digital clock
- Dual alarm
- Negative LCD display with backlight
- Multi-step display dimmer
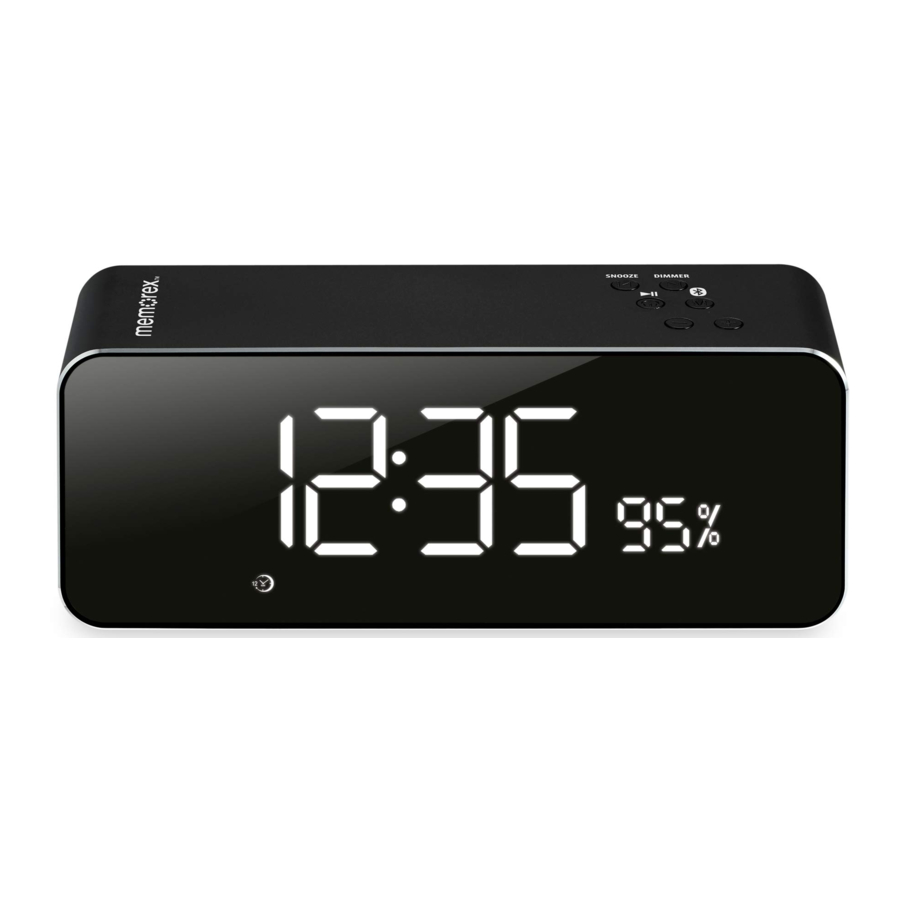
- Time, temperature, power percentage and function display
- Aux In (3.5mm audio input)
- Micro SD memory card reader
- Micro USB power input for battery recharge
- Built-in rechargeable battery
- Battery life approx. 7 hours at 100% volume
Overview

Power/Play/Pause
Press and hold to power on the speaker.
Press to play or pause audio tracks (BLUETOOTH & CARD MODE).
Snooze/Skip Back
Press to snooze alarm for 9 minutes.
Press to skip audio tracks (BLUETOOTH & CARD MODE).
Press and hold to display temperature.
Dimmer/Skip Fwd
Press and hold to adjust the brightness of the display.
Press to skip audio tracks (BLUETOOTH & CARD MODE).
Pair Bluetooth/Mode Select
Press to change audio mode.
Press and hold to begin pairing to a Bluetooth device (BLUETOOTH MODE).
Press and hold to Auto Scan FM radio stations (FM MODE).


Power & Charging
Plug the AC power cord into a standard power outlet.

Charge Indicator is red while charging, and will turn off when fully charged.
Setting the Clock
- With the unit off, press the
![]() button. The display will begin flashing.
button. The display will begin flashing. - Use the Volume buttons to set the time. Press the
![]() buttons to switch between hours and minutes. Note the PM indicator.
buttons to switch between hours and minutes. Note the PM indicator. - Press the
![]() button to finish setting the time.
button to finish setting the time.
 button. The display will begin flashing.
 buttons to switch between hours and minutes. Note the PM indicator.
Alarm
Setting the Alarm
- With the unit off, press the
![]() button. The display will begin flashing.
button. The display will begin flashing. - Press the
![]() button until the display reads "AL1".
button until the display reads "AL1". - Use the Volume buttons to set the alarm time. Press the
![]() buttons to switch between hours and minutes. Note the PM indicator.
buttons to switch between hours and minutes. Note the PM indicator. - Press the
![]() button again, and use the Volume buttons to select "ON" or "OFF".
button again, and use the Volume buttons to select "ON" or "OFF". - Press the
![]() button again, and use the Volume buttons to select the Alarm type. There are 5 different alarm sounds, or you can select TF (SD Card), or RAD (radio). Note: If TF is selected when there is no SD card loaded, the unit will play the radio when the alarm sounds.
button again, and use the Volume buttons to select the Alarm type. There are 5 different alarm sounds, or you can select TF (SD Card), or RAD (radio). Note: If TF is selected when there is no SD card loaded, the unit will play the radio when the alarm sounds. - Press
![]() to confirm and set the alarm.
to confirm and set the alarm. - When the alarm rings, press any button to stop it.
- To set Alarm 2, press the
![]() button until "AL2" appears on the display and follow the steps above.
button until "AL2" appears on the display and follow the steps above.
 button until the display reads "AL1".
Snooze & Alarm Reset
After the alarm sounds:
- Press the
![]() button to turn the alarm off.
button to turn the alarm off. - Press the
![]() button to snooze the alarm for 9 minutes.
button to snooze the alarm for 9 minutes.
 button to snooze the alarm for 9 minutes.
FM Radio
Tuning the FM Radio
- Insert the FM radio antenna into the Aux In port on the side of the speaker.
![]()
- Press the
![]() button to turn the unit on, then press the M button to switch to FM Mode. A voice prompt will sound from the speaker and the display will show the radio frequency.
button to turn the unit on, then press the M button to switch to FM Mode. A voice prompt will sound from the speaker and the display will show the radio frequency. - To automatically scan radio frequencies and set presets, press and hold the M button. When finished, use the
![]() buttons to change presets.
buttons to change presets.

Bluetooth Wireless
Pairing to a Bluetooth Device and Playing Audio
- Press and hold the
![]() button to power on the speaker. It should start in Bluetooth Mode, indicated by a voice prompt and a
button to power on the speaker. It should start in Bluetooth Mode, indicated by a voice prompt and a ![]() symbol on the display.
symbol on the display. - Press and hold the
![]() button, the
button, the ![]() symbol on the display will begin flashing quickly and another voice prompt will sound from the speaker. When pairing, remain within 3 feet of the unit.
symbol on the display will begin flashing quickly and another voice prompt will sound from the speaker. When pairing, remain within 3 feet of the unit. - Using the controls on your Bluetooth device, select MCB428 from your Bluetooth settings to pair. When successfully paired, the BT
![]() symbol on the display will turn solid and a voice prompt will confirm the connection. You can refer to the user's manual for your specific device for instructions on pairing and connecting Bluetooth devices.
symbol on the display will turn solid and a voice prompt will confirm the connection. You can refer to the user's manual for your specific device for instructions on pairing and connecting Bluetooth devices. - Audio played through the connected Bluetooth device should now be heard through the speakers. Use the controls on the connected Bluetooth device to select and begin playing audio. Play, pause or skip audio using the controls on the device or the unit.
 symbol on the display.
 button, the
 Speakerphone
- To accept or end a phone call coming through the connected Bluetooth phone, press the
![]() button on the speaker.
button on the speaker.
Previously Connected Devices
- This unit can remember multiple Bluetooth devices and will always try to reconnect to the last device used.
- To reconnect to a different device, turn off Bluetooth on unwanted devices, then access the Bluetooth settings menu on the device you wish to use and connect to MCB428.
- If the unit should become unpaired or will not connect normally, delete the unit for your device's Bluetooth settings menu ("Forget This Device"), turn the unit off and on again, and perform the Bluetooth connection again.
Memory Card
The speaker supports MP3/WAV audio files, and SD cards up to 32GB.
- Insert a Micro SD memory card into the memory card slot.

- Press and hold the
![]() button to turn the unit on, then press the M button to switch to SD Card Mode. A voice prompt will sound from the speaker and the display will show the radio frequency.
button to turn the unit on, then press the M button to switch to SD Card Mode. A voice prompt will sound from the speaker and the display will show the radio frequency. - Use the controls on the speaker to play audio on the card.

Aux In
Requires a 3.5mm audio cable.
- With the unit powered ON, connect a 3.5mm audio cable to the Aux In on the rear of the unit and the audio output on an audio device.
- Press the Source button to select Aux-In Mode. Use the controls on the connected device to play your audio through the unit.


Documents / ResourcesDownload manual
Here you can download full pdf version of manual, it may contain additional safety instructions, warranty information, FCC rules, etc.
Download Memorex MCB428 - Aluminum Wireless Clock Radio Manual
Advertisement
Thank you! Your question has been received!


Need Assistance?
Do you have a question about the MCB428 that isn't answered in the manual? Leave your question here.