
Related Manuals for X10 LINKED LY20


Summary of Contents for X10 LINKED LY20
- Page 1 Pan and Tilt LY20 User Manual Before using this product, please read the guide carefully to avoid any damages to the product, do not misconfiguration or misuse.
-
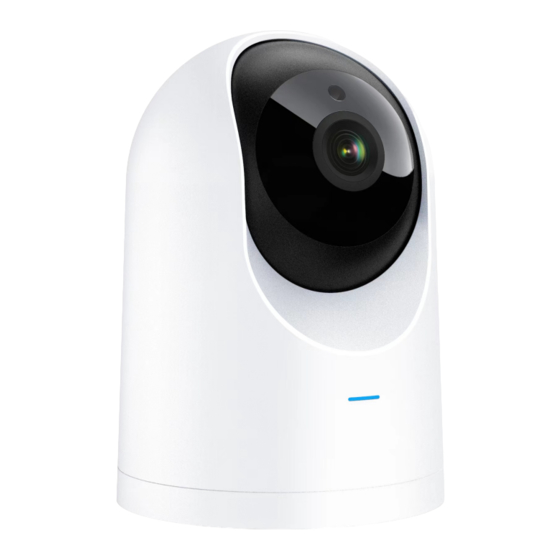
Page 2: Product Overview
1. Product Overview 1.1 What's included [)mmmmnmo::= [)mmmmnm � � Camera Screw Packs Power Adapter � Mounting Bracket Quick Guide USB Cable The LINKED APP is required to operate the camera. To sign up: 1. Open the app and click Sign up. 2. - Page 3 1.1 Install SD Card CAUTION: Please insert the Micro SD Card according to the directions shown in the diagram. Micro SD Card might JAM if inserted incorrectly and the device could be damaged. SD Card Slot: Support micro SD card for local storage (Max 128GB). Reset Button: Used to restore the camera to factory settings (Press and hold for 5-8s).
-
Page 4: Installation
2. Installation 2.1 App installation For iPhone users: Open the App Store and search for “X10 Linked” Download and install the Linked app onto your iPhone. For Android phone users: Open the Google Play Store and search for “X10 Linked”... -
Page 5: User Account Registration
Different LED colors correspond to different camera status: Blue System start up Slow blue flash Syncing mode Fast blue flash Connecting to Wi-Fi Solid blue Camera working properly 2.3 User Account Registration After opening the app for the first time, register your account by clicking ‘sign up’... - Page 6 2.4 Camera Device and Phone Synchronization Click Add Camera button, click on ‘connecting my camera’ Step 1: Check to see if the front LED light is flashing: After powering on the camera, the LED light should be flashing blue, click on ‘Next’...
-
Page 7: App Functions
X10 Linked 3. App functions 3.1 Live video After syncing successfully, click the IP Camera interface to view live video. Smooth, SD and HD video definition are available. 3.2 Video Recording Users can record video on live video interface , by pressing the red video recording icon on the left, refer to photo below. - Page 8 Tap on the camera icon to take a screen shot while replaying the video. Refer to photo below. X10 Linked 3.3 SNAPSHOT SHARING Our camera provides a function that shares any snapshot photos to Email/SMS, etc. To access snapshots, please follow same...
- Page 9 2 to register and verify the email address you are willing to add as a sub- account prior to adding it as new sub-account. X10 Linked Figure 2 Figure 3 Figure 4 3.5 VIEWING LOCK...
-
Page 10: Two Way Audio
X10 Linked X10 Linked Figure 5 Figure 6 X10 Linked Figure 7 Figure 8 3.6 TWO WAY AUDIO When you are viewing camera, you can press the “Microphone Icon” as indicated in Figure 8 above and talk or if the volume on the... -
Page 11: Infrared Night Vision
3.7 INFRARED NIGHT VISION Infrared night vision is controlled by camera system automatically. When the area around the camera becomes too dark, the infrared night vision will activate automatically. Likewise, when the area around the camera is bright enough, the night vision will deactivate automatically. - Page 12 4. Warning ● When using the camera, please avoid rain, fire and lightning. The camera’s working humidity range is: 20%-50% indoor, 20%-70% outdoor. Working temperature range is: -10°-50℃ (14°-122°F) indoor; -20°-55℃ (-4°-131°F) outdoor. ● The IP Camera is designed to ensure the security and confidentiality of its users, but cannot completely guarantee the threat of being compromised, due to various setup circumstances.
-
Page 13: Other Notes
4) Cannot replay video? ☆ Check if there is a micro-SD card. ☆ Insert a micro-SD card, you can replay video after 10 minutes. 5) If the Wi-Fi is hidden, why cannot I find any network or camera device? Our camera device can only connect to non-hidden Wi-Fi networks. 6) How to restore Factory Settings? While the camera device is on, use a small object to hold down the reset button located on the back of the unit for 3-5 seconds.