Cuisinart CDF-100 - Compact Deep Fryer Manual
- Recipe booklet (18 pages) ,
- Instruction and recipe booklet (49 pages) ,
- Instruction and recipe booklet (32 pages)
Advertisement
IMPORTANT SAFEGUARDS
When using electrical appliances, basic safety precautions should always be followed, including the following:
- READ ALL INSTRUCTIONS.
- Unplug from outlet when not in use and before cleaning. Allow appliance and the oil to cool completely before putting on or taking off parts, and before cleaning or draining the appliance.
- Do not touch hot surface; use handles or knobs.
- To protect against electric shock, do not immerse cord, plug or base unit in water or other liquid.
- Close supervision is necessary when any appliance is used by or near children.
- Do not operate any appliance with a damaged cord or plug or after an appliance malfunctions, or has been damaged in any manner. Return appliance to the nearest authorized service facility for examination, repair or adjustment.
- The use of accessory attachments not recommended by Cuisinart may cause injuries.
- Do not use outdoors.
- Do not let cord hang over edge of table or counter, or touch hot surfaces.
- Do not place on or near a hot gas or electric burner, or in a heated oven.
- Extreme caution must be used when moving fryer containing hot oil.
- Be sure handles are properly attached to basket and locked in place. See detailed assembly instructions.
- Always attach plug to appliance first, then plug cord into the wall outlet. To disconnect, turn temperature knob to Min and then remove plug from wall outlet.
- Do not use appliance for other than intended use.
- Do not operate your appliance in an appliance garage or under a wall cabinet. When storing in an appliance garage always unplug the unit from the electrical outlet. Not doing so could create a risk of fire, especially if the appliance touches the walls of the garage or the door touches the unit as it closes.
SPECIAL CORD SET INSTRUCTIONS
A short power supply cord is provided to reduce the risk of becoming entangled in or tripping over a long cord. A longer detachable powersupply cord or extension cord is not recommended for use with the Compact Deep Fryer.
NOTICE
This appliance has a polarized plug (one blade is wider than the other). To reduce the risk of electric shock, this plug is intended to fit into a polarized outlet only one way. If the plug does not fit fully into the outlet, reverse the plug. If it still does not fit, contact a qualified electrician. Do not attempt to modify the plug in any way.
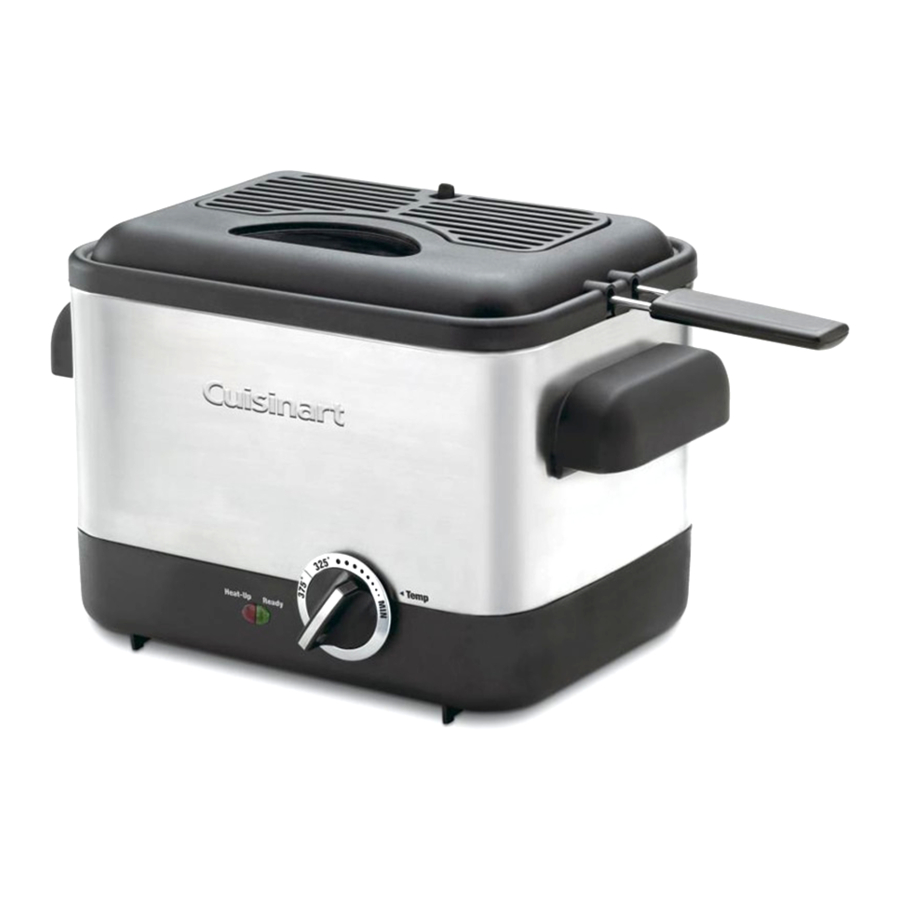
PARTS AND FEATURES

- Filter cover
- Anti-odor charcoal filter (not shown)
- Removable lid
- Viewing window
- Basket – chrome plated steel mesh (not shown)
- Handle – detachable basket handle
- Nonstick Diecast Bowl with pouring spout (not shown)
- Housing – brushed stainless steel
- Cool touch side handles
- Adjustable temperature control
- Indicator lights – red indicator light signals that fryer is heating up; green indicator light signals that fryer is ready to cook
- Detachable power cord (not shown)
- Nonskid feet
- BPA-Free (not shown) – All materials that come in contact with food are BPA-Free.
BEFORE THE FIRST USE
Remove all packaging materials and any promotional labels or stickers from your deep fryer. Be sure all parts (listed above, Parts and Features) of your new appliance have been included before discarding any packaging materials. You may want to keep the box and packing materials for use at a later date.
Before using your Cuisinart™ Compact Deep Fryer for the first time, remove any dust from shipping by wiping the base with a moist cloth. Thoroughly clean the bowl, lid, and basket. The lid and basket are dishwasher-safe. Never immerse the appliance in water; water must not be allowed to penetrate the interior of the appliance.
ASSEMBLY INSTRUCTIONS
- Place base on a clean, flat surface where you intend to cook.
- To properly attach the handle to the basket, squeeze together both ends of the handle and insert both ends into the bracket holes (Figure 1). Keeping ends in bracket holes, gently release grip. Firmly pull back handle to snap into position (Figure 2).
![]()
- Make sure unit is turned to Min at thermostat dial.
- Connect the magnetic power cord to the unit. See Figure 3.
![]()
- Add recommended amount of oil. Never operate fryer without oil reaching the fill line.
- Plug the cord into a standard electrical outlet.


OPERATING INSTRUCTIONS
Once the deep fryer is assembled properly and you are ready to begin frying:
- Pour fresh oil into the bowl up to the oil fill level (1 Liter). The oil fill level is indicated on the bowl.
- See assembly instructions regarding power cord. Always attach cord to fryer before plugging into standard electrical outlet.
- Turn the temperature knob clockwise to the recommended temperature setting.
- After approximately 8-10 minutes, the ready light will turn on when the desired frying temperature has been reached. If food was previously frozen, remove as many of the ice crystals as possible. Place food in the basket in a single layer with space between them. Gently submerge basket in hot oil to begin frying.
- We recommend keeping the lid on during frying.
- Once the food is done, raise the basket and hook it onto the bowl rim to drain oil.
- As soon as oil has drained, remove the basket and place food on a plate lined with paper towels.

Never turn on unit without oil in the bowl.
Never fill the fryer above the fill line – it may cause hot oil to overflow while frying.
Do not use the Compact Deep Fryer when the oil is below the fill line.
The Compact Deep Fryer should be connected to power supply only after it has been filled with oil.
NEVER HEAT IT UP WHILE EmPTy! If this occurs, the thermal-cutoff will automatically shut off power.
Dry all ingredients well before adding to the hot oil. Do not overcrowd foods in the deep fryer when frying.
REMOVING LID
When removing the oil and when cleaning, it is advisable to remove the lid. This can be done easily by opening the lid 45 degrees and then carefully pulling the lid forward. To replace the lid it should be pressed back in the hinge opening at the same 45-degree angle.
REMOVABLE CHARCOAL FILTER

The Compact Deep Fryer includes an anti-odor charcoal filter that helps trap odors and steam during frying.
Filter should be removed before lid is immersed in water for cleaning. It will be difficult for the filter to dry while placed in the lid.
Filter life depends on the type of food most often fried, as some foods carry stronger odors, which the filter helps trap. With time the charcoal filters lose their effectiveness. A change in color or fading indicates that
the filter needs to be changed; this generally occurs between 25 and 30 uses.
To remove the filter, press the single tab on the back of the filter cover toward you, and lift the cover out of the slots in front of the lid (Figure A).
To replace the filter cover, insert the two tabs on the front of the filter cover into the slots in the lid (Figure B).
NOTE: We recommend washing the filter every 2 to 3 uses. The filter can be washed in warm soapy water and rinsed.
Please ensure that the filter is completely dry before replacing.
CLEANING AND CARE

Before cleaning appliance, make sure it has cooled down. Oil stays hot for over an hour after cooking and well after the housing has cooled.
The basket, basket handle, and lid without filter are all top rack dishwasher-safe.
- Make sure the oil is cool enough (about 2 hours after use) and the deep fryer is unplugged before cleaning.
- Either discard used oil or filter it for future use. Bowl is designed with a pouring spout, so oil can be poured without spills and drips. Pour oil into a sealable container to discard or save for future use. Please refer to the tips and hints section in the recipe booklet for instructions on how to properly filter and re-use oil.
- To fully clean interior – When fryer bowl is empty of oil, fill the unit with water, leaving 1½" at the top. Add ¼ cup baking soda and turn unit on. Let boil for 5 to 10 minutes. Shut the unit off and leave the hot water/baking soda mixture to soak. When the solution cools to warm, scrub the inside with a soft but firm bristle brush. Empty the water and baking soda solution by the fryer bowl's pour spout. Rinse carefully by adding about 2 cups of water, then empty again and dry.
To clean using soap – When fryer bowl is empty of oil, add about 2 cups of warm soapy water and let stand for a few minutes or wipe with a sponge. Rinse carefully with about 2 cups of clean water, then empty and dry.
NOTE: WATER mUST NOT BE ALLOWED TO PENETRATE THE INTERIOR OF THE APPLIANCE.
NOTE: DO NOT ImmERSE FRyER, CORD OR mAgNETIC PLUg IN WATER OR ANy OTHER LIQUID. - To clean exterior, wipe with a soft dry cloth. Never use an abrasive cleaner or harsh pad.
- The basket, basket handle, and lid without filter can be washed in sink or dishwasher.
- All components of the fryer should be thoroughly cleaned and dried before being stored.
- Any other servicing should be performed by an authorized service representative.

Documents / ResourcesDownload manual
Here you can download full pdf version of manual, it may contain additional safety instructions, warranty information, FCC rules, etc.
Advertisement
Thank you! Your question has been received!


Need Assistance?
Do you have a question about the CDF-100 that isn't answered in the manual? Leave your question here.