Advertisement
Quick Links
Advertisement

Related Manuals for Toshiba HSP100


Summary of Contents for Toshiba HSP100
- Page 1 Quick Installation Manual HSP100 & HSP150 POS PRINTER POS PRINTER Model (TRST-P2 & TRST-P1)
- Page 2 BOTH ends of the cable. If another cable is used than described above you will need to test this cable with the TOSHIBA TEC printer and your system for local EMC requirements where the equipment is used.
- Page 3 About The Symbols on TOSHIBA TEC Products On TOSHIBA TEC products, there are symbols that represents safety and to ensure proper use of the product, and to warn and prevent users and other persons about possible hazards or danger as well as property damage.
- Page 4 Do not attempt to effect repairs or modifications to this equipment. If a fault occurs that cannot be rectified using the procedures described in this manual, turn off the power supply, unplug the machine, and then contact your authorized TOSHIBA TEC representative for assistance. Meanings of Each Symbol This symbol indicates warning items (including cautions).
- Page 5 TOSHIBA TEC representative cause fire for assistance. Continued use electric shock. In these of the machine in that condition cases, immediately turn may cause fire or electric off the power switches shock.
- Page 6 Request Regarding Maintenance Utilize our maintenance services. After purchasing the machine, contact your authorized TOSHIBA TEC representative for assistance once a year to have the internal cleaning of the printer. Otherwise, dust will build up inside the machines and may cause a fire or a malfunction. Cleaning is particularly effective before humid rainy seasons.
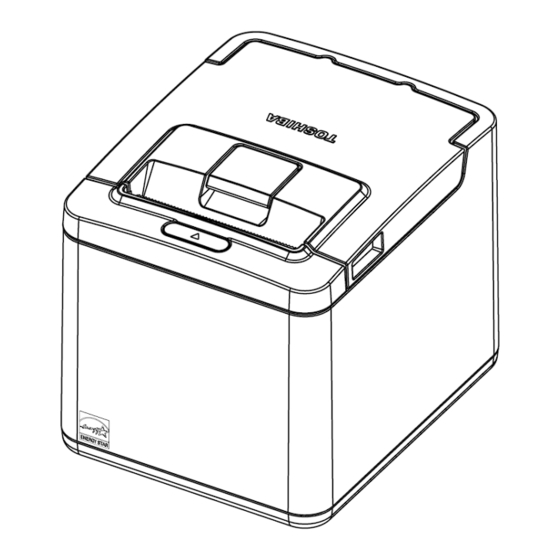
- Page 7 1. Front/Rear View Front View Rear View Cover Main Cover Cover Open Lever LED and Feed Button Front Cover 2. LED and Feed Button POWERED LED (Blue) Light up when the power is turned ERROR LED (Amber) The Error LED indicates an error by Amber color.
- Page 8 3. Loading the Receipt Roll When you use this printer for the first time or when the receipt paper has been used up, load a receipt roll in the following procedures while the printer power is set to A thermal printer prints thermal receipt paper by applying heat to the paper to react with the chemicals on the paper surface.
- Page 9 1) Turn the printer power ON by connecting to the power supply. 2) Pull up the Cover Open Lever to open the printer cover. 3) Check for the correct orientation of the receipt roll, and put it into the paper 4) Pull the receipt until it extends past the paper outlet for about 5 cm.
- Page 10 CAUTION! 1. Use only TOSHIBA TEC specified paper. Use of non-specified paper may shorten the print head life resulting in problems with print quality, paper feed failure, or shorten the cutter life. 2. Do not subject the thermal receipt roll to water, oil, or heat source as this will darken the paper.
- Page 11 ii. Table Top/Under Counter – Vertical orientation The POS Printer can also be mounted in vertical manner as shown below. The paper will be presented in the front exit direction. Hence it is also suitable to be placed under the counter. iii.
- Page 12 The POS printer may be mounted on vertical wall. Make sure there is enough room to open the receipt cover to change the paper. Mount the screws on the wall using the following recommended mount dimensions. To fix the printer securely, install the screws on the wall made of wood, concrete, or metal.
- Page 13 B. Connect to Power Supply Insert the power cable into the power connector. C. Connect via standard USB Type-B cable Connect USB Type-B is to link the printer to the POS Terminal D. Connect via Option Card (RS232 & LAN) Remove both screws and option metal cover to install the option card.
- Page 14 E. Serial Interface (RS232) Option: Attach Screw Connect the cable F. Ethernet Interface (LAN) Option Attach Screw Connect the cable G. Connect via Y-Cable Y-cable is an option to connect power connector and USB Type-B connector to POS terminal. H. Connecting via Cash Drawer 1) Make sure that the printer does not connect to any power supply.
- Page 15 TOSHIBA TEC recommends using the following thermal paper for this product. Manufacturer : NIPPON PAPER Type : TF50KS-EY For further information please contact your authorized TOSHIBA TEC representative or authorized paper manufacturer.
- Page 16 NOTE: If other LED status except for the above occurs, turn the power supply off, and then reopen. If this does not restore the LED, contact your nearest TOSHIBA TEC representative for assistance. Toshiba Tec Corporation PRINTED IN INDONESIA ©...