Advertisement
Quick Links
QuickStart Guide
AZ-1
START HERE
It is strongly recommended that you follow these
step-by-step numbered instructions to set up and
quickly begin using your new Digital Camera.
For more detailed instructions on advanced features,
please refer to the Reference Manual.
PREPARE THE CAMERA FOR USE
Before you begin using your Olympus digital camera...
a.
Loading the battery
Slide the battery/card compartment
Gently push the latch backwards to lift it
cover in the direction of the arrow
When you take your finger off the latch, the
. The cover unlocks and opens in
latch drops back on its own
1
the direction of the arrow
.
latch drops back, insert the battery
2
Open the battery/card
Release the latch
compartment cover.
to insert the battery.
1
2
Battery/Card
compartment cover
Insert the battery with the
OLYMPUS logo face up.
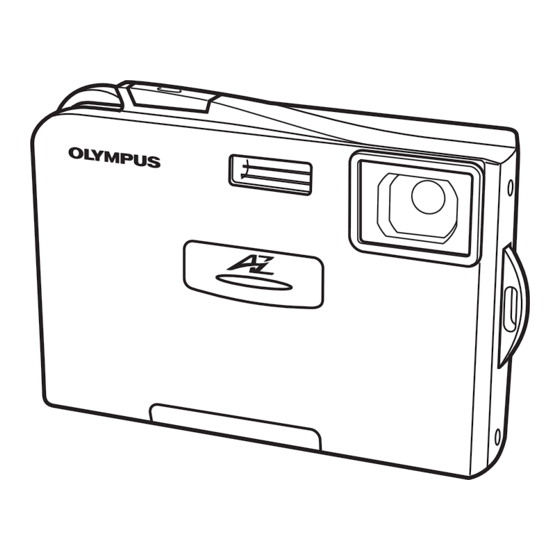
Names of parts
Shutter button
Zoom button
(W
/T
)
Monitor
MENU/OK button
Speaker
TURNING ON THE CAMERA
a.
Power on/off
1
Lens cap
Remove this when taking
pictures.
Monitor
Power on T Turns on the monitor.
Power off T Turns off the monitor.
b.
Menu & operation (date and time setting)
1) Display the menu.
The current setting is displayed.
P
SCENE SELECT
P
Press
RESET
FLASH MODE
AUTO
OFF
MENU/OK
3M
SH
EXIT
BACK
SELECT
GO
OK
The operation guide is displayed.
VT767301
OLYMPUS AMERICA INC.
Two Corporate Center Drive, Melville,
NY 11747-3157, U.S.A.
http://www.olympusamerica.com/support
UNPACKING THE BOX CONTENTS
Gather your digital camera and the parts as shown in the illustration. You'll need these to complete the steps for the camera set-up
procedures that follow.
Digital camera
The following items are also included in this package: lens cap, lens cap string, camera case, warranty card and registration card (not pvovided in some areas).
Push down firmly on the
the battery/card compartment cover
.
3
, and slide it in the direction of the
6
arrow
. Closing the battery/card
7
. After the
4
compartment cover locks the latch.
.
5
Close the battery/
card compartment
cover.
3
7
4
5
Latch
Unloading the battery
Release the latch
3
battery held down, tilt the camera
carefully so that the battery does
4
not drop from the camera.
5
Remove the battery
Control dial
BACK/NEXT button
Mode switch
(
/
/
)
POWER switch
Self-timer lamp
2
Mode switch
: Select this for still pictures shooting.
: Select this for movie shooting.
: Select this for playback.
3
POWER switch
Turns the camera on and off.
* Check the date/time settings
when the camera is turned on.
2) Select SETUP.
Rotate to
select
P
SPOT
AF MODE
OFF
FORMAT
SETUP
Press to confirm
BACK
EXIT
SELECT
GO
MENU/OK
Olympus Europa GmbH
Wendenstrasse 14-18,
20097 Hamburg, Germany
http://www.olympus-europa.com
AC adapter (D-7AC)
Cradle
Strap
AV cable
b.
Charging the battery
To the AC wall outlet
AC plug
section of
c.
Inserting the card
1
6
2
● Insert the card while keeping it
. With the
3
4
straight.
● When the card is inserted
all the way, it stops with a click.
.
5
Microphone
Flash
Lens
Battery/Card compartment
cover
Strap eyelet
3) Select
from the SETUP menu.
Indicates there are more menu items
following SHUTTER SOUND.
Rotate to
REC VIEW
select
SCREEN
SHUTTER SOUND
BACK
EXIT
A white frame shows the currently selected item.
Rotate to
select
VIDEO OUT
Press to confirm
BACK
EXIT
MENU/OK
4) Set the date/time.
The following instructions show the procedure used when the
date and time settings are set to Y-M-D.
Select the date format: [Y-M-D (Year/Month/Day)],
[M-D-Y (Month/Day/Year)], [D-M-Y (Day/Month/Year)].
Rotate to
select
2004
Press to confirm
OK
CANCEL
MENU/OK
Lithium-ion battery (LI-20B)
Reference Manual
USB cable
blinks during charging.
Cradle (provided)
AC adapter (provided)
3
Notch
Removing the card
Connector end
Cradle connector
DC-IN jack
Tripod socket
A/V OUT jack
Set the date.
The "year" is highlighted. The first two digits of the
year are fixed.
Rotate to
select
SETUP
ON
ENGLISH
Press to confirm
1
1
SELECT
GO
OK
MENU/OK
Repeat the procedure until the date and
time are completely set.
The time is displayed in the 24-hour format.
SETUP
For example, 2 p.m. will be displayed as 14:00.
'04.01.01
00:00
Rotate to
PAL
select
SELECT
GO
OK
Press to confirm
MENU/OK
5) With the cursor on SET, press MENU/OK.
The clock starts after completing step 5 .
Press to confirm
01
01
Y
M
D
MENU/OK
00
00
SET
BACK
SELECT
GO
OK
http://www.olympus.com/
CAMEDIA Master CD-ROM/
Software installation guide
xD-Picture Card/Instructions
DC-IN jack
5
4
Push the card all the way to
unlock it, then let it return
slowly. Hold the card straight
and pull it out.
Cradle
(provided)
USB connector
01
01
00
00
SET
BACK
CANCEL
SELECT
GO
OK
07
30
12
00
SET
BACK
CANCEL
SELECT
GO
OK
07
30
12
15
SET
BACK
CANCEL
GO
OK
Printed in Japan
Advertisement

Related Manuals for Olympus AZ-1


Summary of Contents for Olympus AZ-1
- Page 1 The following items are also included in this package: lens cap, lens cap string, camera case, warranty card and registration card (not pvovided in some areas). PREPARE THE CAMERA FOR USE Charging the battery Before you begin using your Olympus digital camera… blinks during charging. To the AC wall outlet...
- Page 2 Makes it easy to edit your digital photos. The provided software CD ● Image can be transferred to a computer for editing includes Olympus CAMEDIA Master and storage. Refer to the Reference Manual. ● Image management for grouping photos or software for viewing and creating photo albums.