Advertisement
- 1 Maintenance and Customer Service
- 2 Grounding Instructions
- 3 IMPORTANT SAFETY INSTRUCTIONS
- 4 Parts List
- 5 Assembly
- 6 Installing Power Cord
- 7 Operating Instructions
- 8 General Information
- 9 To Clean or Replace Inlet Filter
- 10 To Replace Brush
- 11 Troubleshooting Guide
- 12 Warranty
- 13 Documents / Resources
Maintenance and Customer Service
BEFORE OPERATING CLEANER, READ ALL INSTRUCTIONS IN THIS MANUAL CAREFULLY.
Your Oreck vacuum cleaner is a product of precise engineering. The motor bearings are permanently lubricated and should not be oiled. If you require additional information or have problems with your Oreck appliance, you may call ORECK Commercial Customer Service at:
USA & Canada: 1-800-989-4244
Please specify the model number and serial/code number which can be found on the data plate on the back of the vacuum.
Save your sales or purchase slip. Should your Oreck appliance require warranty service in the U.S.A., present this slip to the Authorized Service Center as your proof of purchase date or, in Canada, call customer service.
Grounding Instructions
This appliance must be grounded. If it should malfunction or break down, grounding provides a safe path of least resistance for electrical current, reducing the risk of electric shock. The cord for this appliance has an equipment-grounding conductor and a grounding plug. It must only be plugged into an electrical outlet that is properly installed and grounded in accordance with all local codes and ordinances. Do not modify plug provided with appliance.

Improper connection of the equipment-grounding conductor can result in a risk of electrical shock. Check with a qualified electrician or service person if you are in doubt as to whether the outlet is grounded. If not, have a proper outlet installed by a qualified electrician.
This appliance is for use on a nominal 120-volt circuit. It has a grounding plug similar to the example shown. Make sure the appliance is connected to an outlet with the same configuration as the plug. No adapter should be used with this appliance.

IMPORTANT SAFETY INSTRUCTIONS
When using an electrical appliance, basic precautions should always be followed, including the following:
READ ALL INSTRUCTIONS BEFORE USING THIS VACUUM CLEANER

To reduce the risk of fire, electric shock, or injury:
- Do not use outdoors or on wet surfaces.
- Do not allow to be used as a toy. Close attention is necessary when used by or near children.
- Use only as described in this manual. Use only manufacturer's recommended attachments.
- Do not leave appliance unattended when plugged in. Unplug from outlet when not in use and before servicing.
- Connect to a properly grounded outlet only. See: Grounding Instructions.
- Do not use with damaged cord or plug.
- If vacuum cleaner is not working as it should, has been dropped, damaged, left outdoors, or dropped into water, return it to a service center or call customer service at: USA & Canada: 1-800-989-4244
- Do not pull or carry by cord, use cord as a handle, close door on cord, or pull cord around sharp edges or corners. Keep cord away from heated surfaces.
- Do not run vacuum over cord.
- Do not unplug by pulling on cord. To unplug, grasp the plug, not the cord.
- Do not handle plug or vacuum cleaner with wet hands.
- Do not put any object into openings. Do not use with any opening blocked; keep free of dust, lint, hair and anything that may reduce air flow.
- Keep hair, loose clothing, fingers and all parts of body away from openings and moving parts.
- Do not use to pick up anything that is burning or smoking, such as cigarettes, matches, or hot ashes.
- Do not use without filter bag assembly in place.
- Turn off all controls before unplugging.
- Use extra care when cleaning on stairs.
- Do not use to pick up flammable or combustible liquids, such as gasoline or lighter fluid, or use in areas where they may be present.
- Do not use appliance in an enclosed space where flammable, explosive or toxic vapors are given off by oil base paint, paint thinner, some mothproofing substances, or in an area where flammable dust is present.
- Do not pick up toxic material such as chlorine bleach, drain cleaner, gasoline, etc. with this appliance.
- Use caution when vacuuming over area rugs edges and fringe.
SAVE THESE INSTRUCTIONS
For Commercial Use
Parts List
To assist you in identifying components of your vacuum, the parts have been numbered as follows:

- Handle
- Option Mount
- Full Bag Light
- Main Power Switch
- Door Latch
- Bag Housing
- Release Handle
- Electronic Display
- Handle Pivot
- Brush Housing
- Power Brush Housing
- Hose
- Upper Cord Hook
- Power Cord
- Wand
- Transport Handle
- Thumb Nut
- Base Inlet Connector
- Cord Pigtail
- Rear Wheel
- M5 Thumbscrew
- Cord Strain Relief
- Cord Restraint
- Dusting Brush
- Upholstery Brush
- Crevice Tool
Assembly
- Install handle by sliding it into the opening in the top of the baghousing until it bottoms out. Install and tighten with the M5 thumbscrew (21).
- Install the hose by pushing one end into the top of the bag housing. Push the other end into the wand.
- Position the open end of wand over the opening of the powerbrush housing and push the wand into the sleeve in the back of bag housing until it snaps into the notch.
- Plug the Cord Pigtail (lower power cord) into the bag housing.
- Make sure the dust bag is installed. For instructions refer to the"Dust Bag Removal and Installation".
- Snap two of the tools into the option mount.
- To secure the power cord to unit, plug the power cord into the outlet at the top of the vacuum housing. Slide cord restraint (23) over the top of the pigtail on the power cord (fig 1).
![]()
- To install cord strain relief (22), hold power cord 7-8 inches from plug. Pinch power cord together and slide approximately 1-2 inches through hole in cord strain relief. Carefully slide power cord over clamp on the cord strain relief and pull excess until the power cord is tightly rested under clamp. (fig 2).
![]()
- Attach cord stain relief with power cord attached to the back of the unit using the M5 thumbscrew (fig 3).
![]()


Installing Power Cord
According to your preference, you can place the power cord on the machine in one of two ways:
- Coil the cord (starting at the machine side to prevent cord fromturning) and hang it on the upper cord hook.
- Wrap cord around the upper and lower hooks.
Operating Instructions
NOTE: This machine is suitable for voltage for 120V AC / 60 Hz. Pre Operation Checks
- Check to ensure a dust bag is installed. Replace bag if needed.
- Check brush area for any thread, string or debris that may bewrapped around the brush.
Vacuuming Carpet
- Make sure the power switch4 is in the "OFF" position. Plug the power cord into an electrical outlet.
- Adjust the carpet heightadjustment to suit the carpet thickness you are going to clean (fig 4).
![]()
- Turn the main power switch on. The vacuum fan motor will turn (fig 5).
![]()
- While holding the handle, depress the yellow release pedal and lower the handle to a convenient operating position. When the handle is lowered the brush motor will start turning (fig 6).
![]()
- Begin vacuuming.


Remote Vacuum Wand Cleaning
- Keep machine in a stable position, preferably an upright position.
- Plug in the power cord andswitch on the machine as described in the "Upright Carpet Vacuum Cleaning".
- Remove the wand by snapping it out of the retainer clip and pulling it from its inlet. The brush motor will stop automatically when the wand is removed (fig 7).
![]()
- Attach desired cleaning tool(dusting brush, upholstery brush or crevice tool).
- When finished cleaning, replace the tool and wand to their storage positions. Make sure the wand fits tightly into the base inlet so it will not leak.

Dust Bag Full Indicator
- Your machine has a red bag full indicator light located on top of the unit next to the power switch which will come on when the airflow is obstructed indicating the dust bag is full.
- If the light comes on, switch off the machine, unplug the cord and check the dust bag. Replace the bag when it is full. See "Dust Bag Removal and Installation".
- If the light comes on and the dust bag is not full there is anobstruction somewhere in the system.
Dust Bag Removal and Installation
- Open the bag housing bypushing on the door latch. Fold the ends of the dust bag together and carefully remove the bag. Dispose of bag (fig 8).
![]()
- Always install a new dustbag directly after removing a full one.
- To install the new dust bag, push the bag onto the inlet of the fan motor as far as it will go. Fold the top down so it will not interfere with the door latch.
- Close the door ensuring that it latches properly.

Operating Recommendations
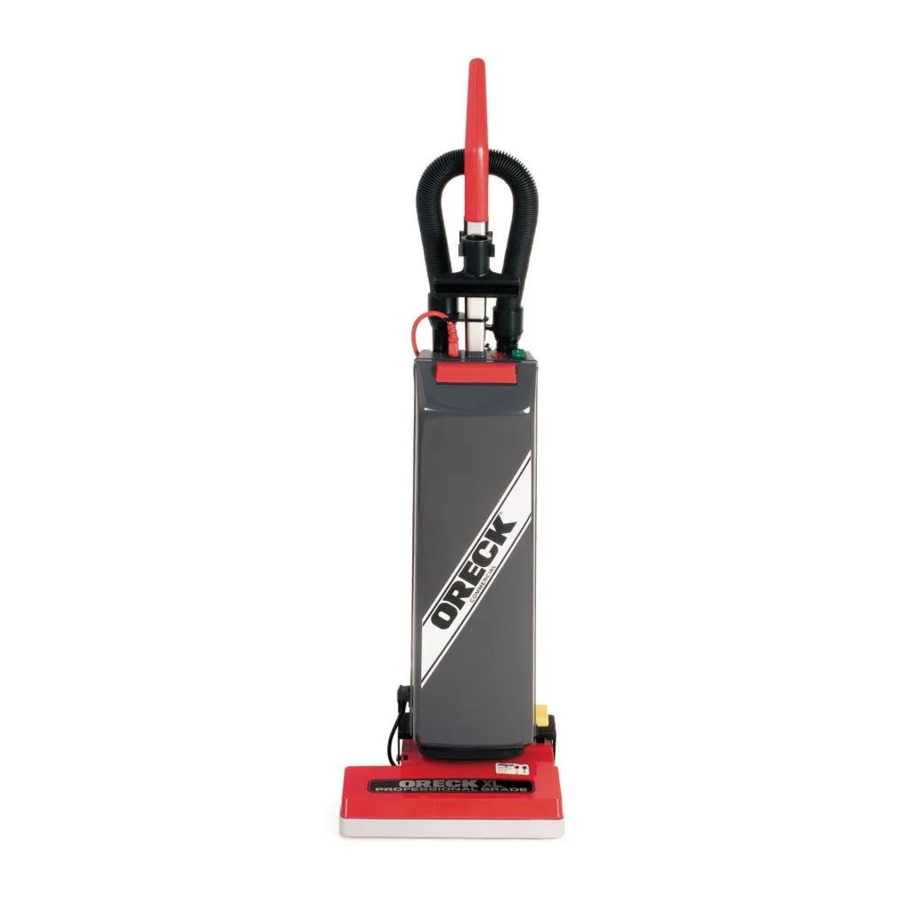
This new ORECK XL Professional Grade Commercial Upright is one of the finest, fastest, and strongest units in its class. You'll love the way it cleans, and it's easy to use.
The following are a few simple suggestions regarding its operation:
- When the disposable filter dust bag is full, REPLACE IT. Wheninserting a new disposable paper filter dust bag—FIRST PUFF OUT and OPEN THE BAG.
- Inspect and clean the filter at the vacuum motor inlet weekly.
- If at any time the vacuum cleaner does not pick up properly ormakes an unusual noise, STOP OPERATION and service.
- Although your upright will pick up pins, paper clips, and other small objects, it is recommended that these be removed from the floor before you vacuum. Failure to do so may result in permanent damage to the motor suction fan and its housing.
![]()
Do not use your vacuum cleaner on damp or wet surfaces. This will cause damage to the vacuum cleaner and is dangerous to the user. Damage caused by use on wet or damp surfaces is not covered under warranty.- Change the disposable filter dust bag at least once a month—even if it is not full! The collected dust in the dust bag can cause odor, attract moisture, and can affect the efficiency of the cleaner.
- Inspect brush for wear once a month. If brush strips no longertouch the carpet, replace brush.
- DO NOT run the vacuum cleaner over the cord. The revolving brush could damage the cord.

General Information
The performance of your new vacuum cleaner greatly depends upon care and maintenance. The instructions in this manual will guide you in performing basic care and maintenance. To obtain the most satisfying years of service read the instructions and keep them handy for future reference.
Disposable Paper Filter Dust Bags
Disposable paper filter dust bags play a very important role in the efficiency of your ORECK vacuum cleaner. The purpose of the paper bag is to trap dirt, but at the same time it must be porous enough to allow air to pass through. If the paper bag becomes clogged, no air can pass through the cleaner and cleaning cannot take place, regardless of the cleaner's power. Increase the CLEANING POWER of your vacuum cleaner by changing the bag often.
To keep your cleaner operating at maximum efficiency, change the dust bag frequently. DO NOT OVER FILL DUST BAG.
Be sure the disposable paper filter dust bag is installed properly.
All paper dust bags are not the same. Your ORECK recommended disposable dust bags have been designed to be used with the ORECK vacuum cleaner. Using bags other than ORECK recommended disposable bags will affect the cleaning ability of your cleaner and could cause damage to it.
Lubrication
The vacuum cleaner motor bearings are factory lubricated and sealed. Further lubrication is not required.
General Vacuum Cleaner Care
At least once a month, check for and remove excessive lint, string or hair from revolving brush.
Wipe the outside of the vacuum cleaner with a damp cloth. Also clean the base of cleaner and housing area.
A little preventative maintenance will keep your cleaner looking new and will ensure continued cleaning effectiveness.

Wood Floors, Soft (Vinyl, Asphalt Tile, etc.) Floor Surfaces and Polished Floor Finishes
Use floor and floor finish manufacturer's recommended methods of cleaning. The metal strip on the base of the vacuum cleaner could be damaged if used on concrete or abrasive surfaces, and, therefore, cause damage to wood floors, soft (vinyl, asphalt tile, etc.) floor surfaces and polished floor finishes. The roller brush may also scuff very soft finishes.
Electronic Brush Alert
The vacuum cleaner is equipped with an electronic power brush alert: two lights - GREEN and RED (fig 9).

Green Light - Lower brush unit operating properly.
Green Light and Blinking
Red Light - Brush drive belt out or broken.
Red Light - Brush rotation obstructed. Refer to Troubleshooting section.
These lights alert the operator of problems which must be corrected immediately. Monitor these lights during operation.
Thermal Overload
The internal temperature of the vacuum motor is sensed at all times. When the temperature gets too high the sensor shuts off the vacuum motor. Inspect the machine for any air obstruction. The sensor will reset automatically when the sensor and electric motor have cooled sufficiently. The motor can then be restarted
To Clean or Replace Inlet Filter
Unplug cord from electrical outlet before servicing.
- Remove the dust bag.
- Snap the filter retainer fromits fitting (fig 10).
![]()
- Remove the filter and clean by shaking or vacuuming. Replace the filter if worn or not cleanable.
- Replace filter in the retainerand snap into place.
- Replace dust bag.

Do not operate the vacuum without the inlet filter in place.
To Replace Brush
Unplug cord from electrical outlet before servicing.
- Remove the screw holdingthe brush access plate and remove plate (fig 11).
![]()
- Grasp the brush strip andslide it out of the brush extension.
- Replace the strip with a newone and slide it into place.
- Replace the access plate and install the screw.

If a previous adjustment has already been made and bristle height does not extend above baseplate, a new brush assembly should be ordered.
FOR SERVICE CALL
USA & Canada: 1-800-989-4244
Replacement Parts (Sold Separately)
| ITEM | PART # |
| PK10PRO14DW |
| 40332-01 |
| 40333-01 |
| 40334-01 |
| 40335-01 |
| 40336-01 |
USA & Canada: 1-800-989-4244
Troubleshooting Guide
Unplug cord from electrical outlet before servicing.
| PROBLEM | POSSIBLE SOURCE | AREAS TO CHECK |
VACUUM MOTOR IS OFF | Not plugged in properly. | Be sure plug is firmly plugged into wall outlet. |
| No electricity in wall outlet. | Check electrical source (fuse or circuit breaker). | |
| Switch in off position. | Position switch to on position. | |
| Sensor temperature too high. | Check for air obstruction. Let the motor cool down. | |
| Faulty switch. | Replace switch. Return to Service Center for repair. | |
BRUSH MOTOR IS OFF | Not plugged in properly. | Be sure plug is firmly plugged into wall outlet. |
| Handle in upright position. | Activate foot pedal to lower handle to engage brush motor switch. | |
| Wand not installed properly. | Remove and re-install wand per instructions. | |
RED LIGHT ON | Brush motor obstructed. | Unplug machine and inspect for obstruction. Return to Service Center for repair. |
RED & GREEN LIGHT ON | Brush drive belt broken. | Return to Service Center for repair. |
FULL BAG INDICATOR | Dust bag full. | Replace dust bag. |
| Hose and wand blocked. | Inspect for obstruction. | |
| Power brush inlet blocked. | Inspect for obstruction. | |
| Inlet filter blocked. | Clean or replace inlet filter. | |
| Deflector port sealing in top of housing. | Check for free movement. | |
LOW SUCTION | Dust bag full. Full bag indicator flashes. | Replace dust bag. See "Dust Full Bag Indicator Flashes". |
| Wand not installed properly. | Re-install wand. | |
POOR PICK UP | Brush not adjusted correctly. | Adjust brush height knob to conform to carpet thickness (pile). Return to Service Center for repair. |
| Brush worn. | Replace brush. |
ALL OTHER SERVICING SHOULD BE DONE BY AN ORECK AUTHORIZED SERVICE CENTER.
FOR SERVICE CALL
USA & Canada: 1-800-989-4244
Whenever calling, please be sure to have your model and serial number from data plate.
Warranty
ORECK MANUFACTURING COMPANY: (Oreck Manufacturing Company gives you the following limited warranty for this product only if it was originally purchased for commercial use, not resale from Oreck or an Oreck Authorized Retail Dealer.)
Oreck will repair or replace, free of charge, to the original purchaser, any part that is found to be defective in material or workmanship within one (1) year. This limited warranty applies to commercial use.
Drive belts, revolving brushes, disposable bags, and other parts subject to normal wear are not covered by this limited warranty.
This limited warranty does not apply to any part subjected to accident, abuse, alteration, misuse, damage caused by fire or act of God, or the use of voltages other than indicated on the serial number plate of this product or service of this product by other than Oreck or an Oreck Factory Authorized Service Center.
Oreck does not authorize any person or representative to assume or grant any other warranty obligation with the sale of this product.
Oreck's limited warranty is valid only if you retain proof of purchase from Oreck or an Oreck Authorized Retail Dealer for this product. If you purchase this product from any other source, your purchase is "AS IS," which means Oreck grants you no warranty, and that you, not Oreck, assume the entire risk of the quality and performance of this product, including the entire cost of any necessary servicing or repairs of any defects.
Oreck's liability for damages to you for any costs whatsoever arising out of this statement of limited warranty shall be limited to the amount paid for this product at the time of original purchase. Oreck shall not be liable for any direct, indirect, consequential or incidental damages arising out of the use or inability to use this product.
Some states do not allow the exclusion or limitation of incidental or consequential damages, so the above limitation or exclusion may not apply to you.
ALL EXPRESSED AND IMPLIED WARRANTIES FOR THIS PRODUCT, INCLUDING IMPLIED WARRANTIES OF MERCHANTABILITY AND FITNESS FOR A PARTICULAR PURPOSE, ARE LIMITED IN DURATION TO THE WARRANTY PERIOD, AND NO WARRANTIES, WHETHER EXPRESS OR IMPLIED, WILL APPLY AFTER THIS PERIOD.
Some states do not allow limitations on the duration of implied warranties, so the above limitation may not apply to you.
This warranty gives you specific legal rights, and you may also have other rights which vary from state to state.

Documents / Resources
References
Download manual
Here you can download full pdf version of manual, it may contain additional safety instructions, warranty information, FCC rules, etc.
Advertisement
Thank you! Your question has been received!


Need Assistance?
Do you have a question about the XL UPRO14T that isn't answered in the manual? Leave your question here.