Table of Contents
Advertisement
Quick Links
Advertisement
Table of Contents

Related Manuals for Planar PL2410W


Summary of Contents for Planar PL2410W
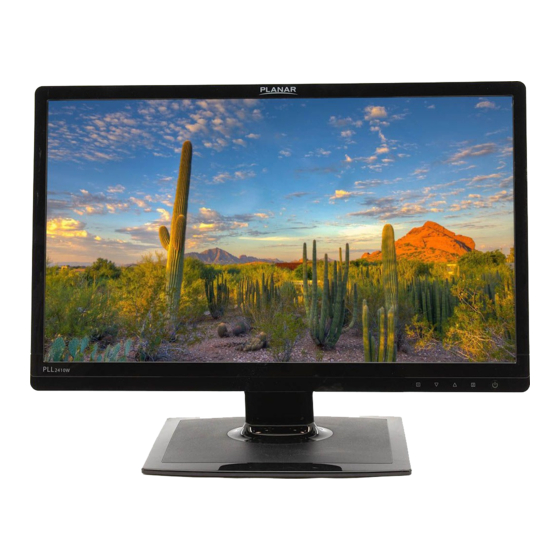
- Page 1 PL2410W LCD Monitor USER'S GUIDE www.planar.com...
-
Page 2: Table Of Contents
Content Operation Instructions...1 Safety Precautions...2 First Setup...3 Front View of the Product ...4 Rear View of the Product ...5 Quick Installation ...6 Basic Operation...7 Advanced Operation—OSD Menu...9 Supporting Timing Modes ... 12 Technical Information ... 13 Wall-mount instruction ... 14 Care and Maintenance... -
Page 3: Operation Instructions
FCC RADIO FREQUENCY INTERFERENCE STATEMENT WARNING: (FOR FCC CERTIFIED MODELS) This TFT LCD Monitor has been tested and found compliant with the limits for a Class B digital device, pursuant to part 15 of the FCC Rules. These limits are designed to provide proper protection against harmful interference to a residential installation. -
Page 4: Safety Precautions
This TFT LCD Monitor should be operated only at the correct power sources indicated on the label on the rear end of the TFT LCD Monitor. If you’re unsure of the power supply in your residence, consult your local dealer or power company. -
Page 5: First Setup
Uninstall the stand base 1. Lay the TFT LCD Monitor flat on a table with the LCD screen face down. To prevent the TFT LCD Monitor from being scratched, put a piece of soft cloth on the table on which the screen will be set. -
Page 6: Front View Of The Product
Front View of the Product ① OSD Turn On/ Off ② Contrast/Brightness Setting/Scroll Down/Adjust Decrease ③ Preset Mode/ Scroll UP/ Adjust Increase ④ Input select/ Confirm Selection ⑤ Power On/ Off ⑥ LED Indicator ① ②③④ ⑤⑥... -
Page 7: Rear View Of The Product
Rear View of the Product ⑦ Power Input ⑧ DVI Input (DVI 24 pin) ⑨ VGA Input (D-Sub 15 pin) ⑦ ⑧ ⑨... -
Page 8: Quick Installation
Quick Installation 1. Connect either VGA or DVI Video Source from the monitor to the computer. Make sure both monitor and computer are powered OFF. 2. Connect the AC power cord to the AC/DC power adapter, then to the monitor. -
Page 9: Basic Operation
Option 1: OSD lock – all 4 buttons are locked except the “POWER” button. Press and hold the 1 button and the ▲ button for 3 seconds to lock the OSD buttons. The TFT LCD Monitor will show an “OSD Lock Out” message for 5~10 seconds and the message will disappear automatically. - Page 10 Option 2: OSD & Power button lock – all 5 buttons including the “POWER” button are locked. Press and hold the 1 button and the ▼ button for 3 seconds to lock all 5 buttons. The TFT LCD Monitor will show an “Lock Out” message for 5~10 seconds and the message will disappear automatically.
-
Page 11: Advanced Operation-Osd Menu
Advanced Operation—OSD Menu You can use the OSD menu to adjust various settings for your TFT LCD Monitor. Press the 1 button to display the OSD Menu, and use ▲▼ to select the desired OSD menu. Short Cuts Function from the button(s) Auto Image Adjust: Tune) and Clock (H. - Page 12 Preset Mode: Provides an optimum display environment depending on the contents displayed. It contains 5 user-selectable presets. Standard is for general windows environment and monitor default setting. Game optimized for PC game environment. Cinema optimized for movie and video environment.
- Page 13 Press ▼ or ▲ button to select between horizontal and vertical OSD OSD Position: Position adjustment. H. Position: To horizontally adjust the OSD position. ▲: move OSD to the right, ▼: move OSD to the left. V. Position: To vertically adjust the OSD position. ▲: move OSD up, ▼: move OSD down.
-
Page 14: Supporting Timing Modes
Note: 1. Only DVI supports 480i, 480p, 576i, 576p, 720p, 1080i, and 1080p. 2. Simultaneously press 1 and 2 keys on monitor panel to switch between similar PC timings. Similar PC Timing on list below: • 640 x 400 @ 70Hz / 720 x 400 @ 70Hz •... -
Page 15: Technical Information
Technical Information LCD Panel Power Management Displayable Resolution Pixel Dimension LCD Display Color Tilt Active Display Area Temperature Compliance Power 23.6” TFT On: 40 Watts (typical), 55 Watts (maximum) Standby Mode: <0.5 Watt Off: < 0.5 Watt Full HD 1920 x 1080 max. Vertical Frequency 60Hz max. 0.2715 x 0.2715 mm 16.7M -2°... -
Page 16: Wall-Mount Instruction
Follow these steps to finish installing the wall mounting arm: 1. Place the wall mounting arm onto the back of the TFT LCD Monitor. Line up the holes of the arm with the holes in the back of the monitor. -
Page 17: Care And Maintenance
Never remove the rear cover of your TFT LCD Monitor cabinet. The display unit inside contains high-voltage parts and may cause electric shock to human bodies. Never try to repair your TFT LCD Monitor yourself. Always call your service center or a qualified technician to fix it. -
Page 18: Product Registration And Technical Support
Product Registration and Technical Support Register Your Planar Products Today Thank you choosing Planar. To assure you receive all the benefits of your Planar product and services, register your Planar product today. Visit our website to register your product at http://www.planar.com/support/product_registration.html... - Page 19 2001171056P...