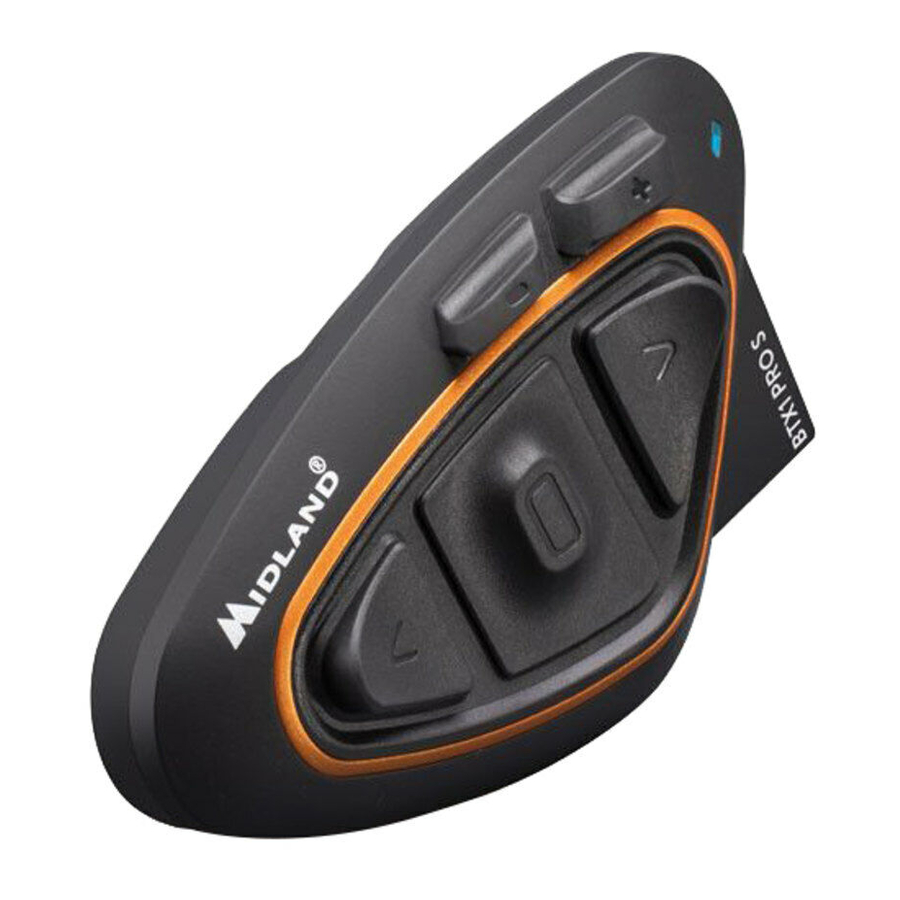
Midland BTX1 PRO S - Advanced Intercom System Installation
- Instruction manual (106 pages) ,
- Instruction manual (86 pages) ,
- Instruction manual (90 pages)
Advertisement
BTX1 PRO S INSTALLATION
Place the BTX1 PRO S unit on the left side of your helmet using the adhesive mount.

Place both speakers as much as possible close and centered to your ears. In case of need, use the provided spacers to better fi t the speakers closer to your ears.

Closed helmets: place the wired microphone in front of your mouth.
Jet helmets: fi x the boom on the left side and keep the sponge as closely as possible to your mouth.

The BTX1 PRO S can be easily fi tted onto the helmet by sliding it downwards into the slot of the adhesive Mount.

To detach BTX1 PRO S, simply press the fi xing clip (A) and push the unit upwards.


Documents / ResourcesDownload manual
Here you can download full pdf version of manual, it may contain additional safety instructions, warranty information, FCC rules, etc.
Download Midland BTX1 PRO S - Advanced Intercom System Installation
Advertisement
Thank you! Your question has been received!


Need Assistance?
Do you have a question about the BTX1 PRO S that isn't answered in the manual? Leave your question here.