Advertisement
- 1 Important
- 2 Names of Parts
- 3 Inserting the Batteries
- 4 Checking the batteries
- 5 Loading the Film
- 6 Taking Pictures
- 7 Flash Photography
- 8 Red-eye reduction lamp
- 9 Rewinding and Removing the Film
- 10 Attaching the Strap
- 11 Care and Storage Precautions
- 12 SPECIFICATIONS
- 13 Disposal
- 14 FCC Notice
- 15 Documents / Resources
Important
- Olympus advises you to shoot a trial roll of film before using your camera to take important photographs such as on an overseas trip, honeymoons, etc.

![burn hazard]() Do not put the used batteries into a fire and do not heat, disassemble or try to short them out.
Do not put the used batteries into a fire and do not heat, disassemble or try to short them out.
![]()
- In case of abnormality or breakage, immediately remove the batteries, but do not touch the inside and do not try to disassemble the camera.
![]()
- Do not look into the sun through the viewfinder!


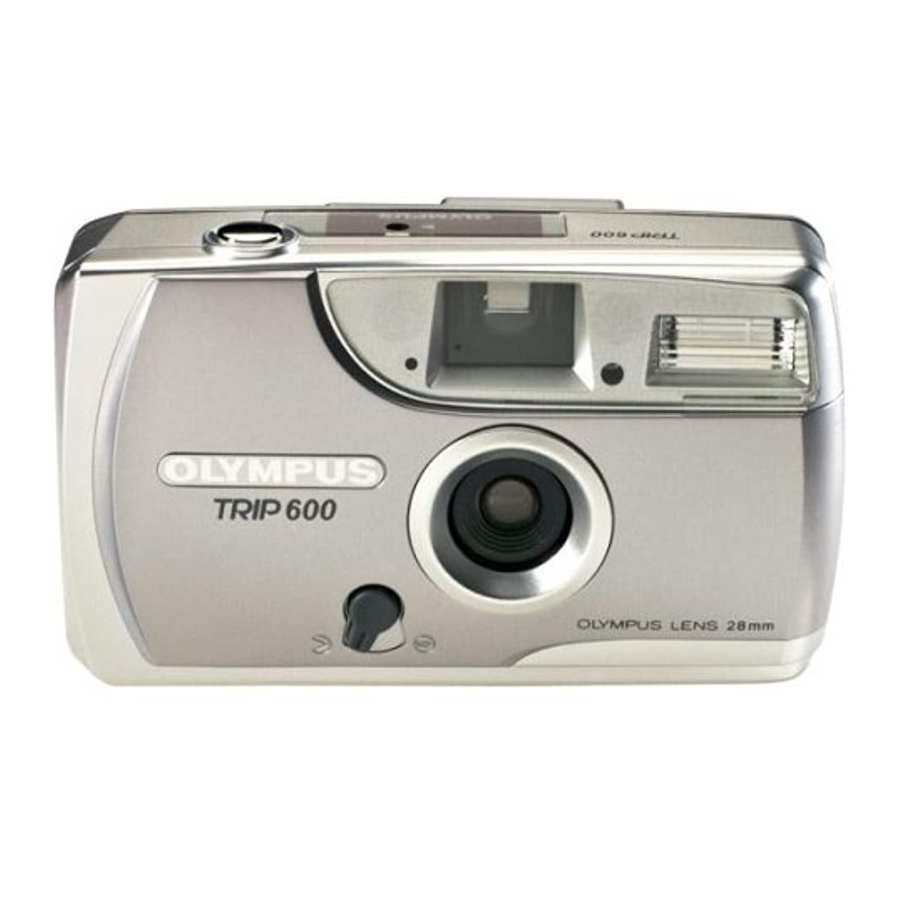
Names of Parts

Camera body
- Shutter release button
- Exposure counter
- AE light sensor*
- Viewfinder
- Red-eye reduction lamp
- Flash*
- Lens*
- Lens barrier switch
- Strap eyelet
- Flash charging indicator
- Back cover
- Film window
- Battery compartment cover
- Rewind switch
- Tripod socket
- Back cover release
*Smudges or dirt can cause blurred pictures.
Clean lens by wiping with a soft cloth.
Cautions in regard to batteries
- Observe the caution items listed on the battery.
- Prepare spare batteries for long trips or shooting in cold places.
Inserting the Batteries
- Open the battery compartment cover.

- Insert the batteries, making sure that they are positioned correctly. (Use two AA (LR6) alkaline batteries.)


Notes:
- Close the lens barrier before inserting the battery.
- Ni-Cd batteries, manganese batteries, and nickel-hydrogen batteries cannot be used.
- When the camera is not to be used for an extended period, remove the batteries to prevent damage due to possible battery leakage.
- Do not mix different types of batteries, or new and old batteries
Checking the batteries
- Slide the lens barrier switch to turn the camera on. (
![]() )
)

- Confirm that the flash charging indicator is lit (
![]() ).
).


- The flash charging indicator goes out automatically after about 4 minutes of non usage.


Note:
- Please replace the battery when it takes 15 sec or longer for the flash indicator to light up.
Loading the Film
- Open the back cover by sliding the back cover release in upward direction (
![]() ).
).
![]()
- Insert the film and make sure the film leader is lying flat.
![]()


Notes:
- Use negative color film with ISO 100, 200 or 400 DX coding.
![]()
- Align the film leader with the mark, position the film so it does not overlap any of the positioning guides
![]()


- Close the back cover.
![]()
- Slide the lens barrier switch to turn the camera on. (
![]() )
)
![]()
- Press the shutter release button and confirm advance of the exposure counter.
![]()
Press the shutter release button until the exposure counter reads "1."
![]()


Note: If the exposure counter does not advance, the film was not loaded correctly, open the back cover and reinsert the film.
Taking Pictures
- Slide the lens barrier switch to the open position (
![]() ).
).
![]()
- Confirm that the flash charging indicator is lit
![]() .
.

- Look through the viewfinder and aim at your subject.

- Press the shutter release button fully (
![]() ).
).


Note:
- The flash charging indicator goes out automatically after about 4 minutes of non usage. At this time, switch on the power supply again.
- Always close the lens barrier when shooting is finished.
Focusing range: 1.0 m (3.3 ft) to ∞ (infinity)
Flash Photography
When it is dark, the flash will be triggered automatically.

- Confirm lighting of the flash charging indicator and then press the shutter.
| ISO | Flash range |
| 100 | 1.0m (3.3 ft.) ~ 1.9m (6.2 ft.) |
| 400 | 1.0m (3.3 ft.) ~ 3.8m (12.4 ft.) |
Use of color negative film
Red-eye reduction lamp
Red-eye reduction lamp
This lamp helps to reduce the red-eye effect with flash pictures. The red-eye reduction lamp lights when the shutter release button is pressed lightly (  ) and press the shutter release button fully (
  ) after the red-eye reduction lamp has been lit for about 1 second.

Rewinding and Removing the Film
- The film stops when the film end is reached. Rewinding is started by sliding the rewind switch.

- Make sure that the rewinding sound has stopped and that "S" is displayed in the exposure counter, and then open the back cover and remove the film.


Note: You may also slide the rewind switch to rewind the film in midroll.
Attaching the Strap

Care and Storage Precautions
- Do not drop the camera.
- Never use thinner, benzene or other organic solvents to clean the camera.
- Do not expose the camera to water or sand.
- Do not expose the camera to extreme heat (over 40°C/ 104°F) or extreme cold (below -5°C/23°F). For example, do not leave the camera in a closed vehicle under direct sunlight.
SPECIFICATIONS
Type: 35 mm fixed focus, lens-shutter camera.
Film format: Standard DX-coded 35 mm film.
Image size: 24 x 36 mm
Lens: Olympus 28 mm F6.7, 3 elements in 3 groups.
Shutter: 1/100 sec.
Viewfinder: Reverse Galilean-type viewfinder.
Focusing: Fixed-focus
Focusing range: 1.0 m (3.3 ft.) – ∞ (infinity).
Exposure counter: Progressive type, automatic reset.
Film speed range: Automatic setting with DX-coded film (ISO 100 – 400). For non DX-coded film, film speed is fixed at ISO 100.
- About 20 rolls of 24-exposure film can be used with two new batteries (with 50% flash 20°C/68°F, less films in low temperature).
Film transport: Motor film advance and rewind.
Flash: Built-in flash with red-eye reduction lamp. Flash is automatically activated under low light conditions.
Power source: Two 1.5 V AA alkaline/LR6 batteries. Ni-Cd batteries, manganese batteries, and nickel-hydrogen batteries cannot be used.
Dimensions: 111.5 (W) x 64.5 (H) x 38 (D) mm (4.4 x 2.5 x 1.5 inches).
Weight: 136 g (4.8 oz.), without batteries.
Design and specifications are subject to change without
Disposal

This symbol [crossed-out wheeled bin WEEE Annex IV] indicates separate collection of waste electrical and electronic equipment in the EU countries. Please do not throw the equipment into the domestic refuse. Please use the return and collection systems available in your country for the disposal of this product.
FCC Notice
This device complies with part 15 of the FCC Rules. Operation is subject to the conditions that this device does not cause harmful interference. This Class B digital apparatus meets all requirements of the Canadian interference-Causing Equipment Regulations.

This camera complies with EU directive 89/336/EEC for CE marking.
OLYMPUS IMAGING CORP.
Shinjuki Monolith, 3-1, Nishi-Shinjuki 2-chome, Shinjuku-ku, Tokyo, Japan.
OLYMPUS IMAGING AMERICA INC.
Two Corporate Center Drive, Po Box 9058, Melville, NY 11747-9058, U.S.A.
Tel. 1-631-844-5000
OLYMPUS IMAGING EUROPA GMBH
Premises: WEndenstasse 14-18, 20097 Hamburg, Germany
Tel: +49 40-23 77 3-0/Fax: +49 40-23 07 61
Goods delivery: Bredowstrasse 20, 22113 Hamburg, Germany
Letters: Postfach 10 49 08, Hamburg, 20034 Germany

Documents / ResourcesDownload manual
Here you can download full pdf version of manual, it may contain additional safety instructions, warranty information, FCC rules, etc.
Advertisement
Thank you! Your question has been received!


Need Assistance?
Do you have a question about the TRIP 600 that isn't answered in the manual? Leave your question here.